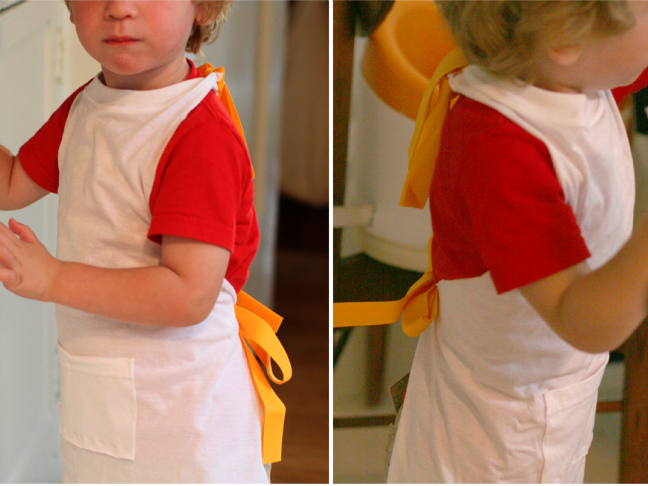
Make a simple art smock to keep your little one clean during art projects!
Everyone loves doing art projects with their kids, but it can sometimes be stressful watching their clothes get more ‘art’ on them than the project they’re working on. Here is a super easy, 10 minute tutorial to make a child’s art smock during art project time. With just a t-shirt and bias tape/ribbon, you’re set to make this super simple apron. The basic structure of the t-shirt is cut in half which actually makes two smocks!
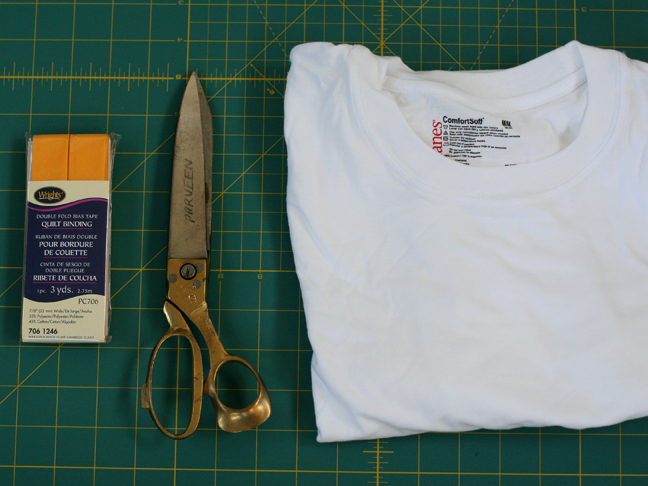
Supplies:
Plain men’s t-shirt (for my 3 yr old I used a size medium, but could have used a small as well)
thick bias tape or ribbon
scissors
pencil
sewing machine
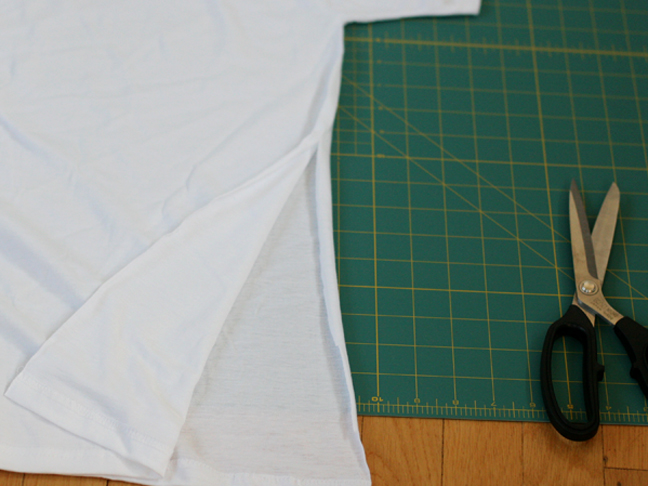
Cut along the seam of the t-shirt up to the armpit on both sides.
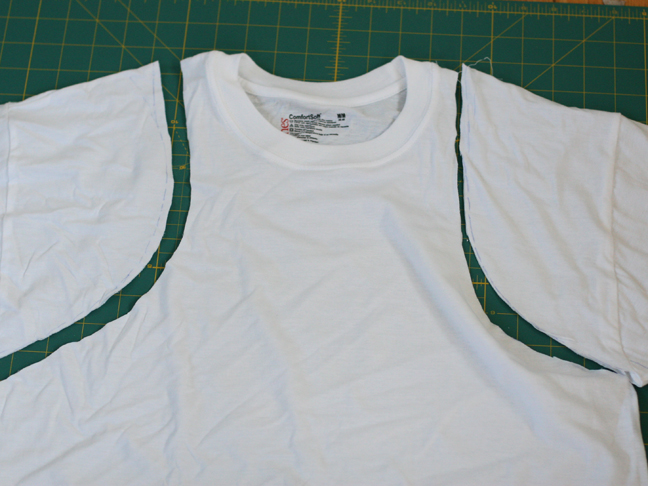
Cut in a curve (I used a dinner plate to measure) around the sleeves up to the neck. Don’t throw out the sleeve pieces yet!
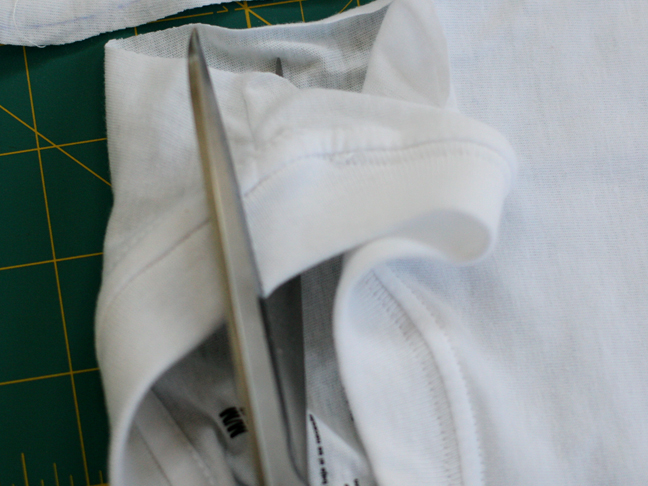
Cut along the shoulder seam to separate the shirt in half completely
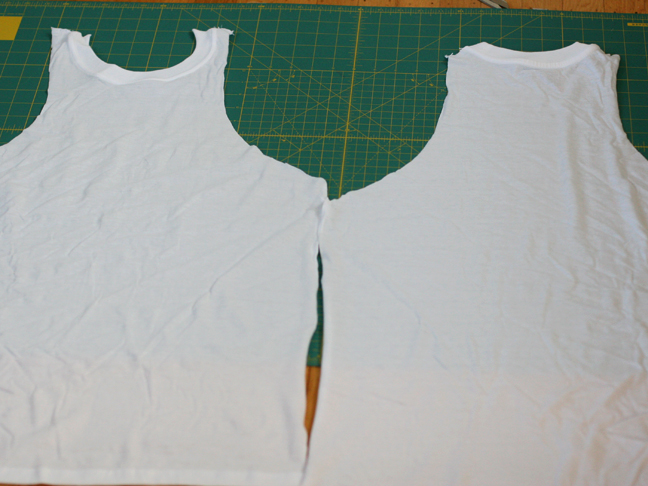
You should have two smock shapes now. The collars will be a slightly a different shape, but besides that, they should look just about the same.
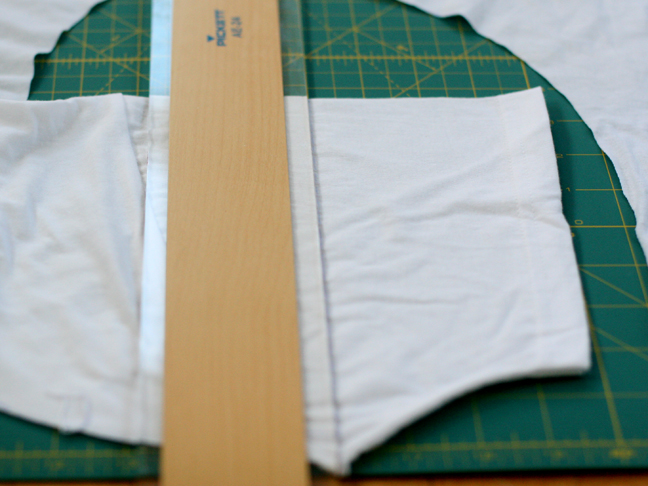
Take one piece of the sleeve you cut off and draw a straight line from the armpit to the other side and cut along that line and along each short side to make two separate pieces.
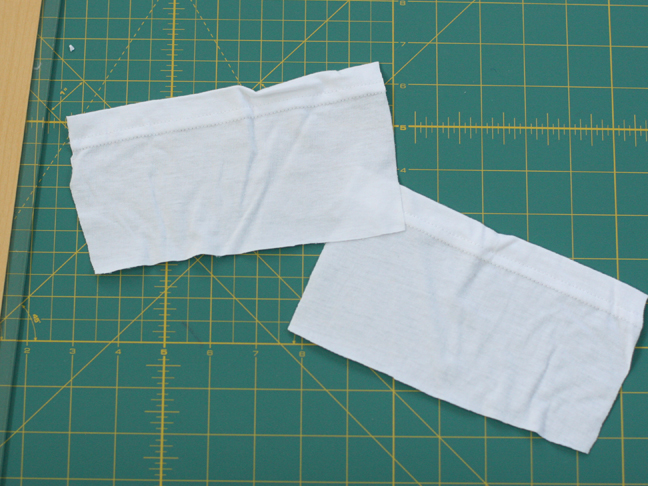
You should have two rectangles now for one pocket on each smock.
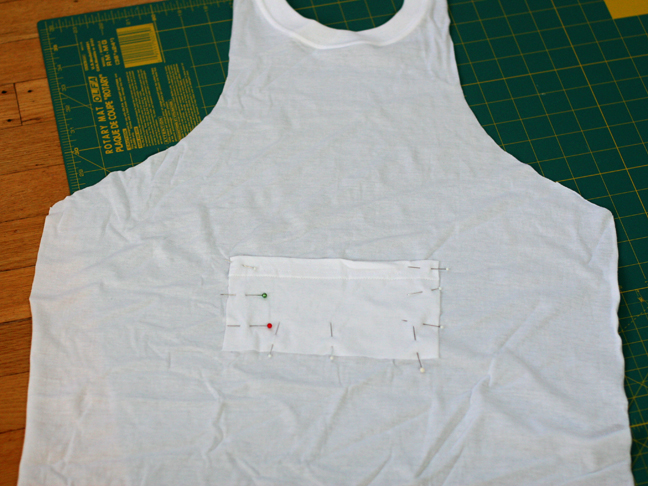
Pin one pocket on the first smock where you’d like it to go, about halfway down the apron. Sew it on being careful not to stretch the jersey too much. Jersey can be tricky to sew with, just don’t pull it as you’re sewing.
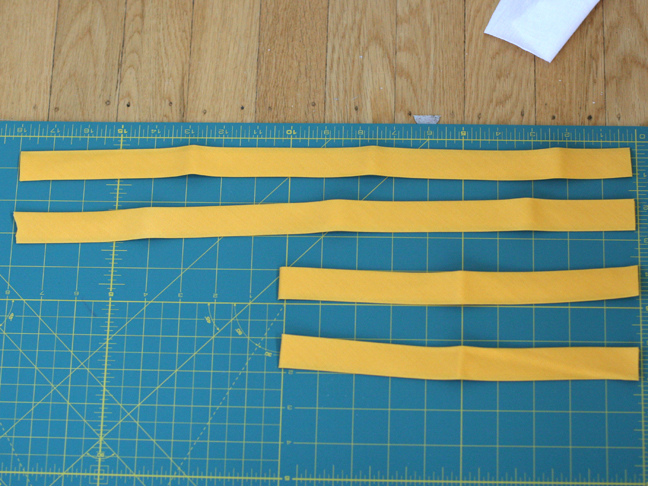
Cut four pieces of bias tape for each smock. Two pieces at about 18”, and two at about 10”.
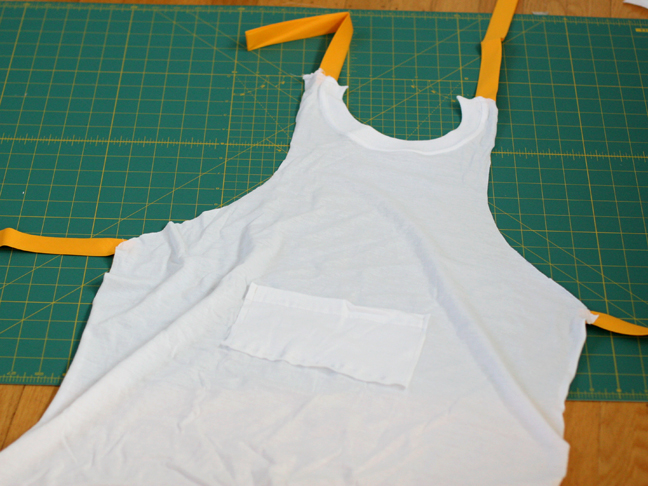
Sew the longer bias pieces on either side of the waist, and the shorter pieces at the shoulder. You could make one loop for the neck but I found it better to have two pieces so you can adjust the neck and tighten it if necessary.
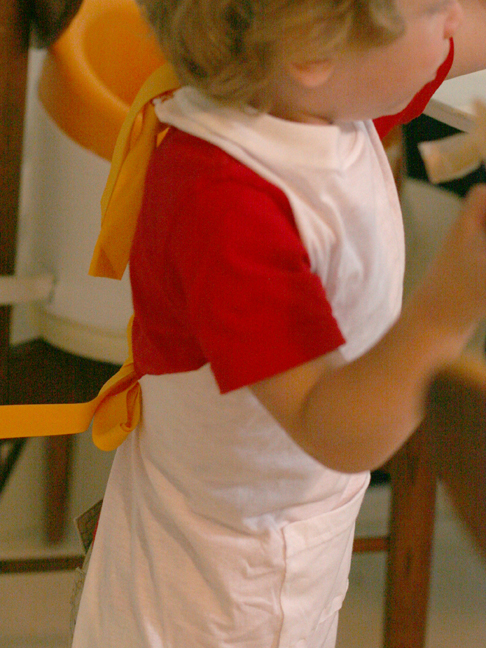
Now you’ve got a simple art smock so your child won’t ruin his clothes when you pull out the watercolors and finger paint!
