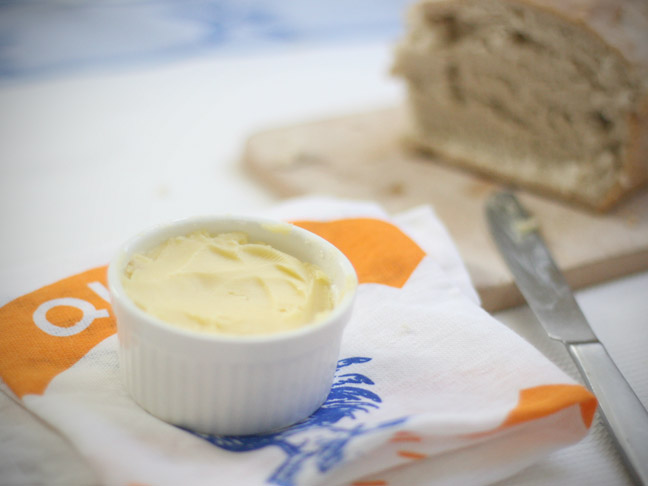
Fresh cream butter is the most delicious thing in the world, and did you know it’s such a cinch to make? I love to make this with a little help from my kids. They love learning the science behind cooking, and they make excellent taste testers.
Follow these step-by-step instructions to make your own honey butter. If you’d prefer regular butter just skip the last couple steps. Spread your finished product on fresh bread for an amazing afternoon treat.
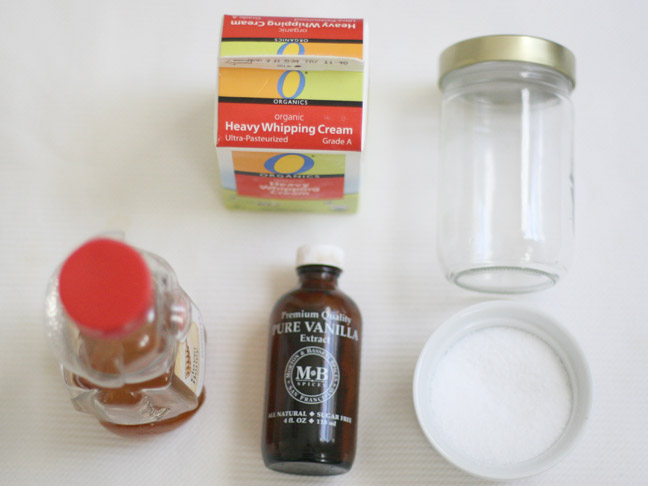
Supplies:
- 1 small container of whipping cream
- vanilla
- salt
- honey
- clean jar
- stand mixer
- wax paper
Instructions:
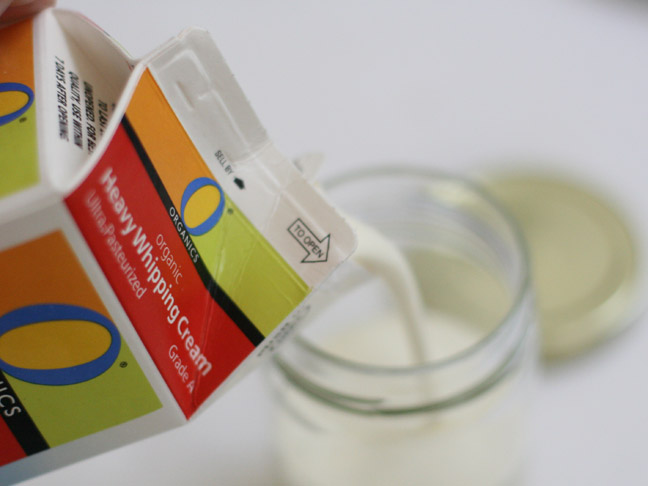
Step 1: Pour the whipping cream into the jar.
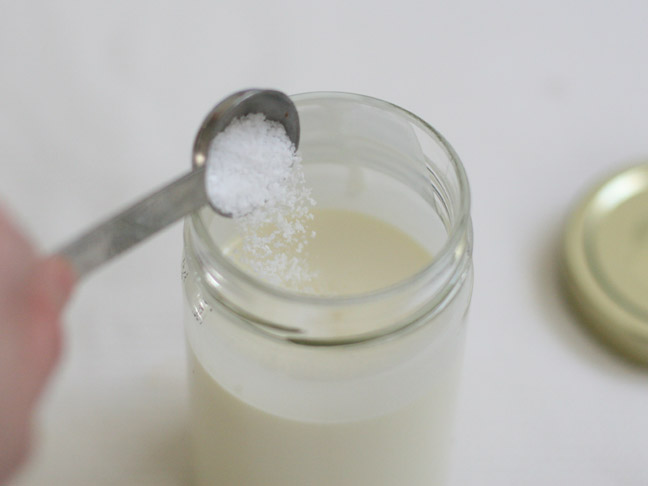
Step 2: Add about 1 teaspoon of salt as well. Secure the lid tightly.
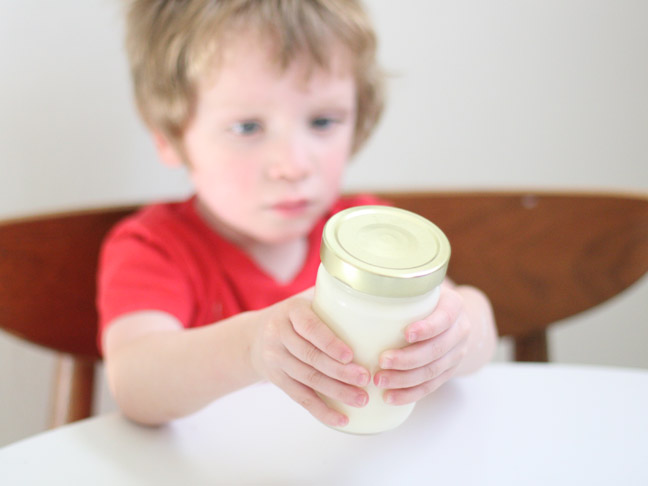
Step 3: This next part is fun for kids. Let them shake-shake-shake that whipping cream until they’re tired (it won’t be ready yet).
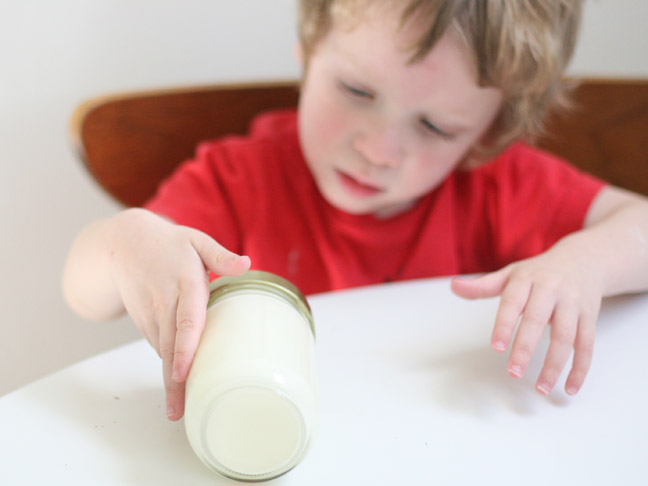
You can even roll it around on the table or across the floor.
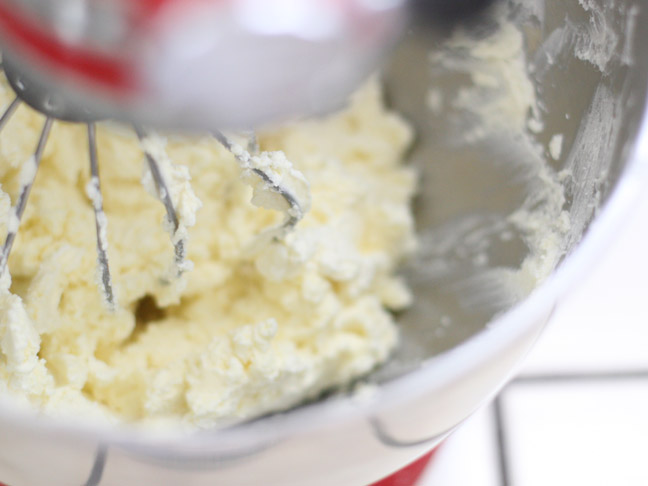
Step 4: When your kids are bored with shaking, pour the cream into your electric mixer. If you’ve been shaking it for at least 10 minutes, it should have started to look whipped. Add about ½ teaspoon of vanilla in at this point. Now, continue whipping that cream on high into submission.
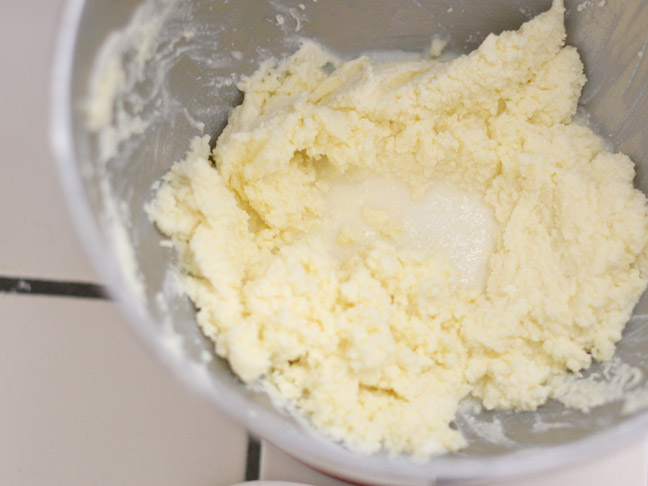
Step 5: Keep whipping past the point of whipped cream. Keep going until little pockets of liquid start to form. (That’s buttermilk!)
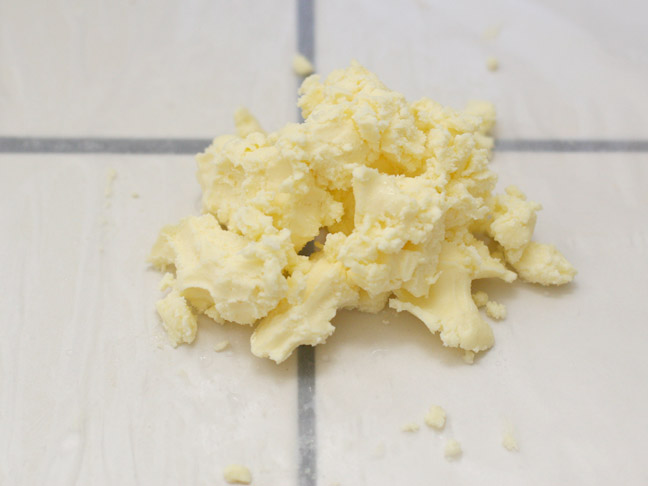
Step 6: You’ll need to get your hands dirty now and squeeze chunks of the butter out of the bowl. Then place it on a piece of waxed paper. Squeeze out at much of the buttermilk liquid as you can. This will keep the butter fresh.
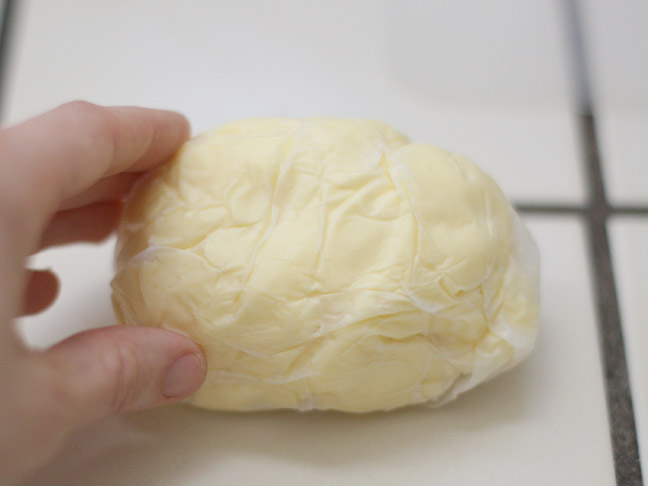
Step 7: Roll it up in the waxed paper and refrigerate for at least 30 minutes.
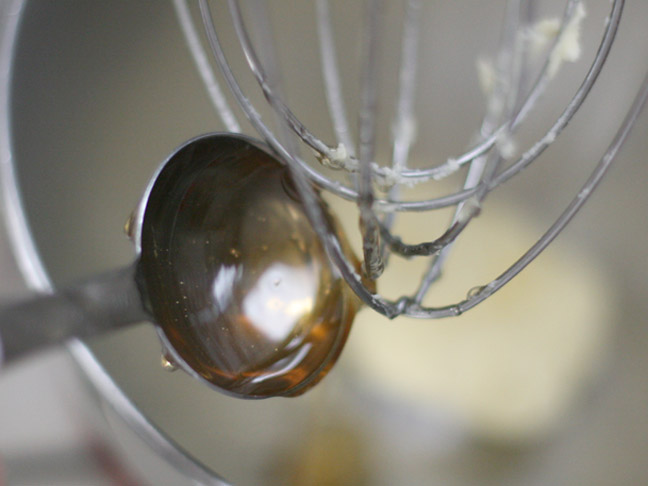
Step 8: Place the butter back into the mixer and add about 3–4 Tablespoons of honey. Mix until it comes together.
Enjoy on fresh bread.
More DIY Activities with Kids:
