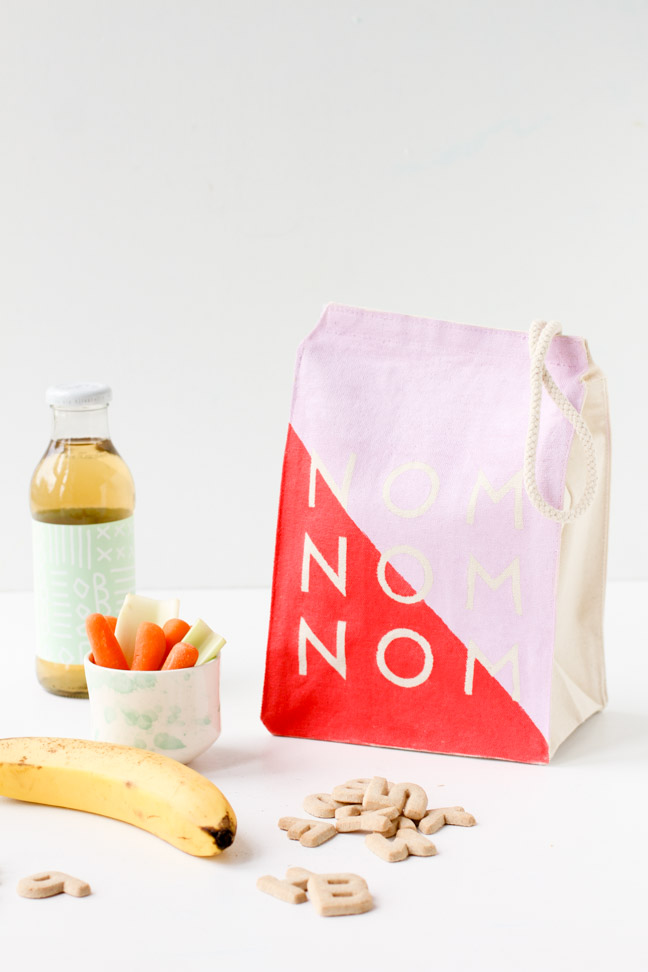
For kids, going back to school is an exciting time—there’s new notebooks to draw in, colorful pencils for taking notes, and of course, a cool lunch bag! But instead of buying a lunch bag from the store this year, why not personalize one to reflect your kid’s personality?
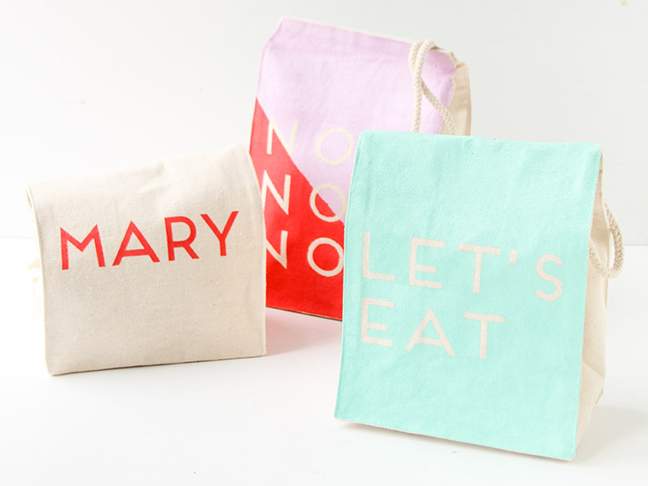
Here’s a tutorial for fun, eco-friendly, and washable back to school lunch bags that really stand out from the crowd.
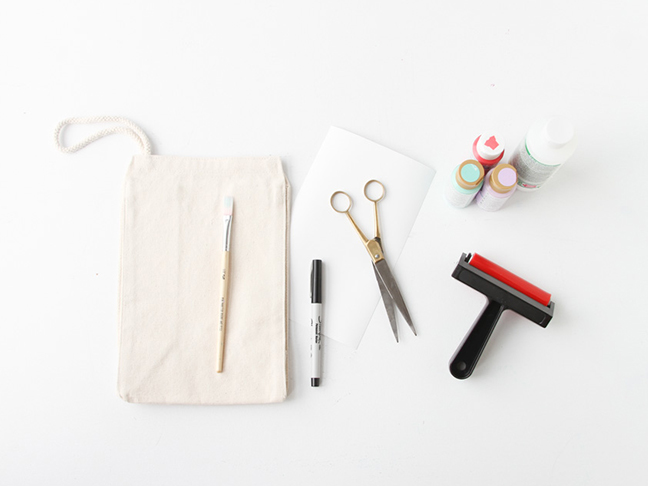
Supplies:
- Blank canvas lunch bag (available online)
- Fabric paint (or acrylic paint and textile medium)
- Paintbrush
- Adhesive vinyl (like Con-Tact)
- Marker
- Scissors
- Brayer (optional)
Instructions:
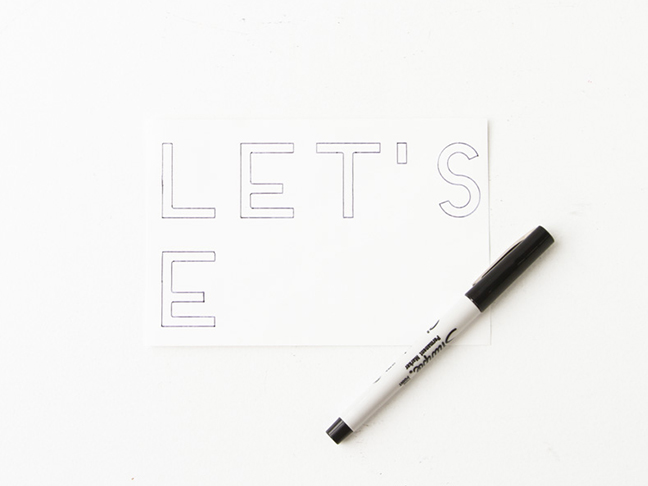
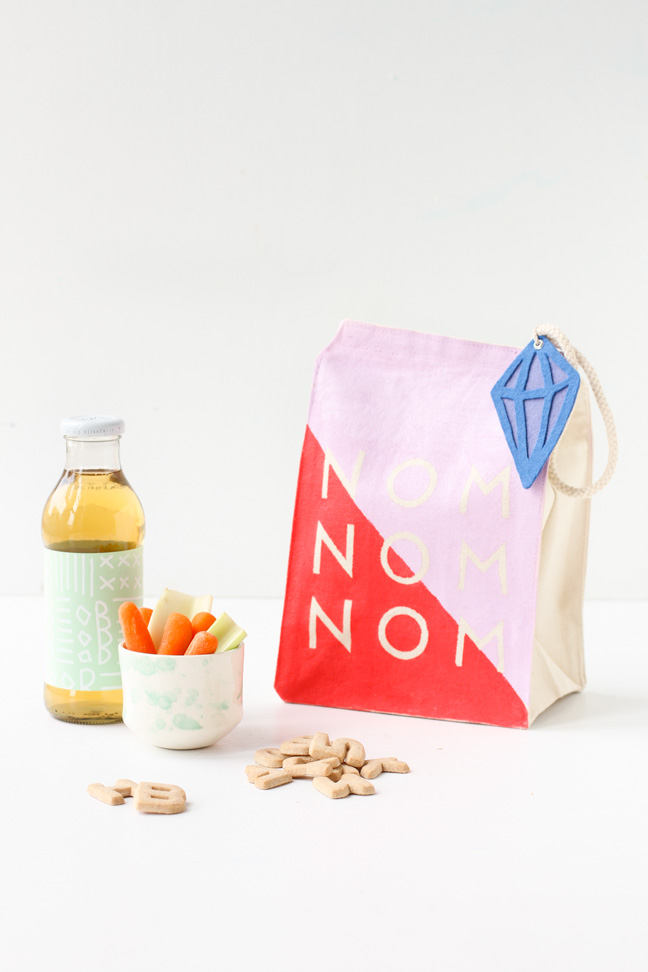
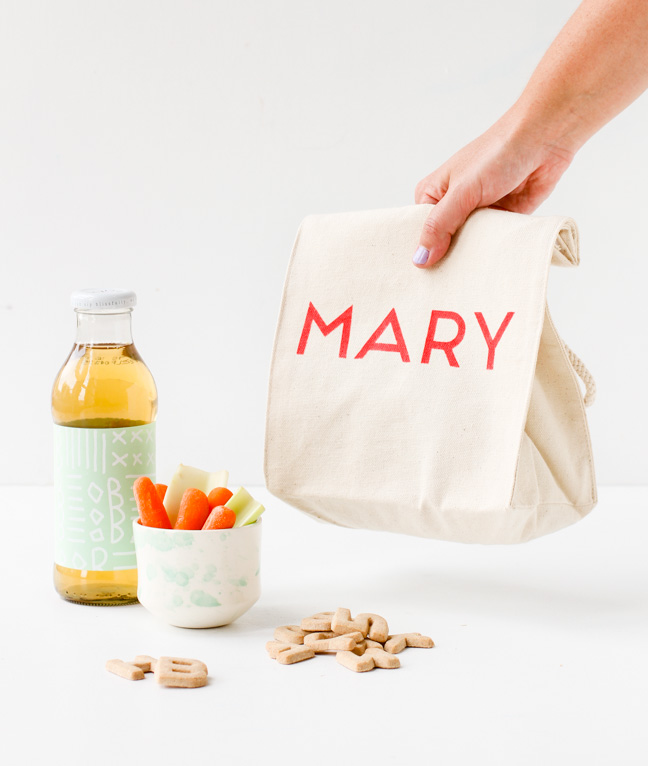
Step 1: Create a fun message or your child’s name on the adhesive vinyl with a marker. I personally love the phrase “nom nom nom” or “let’s eat” for a lunch bag, but the sky’s the limit with yours.
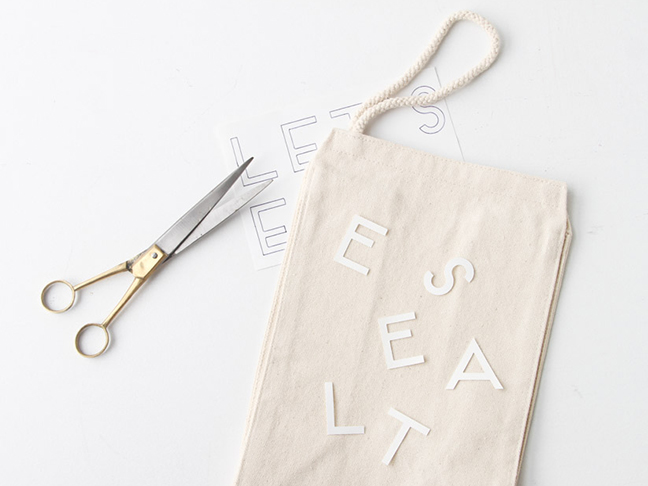
Step 2: Cut the letters out with the scissors.
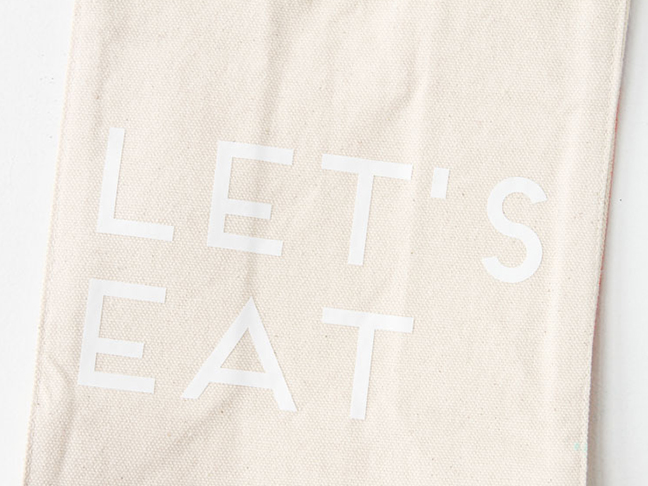
Step 3: Remove the backing and apply the letters to the canvas bag. Using the brayer (or your finger), press the letters down well. This prevents paint from seeping under the edges.
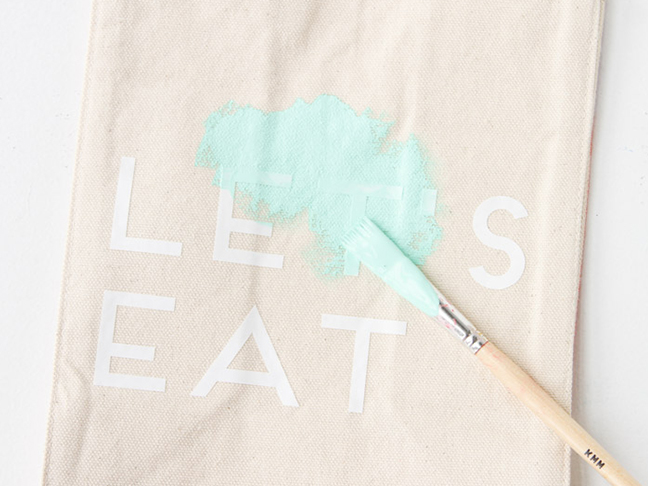
Step 4: Paint over the bag with fabric paint. If you don’t have fabric paint, you can also use textile medium with acrylic paint (as I’ve done here with the mint and lilac colors).
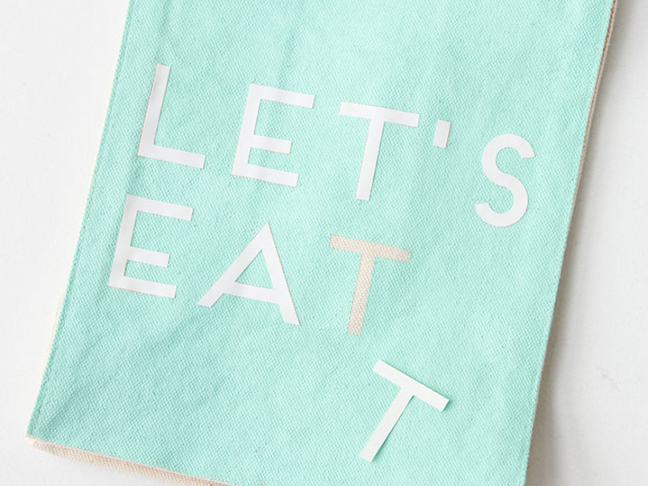
Step 5: Once the paint dries, remove the vinyl letters, and the bag is ready to use.
More DIY Lunch Bags:


