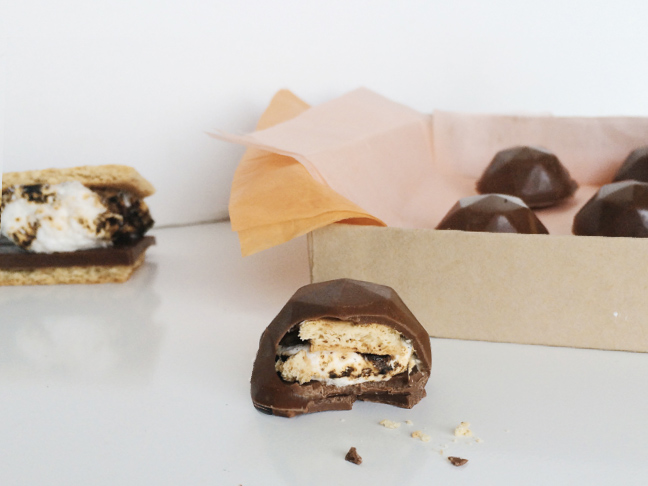
Campfire season is upon us, and I’m always fired up (pun totally intended) to put a new spin on classic desserts. This time around, I thought a little bite-sized, easy-to-eat s’more would be the perfect way to welcome cooler weather. These easy s’mores truffles have all of the fireside goodness of the real thing, but they’re much easier to pack in a lunch box for a sweet surprise, or nibble at your desk.
These treats would also make great DIY favors for fall weddings or no-mess treats for backyard bonfires. Make a ton of them, store them in an airtight container, and whip them out when it’s your turn to bring dessert to the next potluck or PTA meeting.
Supplies
- chocolate candy mold
- melting chocolate
- graham crackers
- standard-sized marshmallows
- kitchen shears
- frosting tip, fondant cutter, or cookie cutter in the same diameter as your mold’s cavities
- chopstick or small paintbrush
Instructions
Step 1: Melt your chocolate according to package directions. While it is still warm, pour a small amount into each cavity of the mold. Using a clean chopstick or small paintbrush, cover the walls of the mold with chocolate. Place the mold into the freezer, and allow to harden.
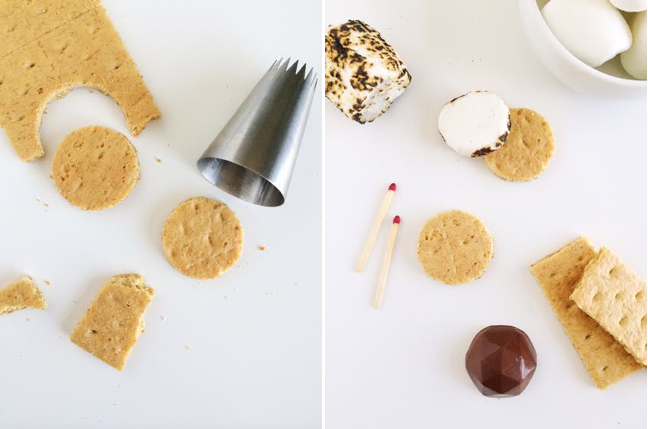
Step 2: Using the back end of a large frosting tip (as pictured) or a fondant cutter, carefully cut out graham cracker circles. To avoid breaking the cracker, do not push down on the cutter. Instead, place the cutter on the graham cracker, and slowly turn it back and forth to saw out the circular piece. Set aside.
Step 3: Roast several marshmallows and cut them into thin slices using clean kitchen shears. (Psst! It’s also totally OK to use your kid’s safety scissors in a pinch.)
Step 4: Remove the chocolate mold from the freezer. Layer the marshmallow slices and graham cracker circles into each cavity. Pour remaining melted chocolate into each cavity to cover the contents. Return the chocolates to the freezer to harden, and remove when ready to package or serve.
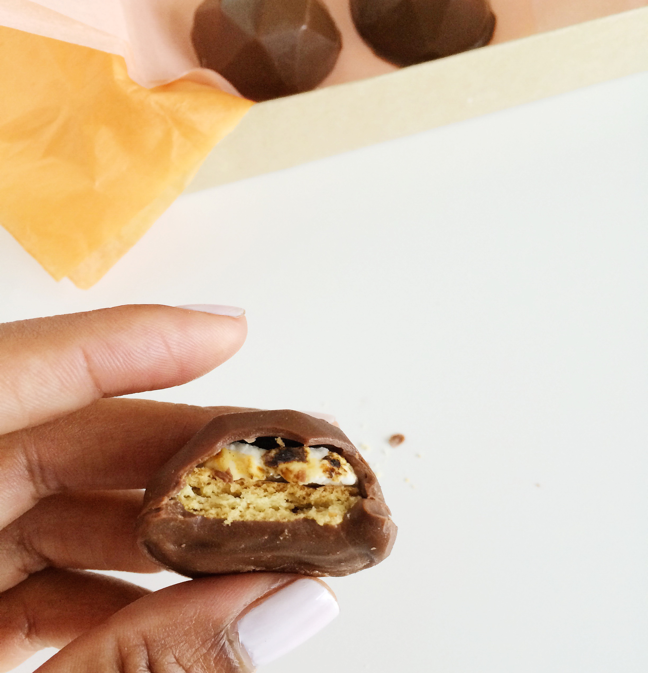
Photos by Shauna Younge of Sweet Tooth for Momtastic
More S’mores Recipes:
