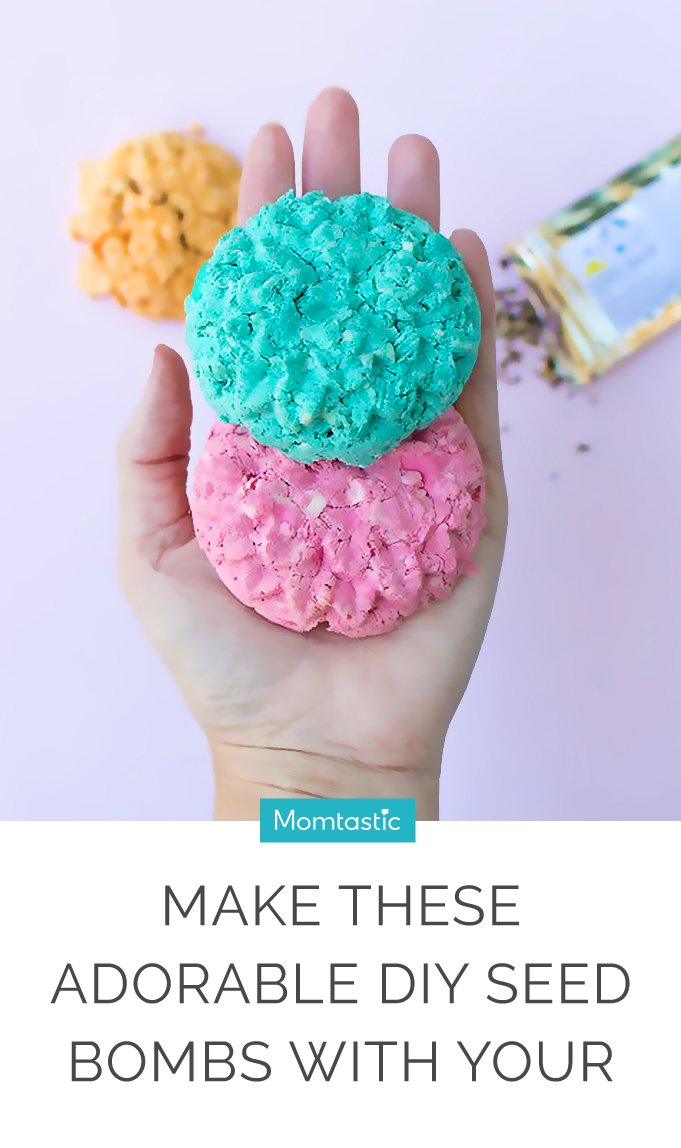
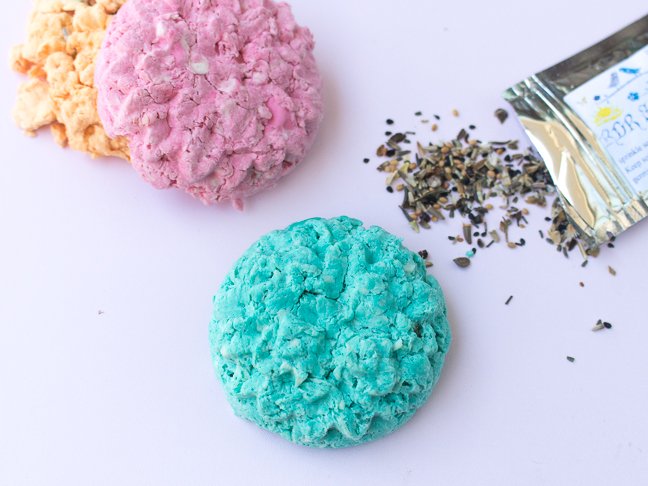
Believe it or not, spring is here. We’re thinking about outdoor planting and landscaping. DIY seed bombs are a fun way to get your kids into gardening. Use your favorite flower seeds and plain ol’ paper to make seed bombs in any color for easy planting. We like to use them as gifts, too, for Earth Day or Mother’s Day.
We used colored cardstock to make our seed bombs, but you can also recycle newspapers or use any other type of paper. The paper will be shredded and soaked in water to take on your desired shape with the seeds stuck in the middle. When ready to plant, simply throw a seed bomb into the dirt, and wait for water and sunshine to do the rest of the work!
Want to make your own DIY seed bombs for spring? Follow our easy step-by-step directions below.
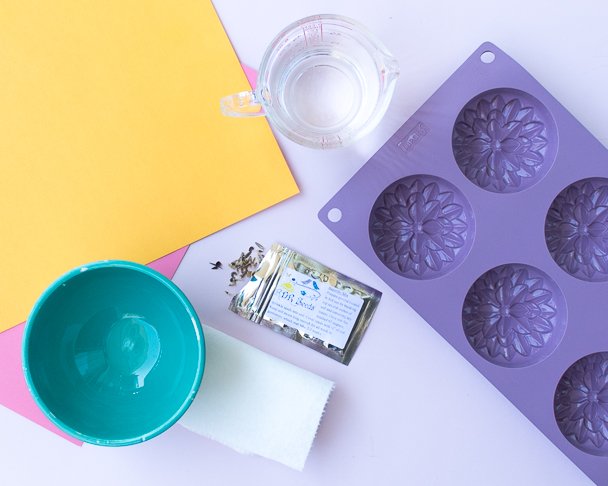
Supplies:
- Paper (colored, recycled, etc.)
- Flower seeds
- Silicone mold
- Small bowls
- Water
- Food processor or blender
- High-quality paper towels or a cheesecloth
Instructions:
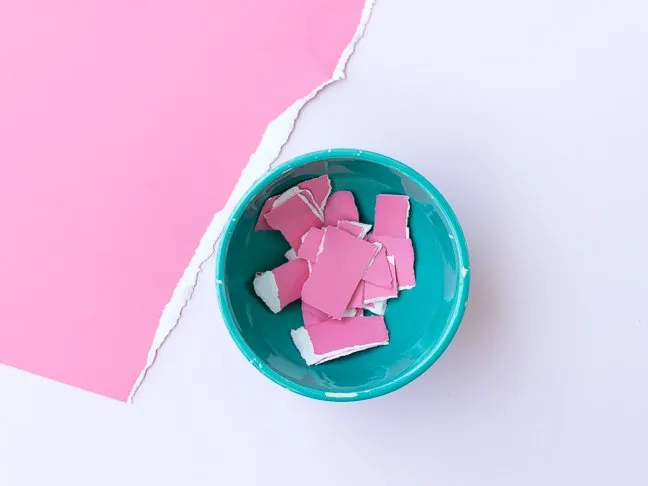
Step 1: Shred the paper with your hands, and place in a bowl. One 12-inch x 12-inch piece of paper makes about one seed bomb.
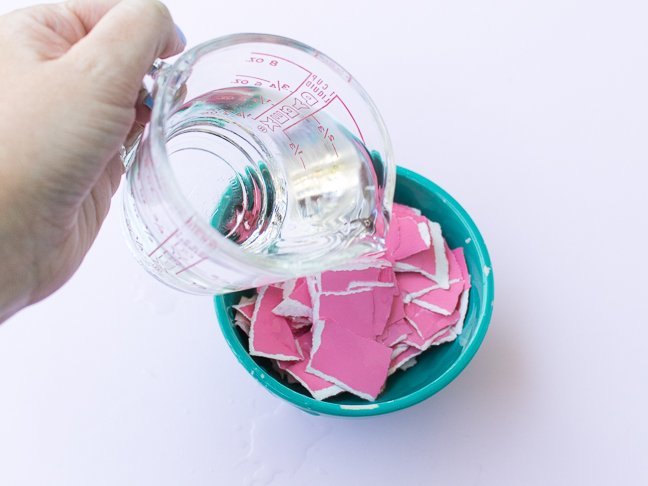
Step 2: Pour water over the shredded paper, and allow it to soak for at least 10 minutes. I’d recommend waiting 15 minutes for thicker paper.
Step 3: Transfer the wet paper and some of the water to a blender or food processor. Blend until the paper forms a pulp, adding more water as needed to blend completely.
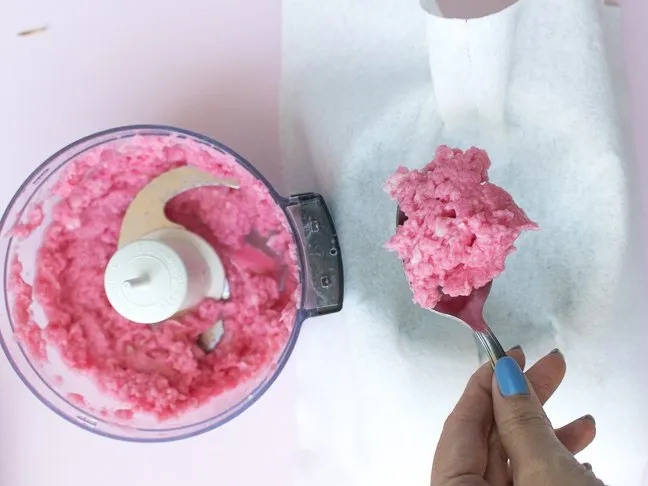
Step 4: Lay paper towels or a cheesecloth over an empty bowl, and spoon the paper pulp into it.
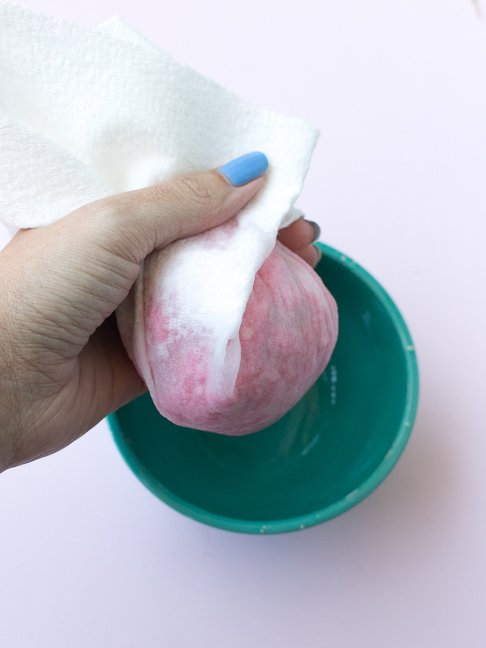
Step 5: Carefully squeeze out excess water. Two layers of paper towels worked for me and did not tear.
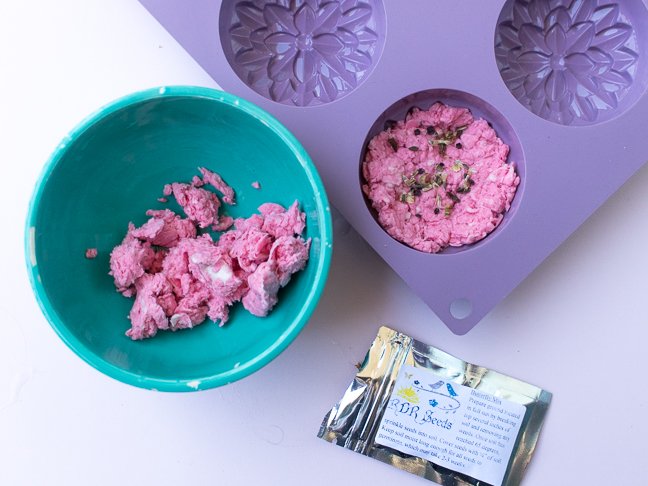
Step 6: Press about half of the paper pulp mixture in a silicone mold, then add about half a teaspoon of flower seeds, depending on the mold’s size. Top with the remaining paper and press well.
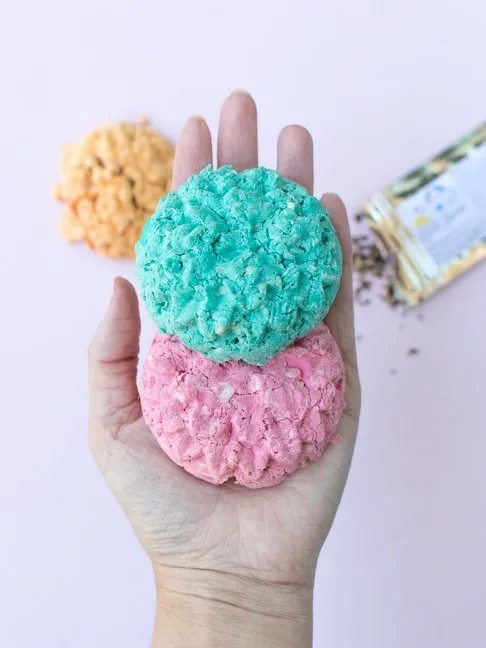
Step 7: Allow the bombs to sit in the mold to dry out before carefully removing them. They will last several months unplanted. Store in an airtight container.
Like what you see? Don’t forget to Pin it!
