Be ready to mend holes and rips anytime with this DIY mason jar sewing kit. I like to keep one in my travel bag, and one on every floor of the house for quick mending. Here’s how to make your own:
RELATED: 101 Things to Do with a Mason Jar
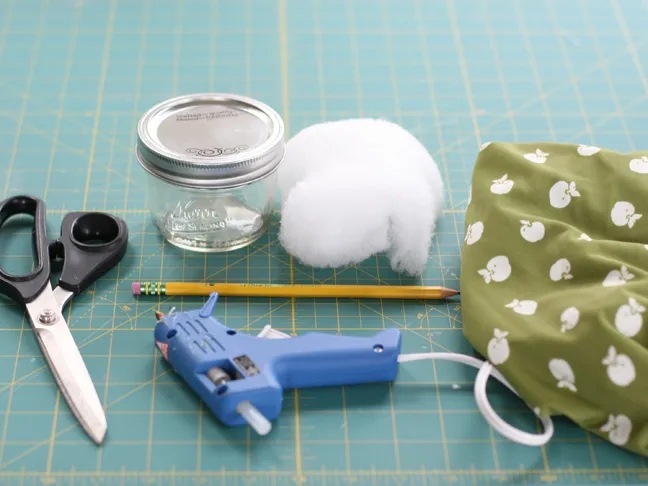
Supplies:
- Clean mason jar (I used a small one but you can use any size)
- Any fabric
- Glue Gun
- Stuffing
- Pencil
- Scissors
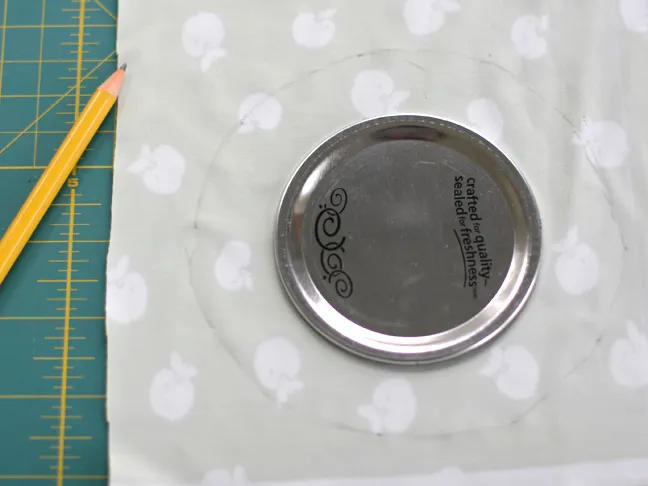
Step 1: Using the lid of the mason jar, draw a circle onto the fabric about 1 inch wider than the jar lid. Cut out the circle.
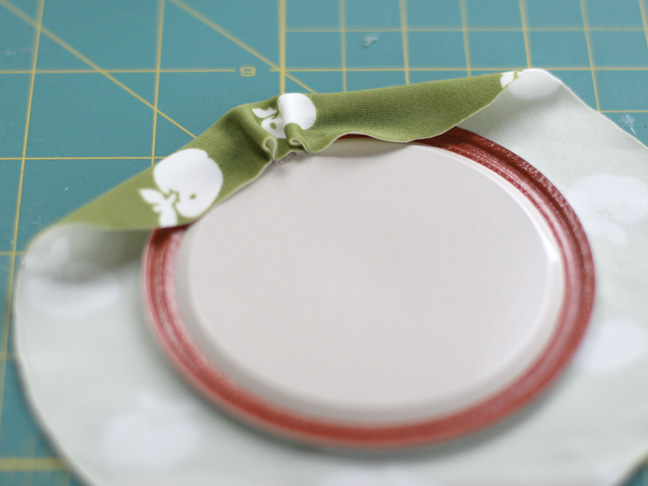
Step 2: Place the lid directly on top of the middle of the fabric, bottom side-up. Place a line of hot glue along the red outer rim and start to fold the fabric over the glue, bunching as you go.
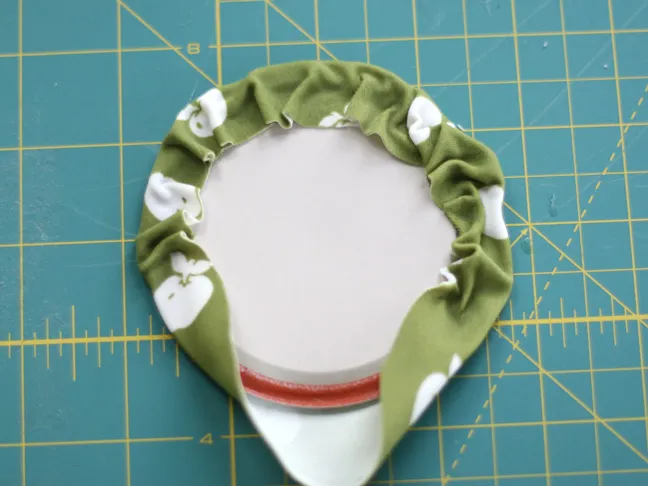
Step 3: Continue in the same manner until only 1/4 of the lid is left, as shown above.
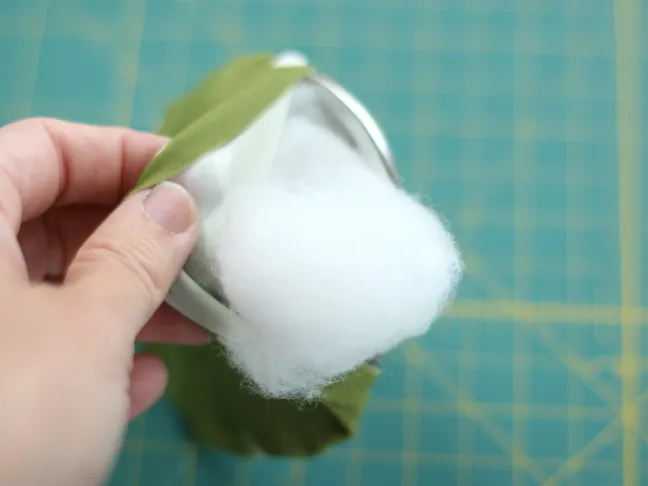
Step 4: Stuff batting inside the top of the lid until it’s poofy and even.
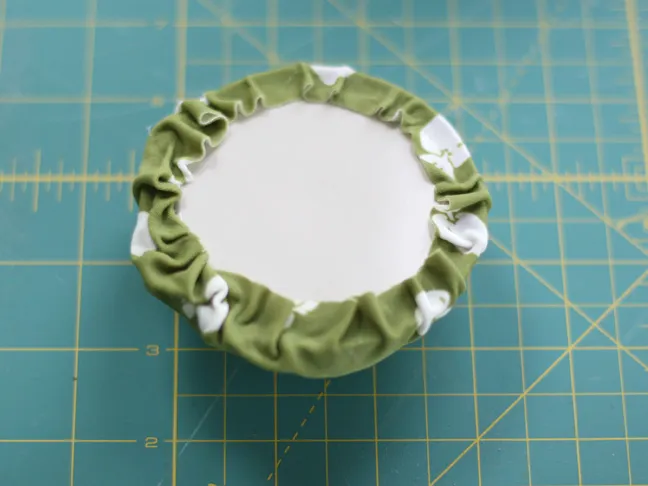
Step 5: Seal up the last section of the fabric to the lid.
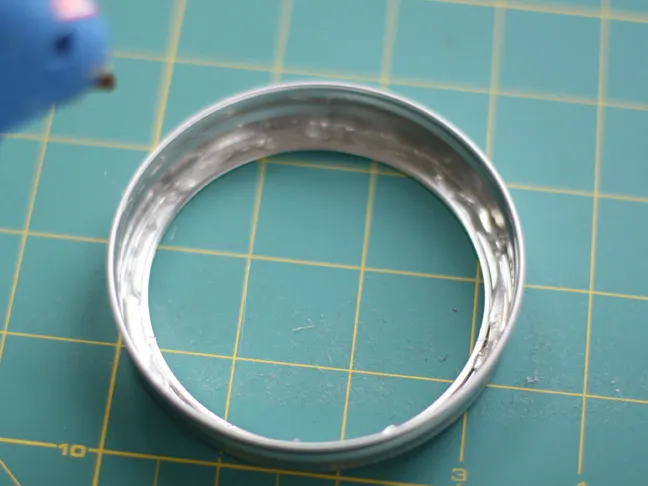
Step 6: Make a line of glue along the inside of the outer lid.
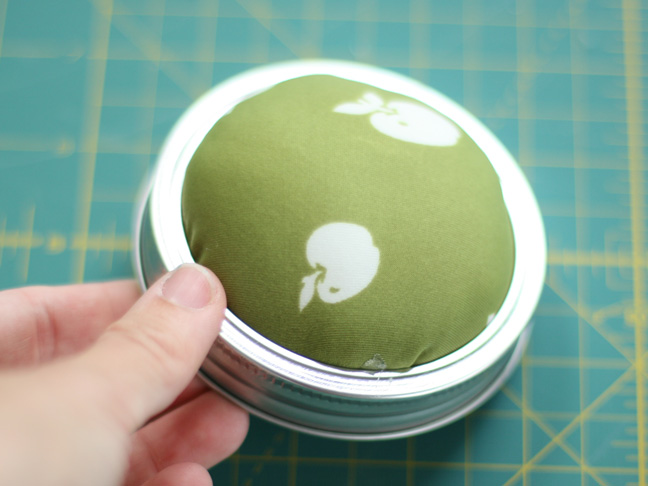
Step 7: Press the pin cushion lid inside the outer lid piece and let it dry.
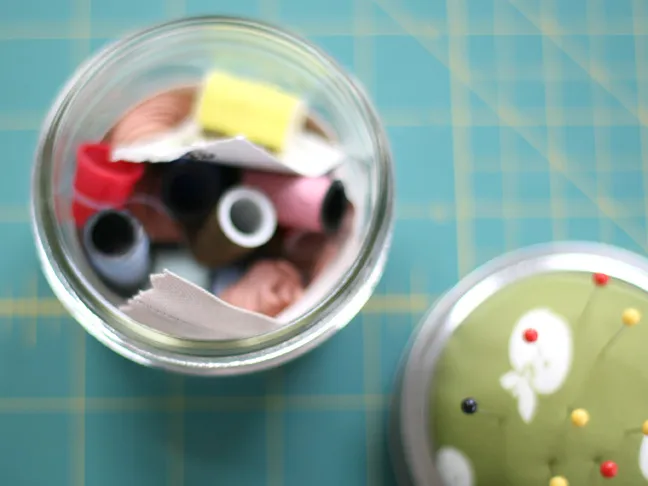
Step 8: Fill the inside of the jar with sewing essentials (pins, string, embroidery thread, zipper, mini scissors, etc) and screw the lid on top. The lid will be more difficult to screw on with the fabric attached, but it should still work.
More Mason Jar Crafts:


