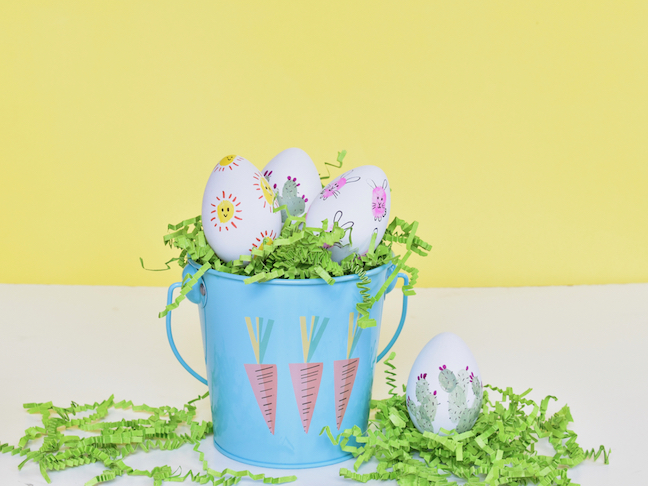
This DIY fingerprint Easter egg craft is so egg-tastic; not just because it’s adorable, but also because it’s so simple. Our kids’ fingerprints are little for only so long, so it’s fun to capture their tiny imprints on just about anything. Easter eggs are no exception. With a little imagination (and Sharpie doodling), the fingerprints can become DIY fingerprint art in less time than dying an Easter egg. You can create sea creatures, bunnies and chicks, cactus, ladybugs and caterpillars, or flowers and butterflies.
Let’s get messy (just a little messy) with these DIY fingerprint Easter eggs.
Materials:
- White eggs, wood or plastic (not the shiny plastic you stuff with goodies) like this.
- Acrylic paint, various colors
- Paintbrush
- Sharpie, fine tip
Directions:
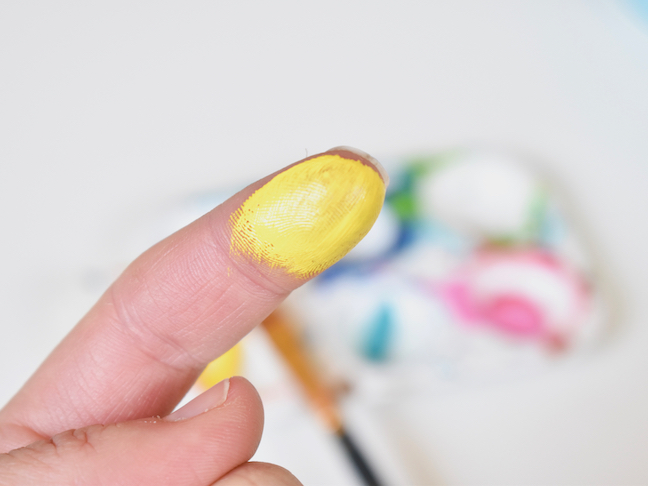
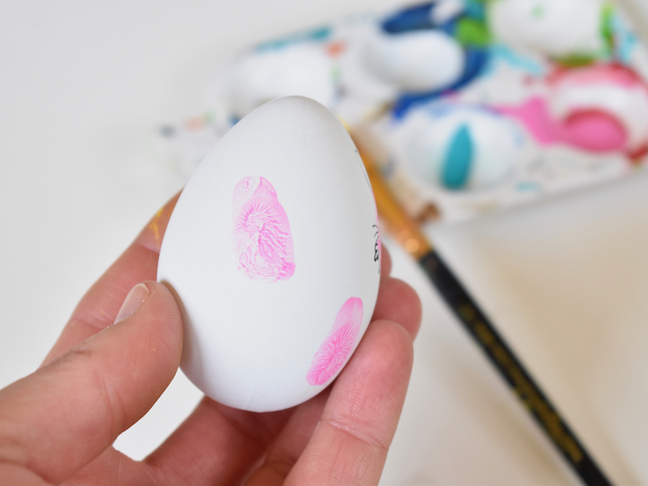
Step 1: With white eggs ready, begin to paint your kids finger tips with paint, and let them add their fingerprints one by one on each egg. Get messy, and enjoy this step. This will be the kids favorite part. The egg will look like it has colorful polka dots when you’re done.
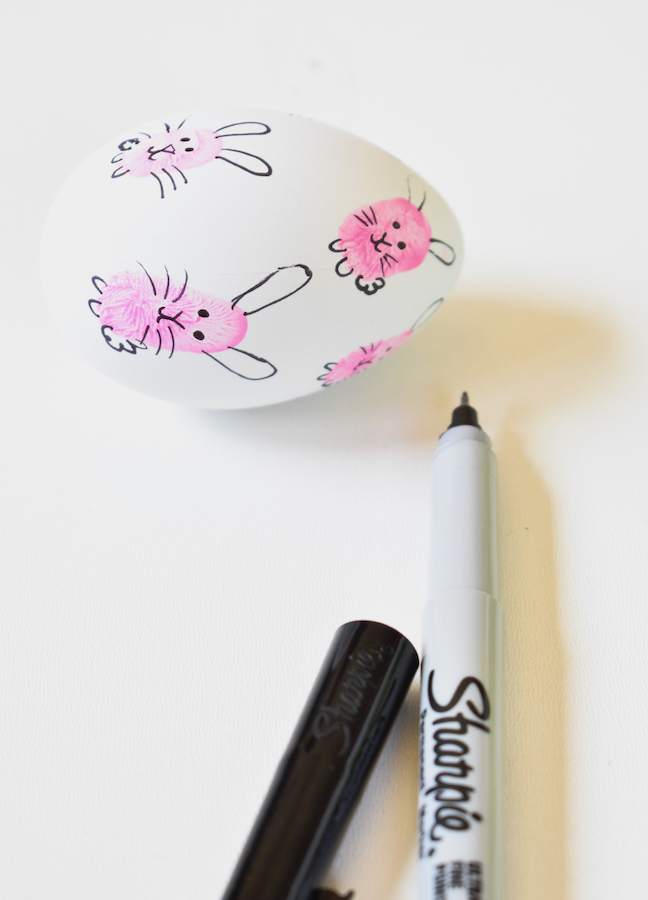
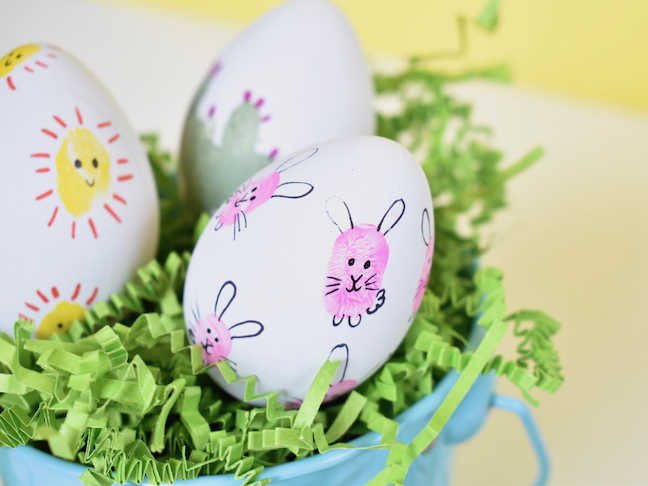
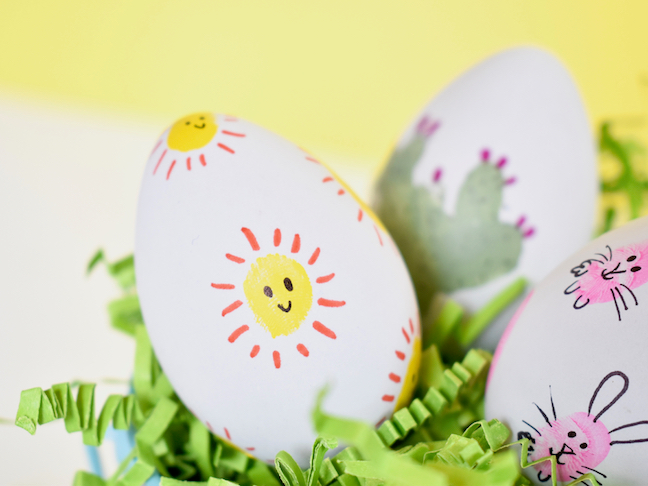
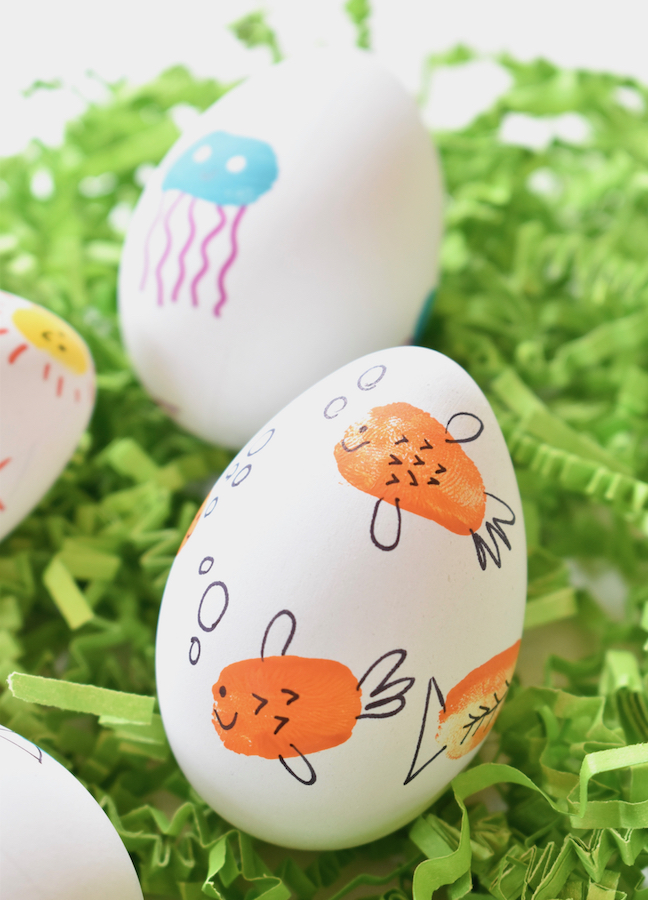
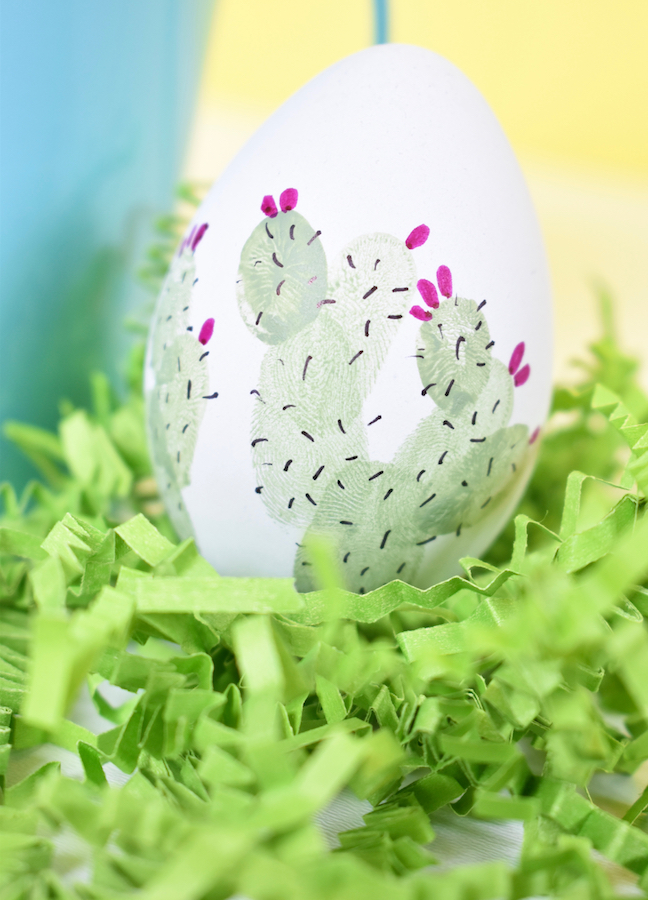
Step 2: Once the prints are dry, you can start to transform the fingerprints into so many fun things such as animals, fruit, plants or cactus, monsters or funny faces with a fine tip Sharpie.
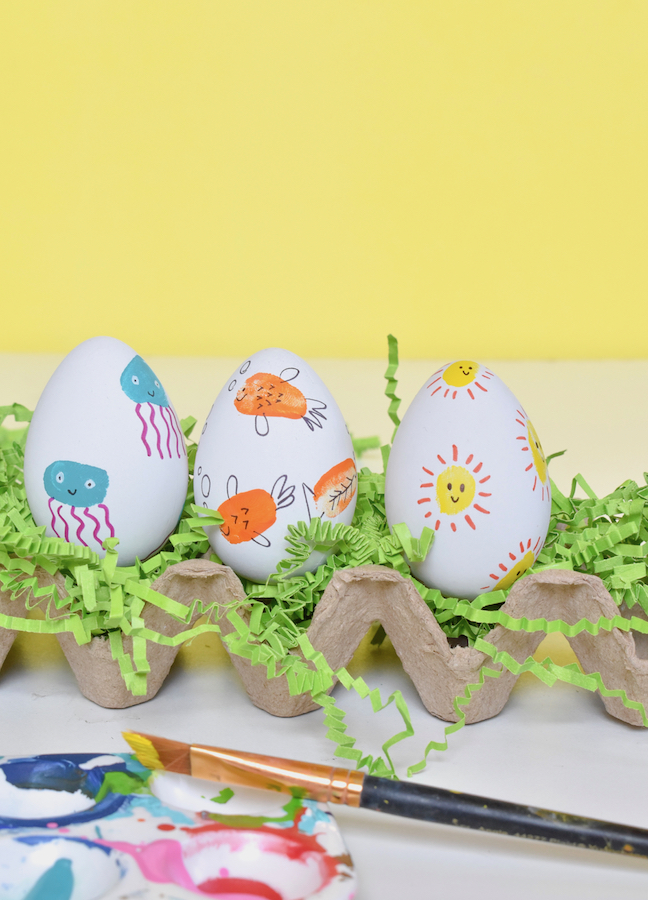
Step 3: That’s it! Yes, it’s that simple. Now, put those cute DIY fingerprint eggs on display!


