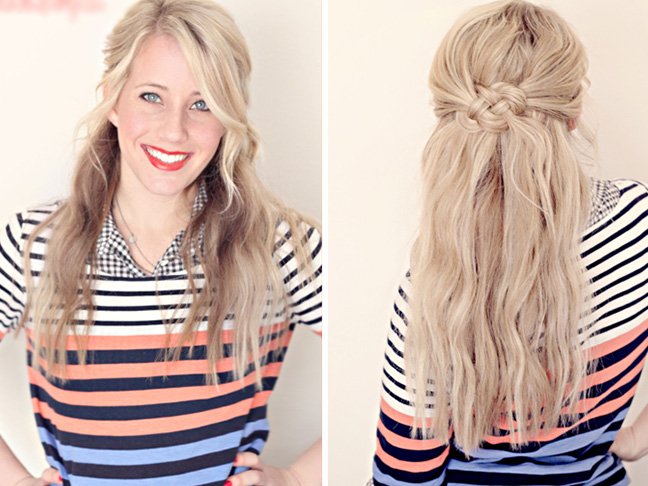
As a mom, mornings are complicated. Gone are the days when I could spend the better part of an hour blowing out and straightening or curling my tresses to perfection. But I still like to look cute whether we’re headed to a playdate, on errands, or just out for some plain old family fun. In the summer, I prefer to ditch the heat styling tools as a time-saver and also because my hair is already up against enough drying agents from the sun and salt water.
Avoiding heat doesn’t mean mom-hair can’t still be fun and stylish. Back in my beauty editor days I did a lot more with tools, but my hair is healthier and arguably prettier now!
Want to create a no-hear hairstyle for yourself? From the perfectly messy bun to DIY overnight ringlets and braids even a beginner can tackle, here are some of my favorite heat-free styles for moms.
Like what you see? Don’t forget to Pin it!
18 Gorgeous, No-Heat Hairstyle Hacks for Summer
-
Half-Bun It
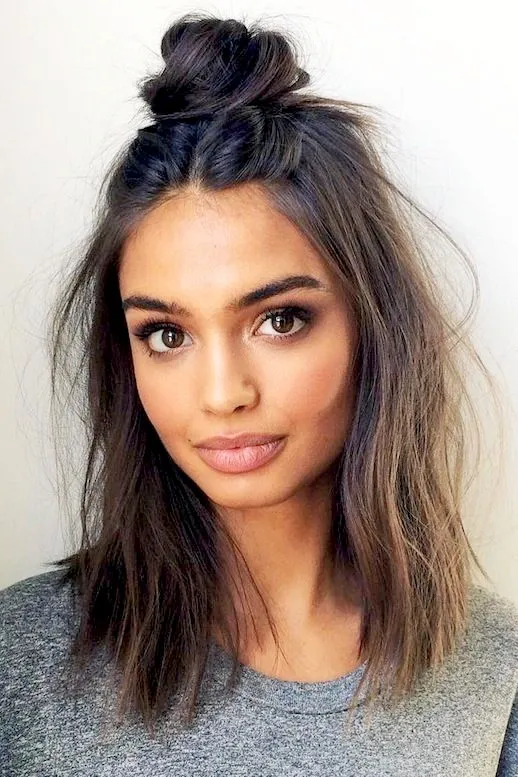
This is such an easy one to accomplish — all you’ll need is a hair elastic, some bobby pins (I like Goody Colour Collection, $3.69/pack, because they’re easiest to conceal), and maybe a spritz or two of dry shampoo. This is my go-to look for mornings when my layered hair is not cooperating and I need to get the top part out of my face but can’t be bothered to pull together a “full” hairstyle. Simply halve your hair, twist the top around an elastic, and pin in place.
Image via Instagram: Elizabeth R Sawatzky
-
Mini-Fishtail It
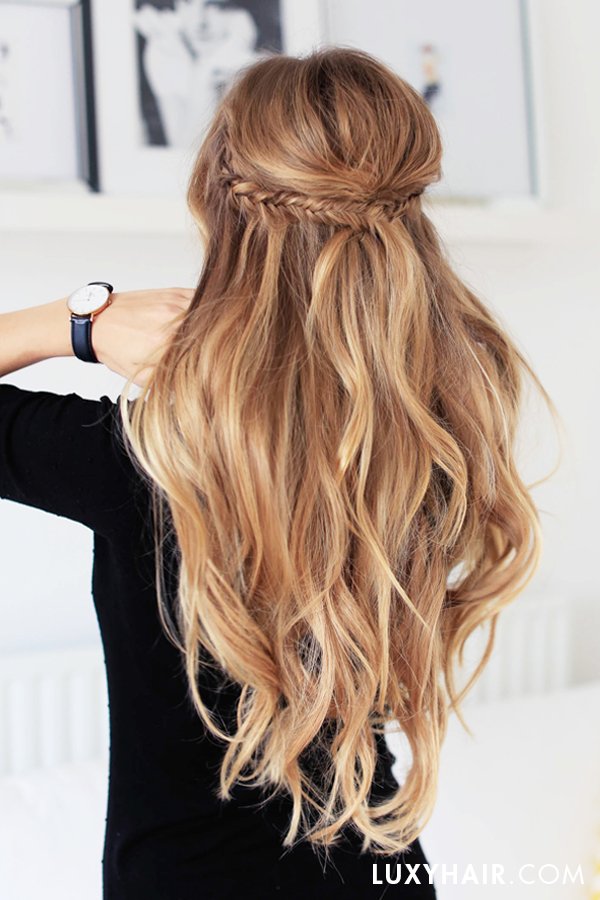
Don’t be scared off by the fishtails — you can achieve this look with regular braids easily! Starting an inch or two back from the hairline, create one braid on either side of the head (shown as fishtail braids) and tie each with an elastic. Gather a bit more hair from the top and fold the pieces over each other at the crown, pulling the braids in together to affix all in one place at the back. Skip the curling iron and let your natural tresses hang free below.
Image via Luxy Hair
-
Tuck It
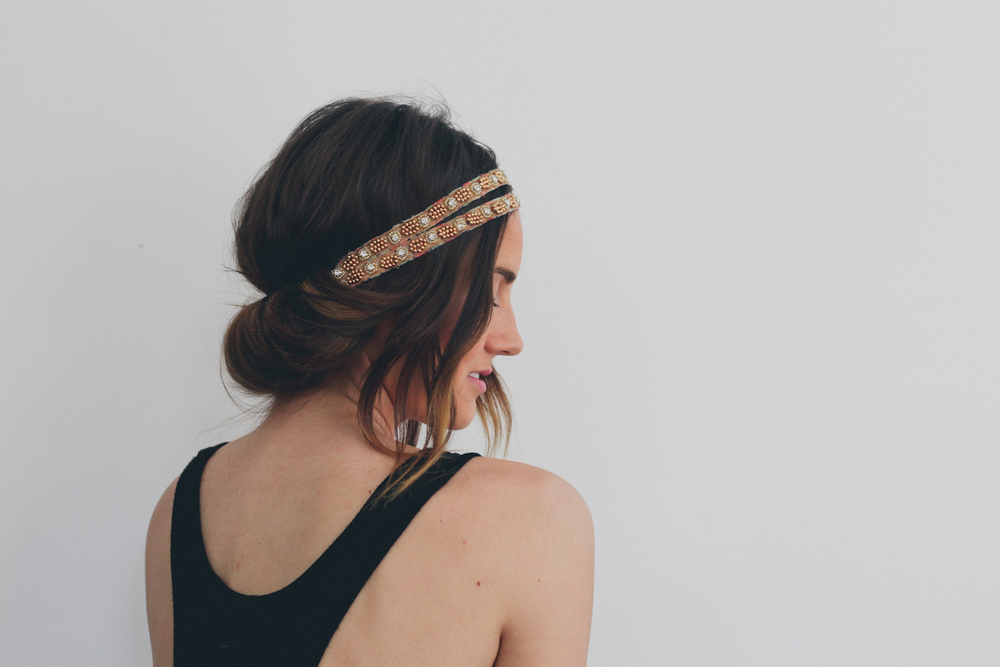
Damp hair is easier to style than you think...especially when a boho look or vacation hair is in the forecast. I find that using a double strand headband like this one can give you this look in minutes. Place your headband on first, leave face-framing strands out in front, roll the rest of your hair upward, and tuck it in the back of your headband. Bonus: This style works with shorter lengths of hair and all kinds of textures, too.
Image via The Everygirl
-
Braid It
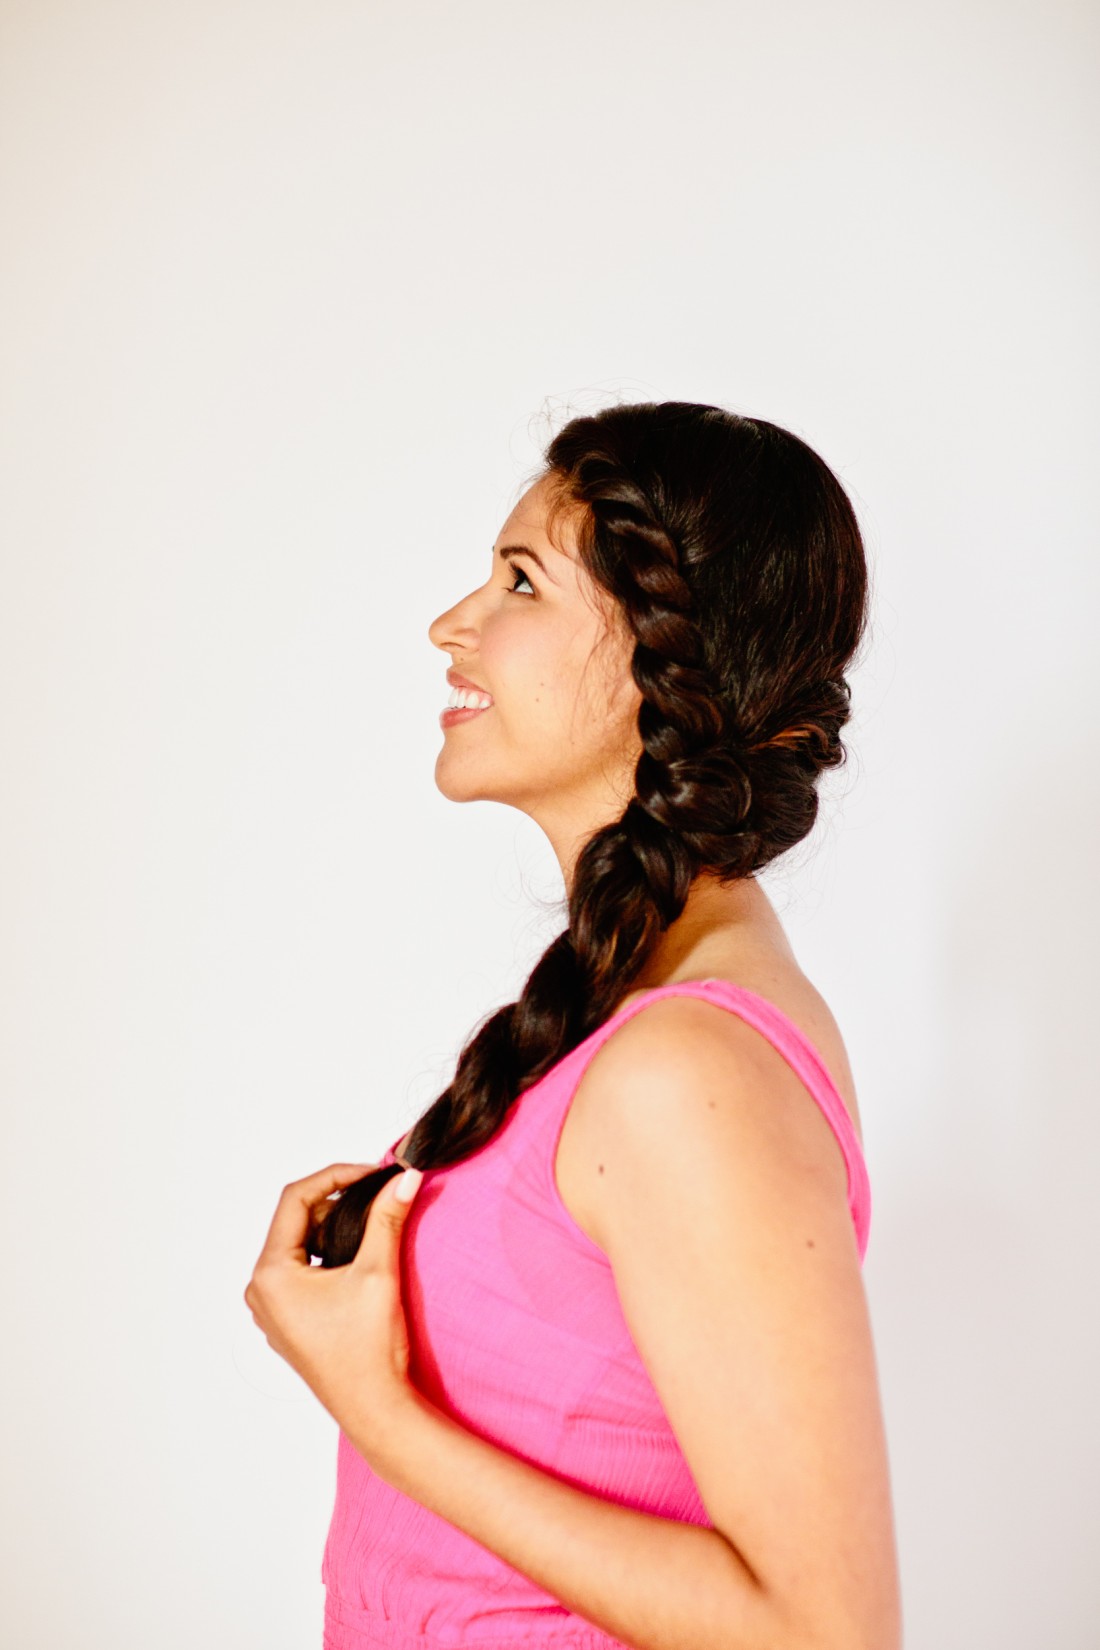
Whether you're staying in, heading out, or coming from the gym, a roped braid can hide frizz, rein in flyaways near the face, and let your hair dry naturally to reveal beautiful waves come nighttime or the next day.
Image via brit.co (hair by Maritza Buelvas, photography by Cassandra Eldridge)
-
Braid it Upside-Down
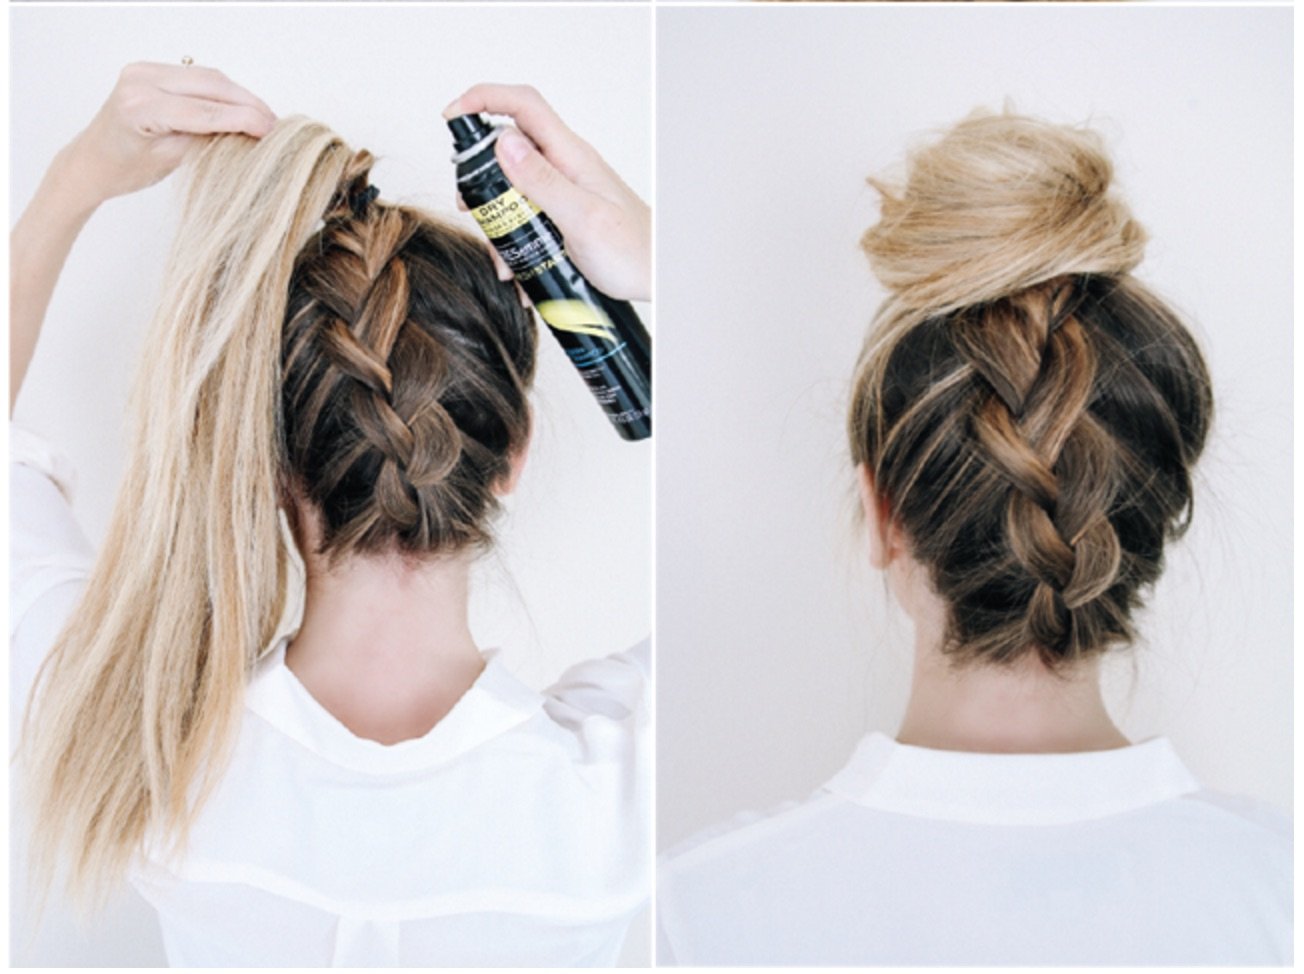
This one only looks complicated: if you can French braid, you can do it. Flip your head upside down, brush through to work out any tangles and get it all going in the same direction, and start a French braid at the nape of the neck. Shown as an inside-out French (full tutorial here), but either way will work. Once you reach the crown of the head (or higher if you prefer), gather the slack and twist it around itself into a topknot.
Image via Barefoot Blonde
-
Twist It
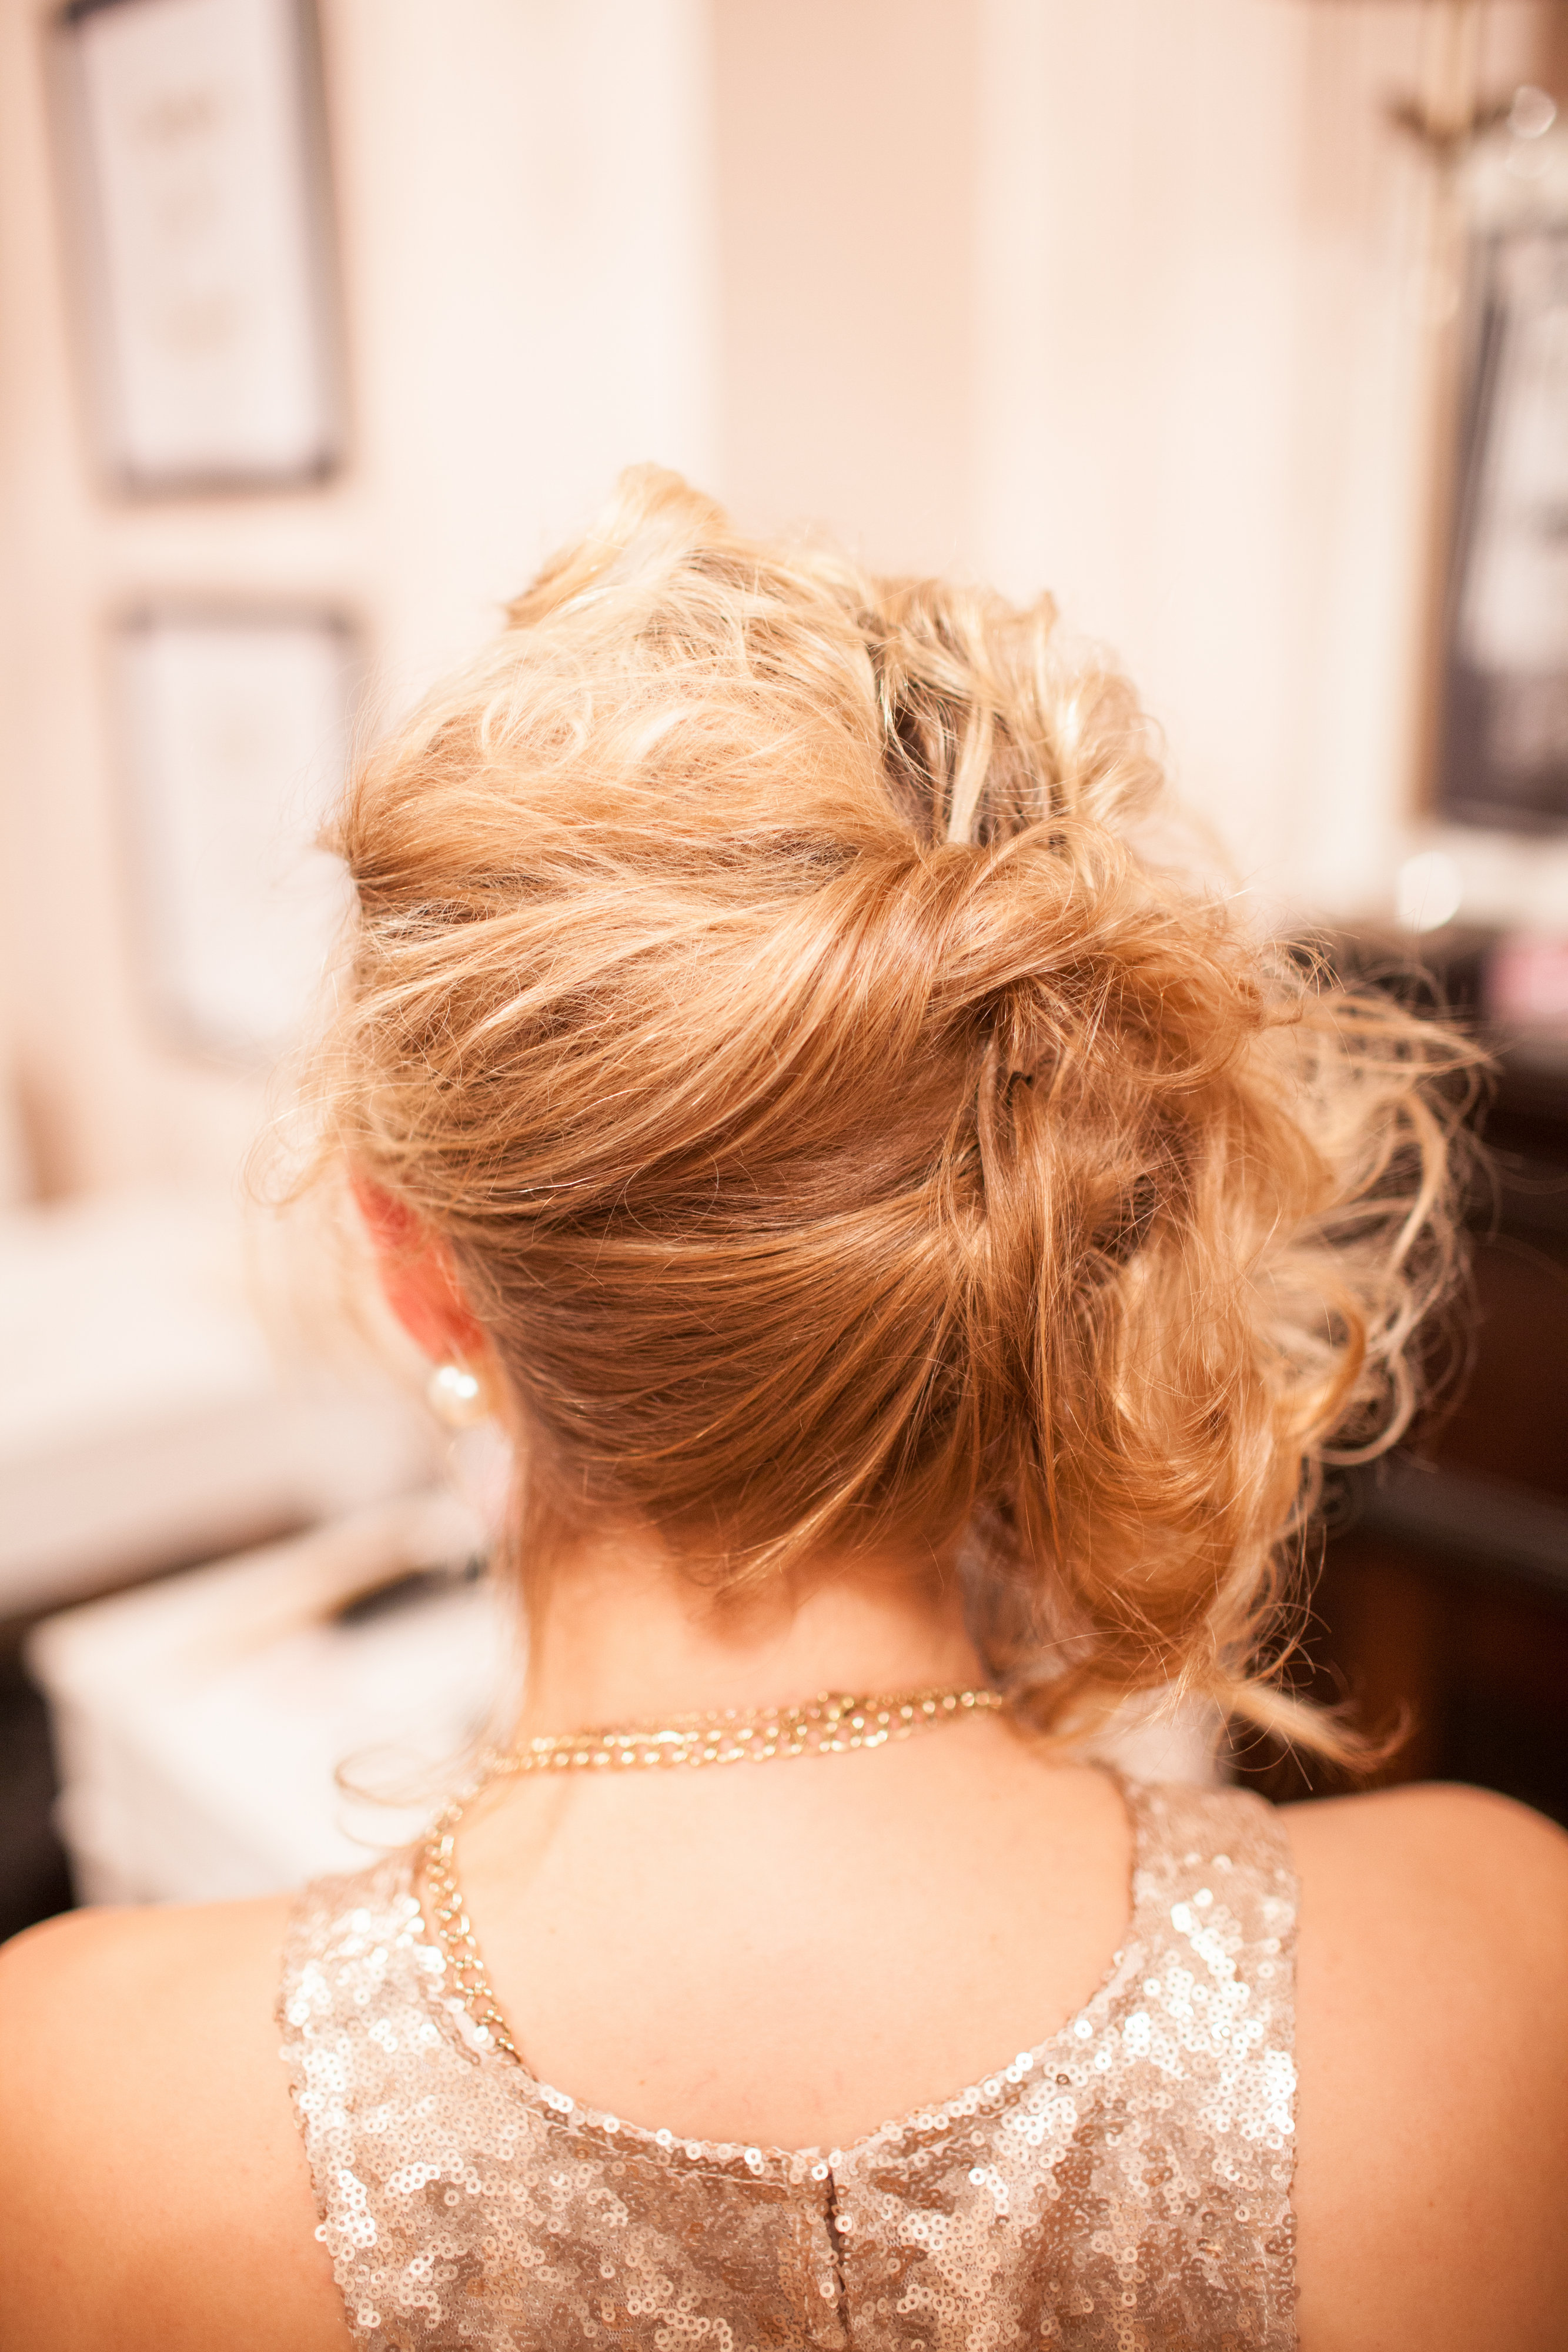
Let your hair partially or fully air-dry, then just twist strands upward for a polished look. Set your hair to air dry with natural waves by applying Not Your Mother's Whip It Cream Styling Mousse ($15., Amazon) once you've towel dried. This creamy, lightweight mousse air dries hair to perfection and even helps it dry faster. I swear by this stuff.
Original personal styling image (hair by Maritza Buelvas, photography by Julie Riddle
-
Celtic Knot It
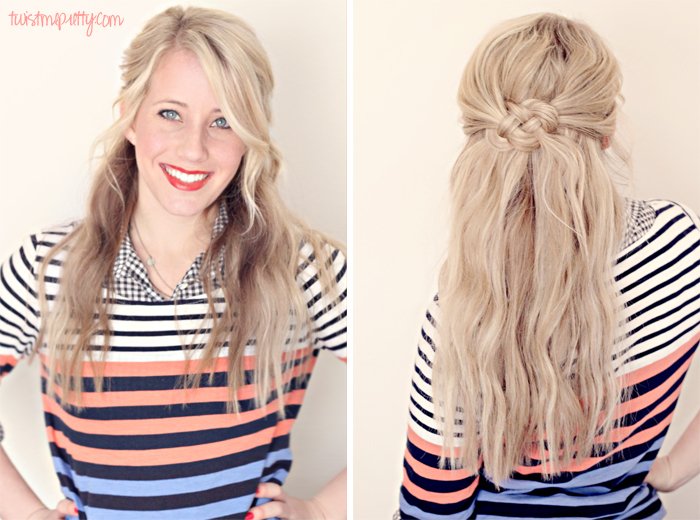
This blogger recommends teaching yourself this knot on a rope before doing it with your hair, but you can also dive right in with her easy step-by-step. There is looping, twirling, and pinning involved, but it only took me a few near-misses before I got it to look cute. Make sure you have a duck bill clip ($6.99 for 10, Amazon) on hand to hold some pieces in place as your hands do the rest of the work.
Image via Twist Me Pretty
-
Bun It
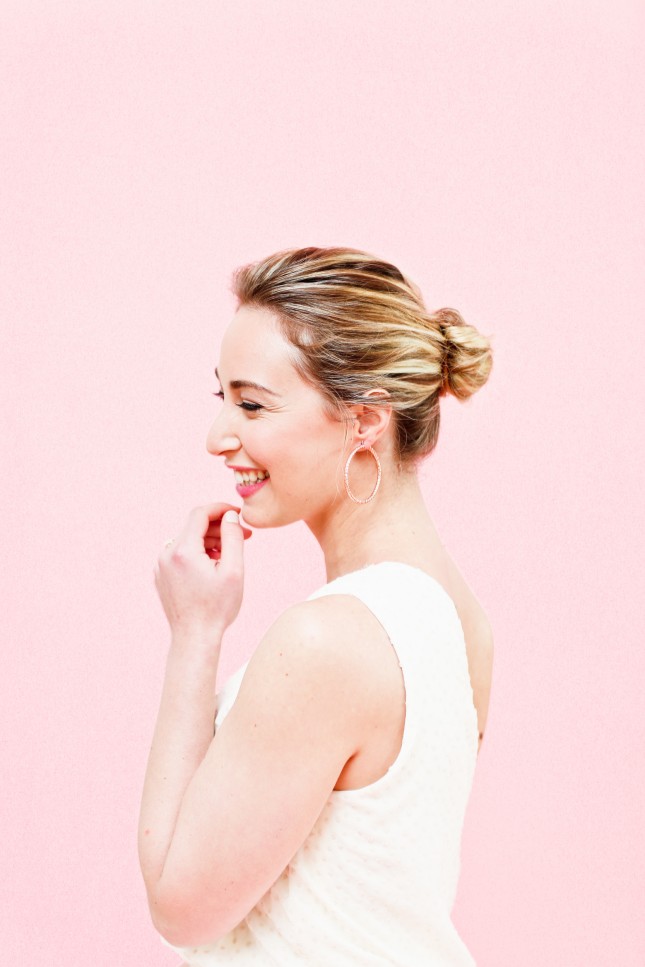
Damp hair can meet chic hair with a low sophisticated bun. Comb back your tresses with your fingers and form a tight bun at the nape or back of the head as shown. Set your style with a light spray of L'Oreal Elnett ($11, Amazon). It doesn't get more wash-and-wear than this!
Image via brit.co (hair by Maritza Buelvas, photography by Cassandra Eldridge)
-
Fake French It
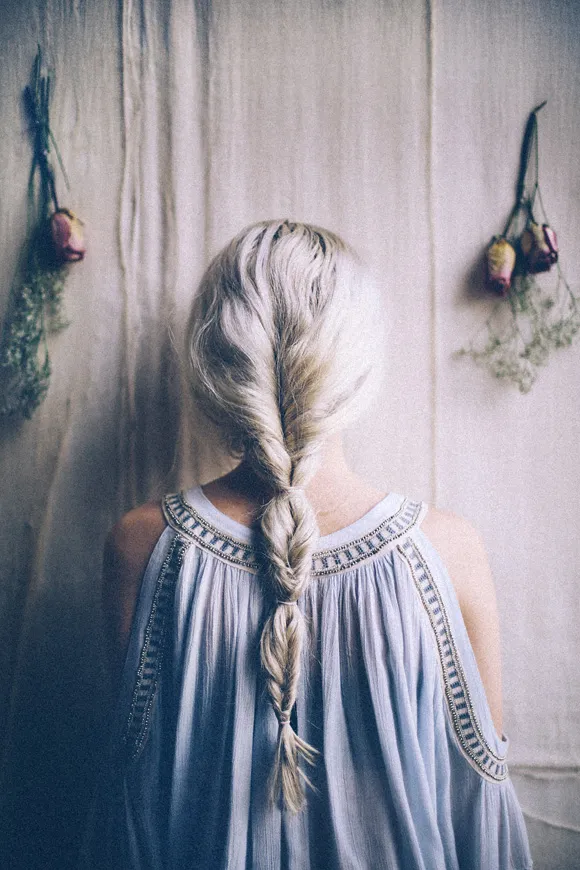
This faux braid never goes out of style. In fact, it's easier to create this look with damp hair. Your daughter isn't the only one who can wear this looped-through childhood classic. Get the full tutorial here.
Image via Free People
-
Untangle & Air Out
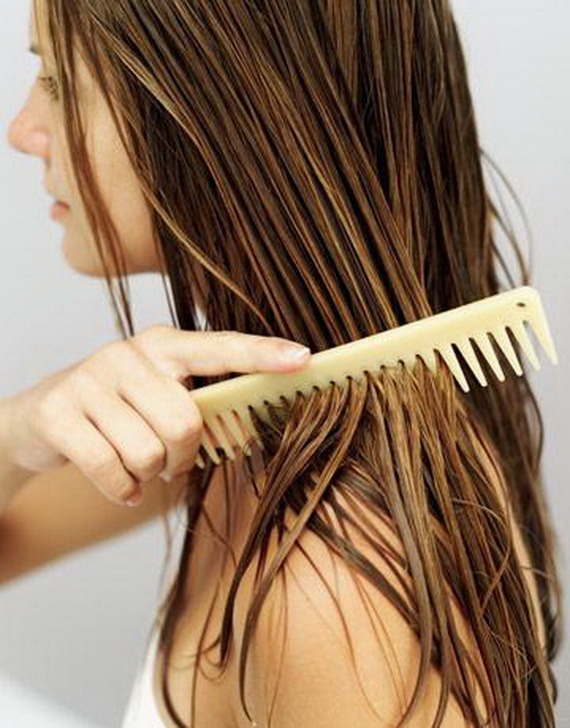
Sometimes air-drying your hair and letting it lay loose is just what the day (and your scalp) calls for. First, untangle your strands using a professional tool like Ouidad's Double Detangling Comb ($22, Amazon). Next, use Bumble and Bumble's Surf Spray ($28, Amazon), to wind up those waves. Your hair will thank you, and your waves will even appear more natural and frizz-free.
Image via The Everygirl
-
Beach Wave It

For more purposeful waves than the air-dry method, try this one. Wash and towel-dry your hair but do not comb! Spritz lightly with a texturizing spray like Got2b Mess-Merizing ($4.84, Walmart), and tousle dry with your hands. The blogger uses a small amount of putty by the same brand ($23, Walmart) -- you can skip this unless your hair gets super-dry and frizzy. Gently tousle and scrunch until you get the texture you like, then flip your head upside-down, spray liberally with hair spray, flip back up, and go.
Image via Uptown with Elly Brown
-
Twist-Bun It
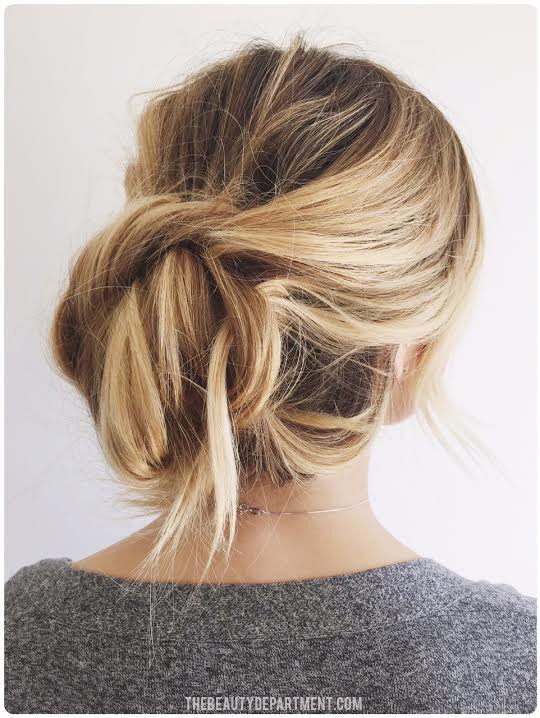
This is one of the easiest -- and prettiest -- no-heat styles I've tried. Bring two small sections from above your ears toward the back of the head and affix with an elastic. Flip it into a “topsy-turvy” over itself. You’ll basically be twisting and pinning the rest of your hair up and over this centerpiece as you go.
Image via The Beauty Department
-
Triple Topsy-Turvy It
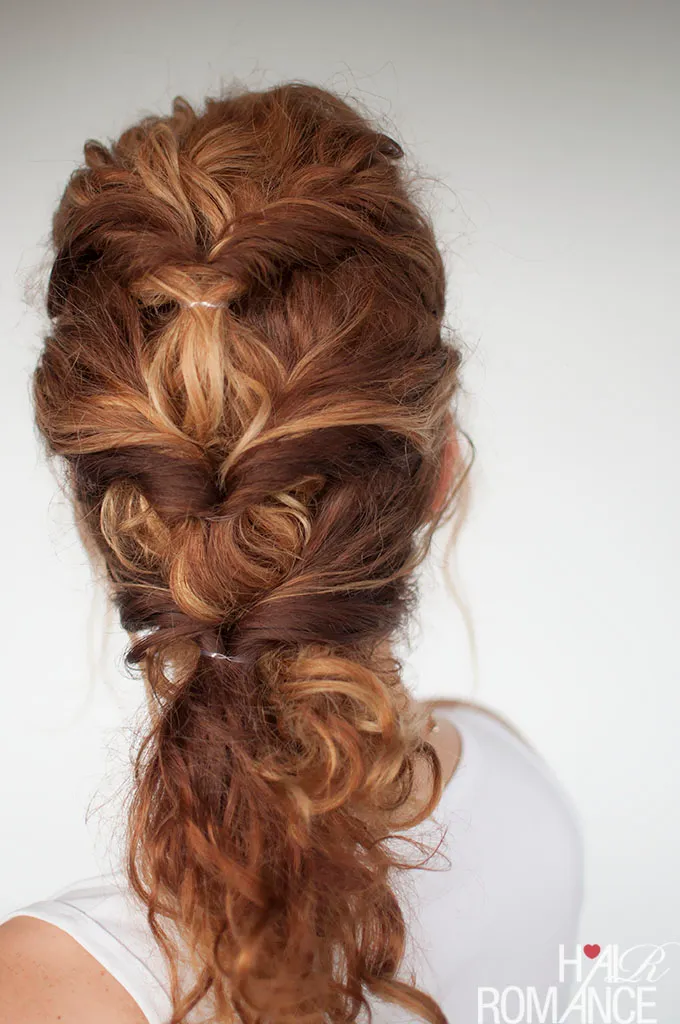
If you have curly hair, this hairstyle is way easier to pull off than it looks. Basically, make three ponytails starting at the crown of your hair and working your way down. Then topsy-turvy each one by pulling them through themselves. This style will keep your hair out of your face all day and keep frizz at bay.
Image via Hair Romance
-
Coil It
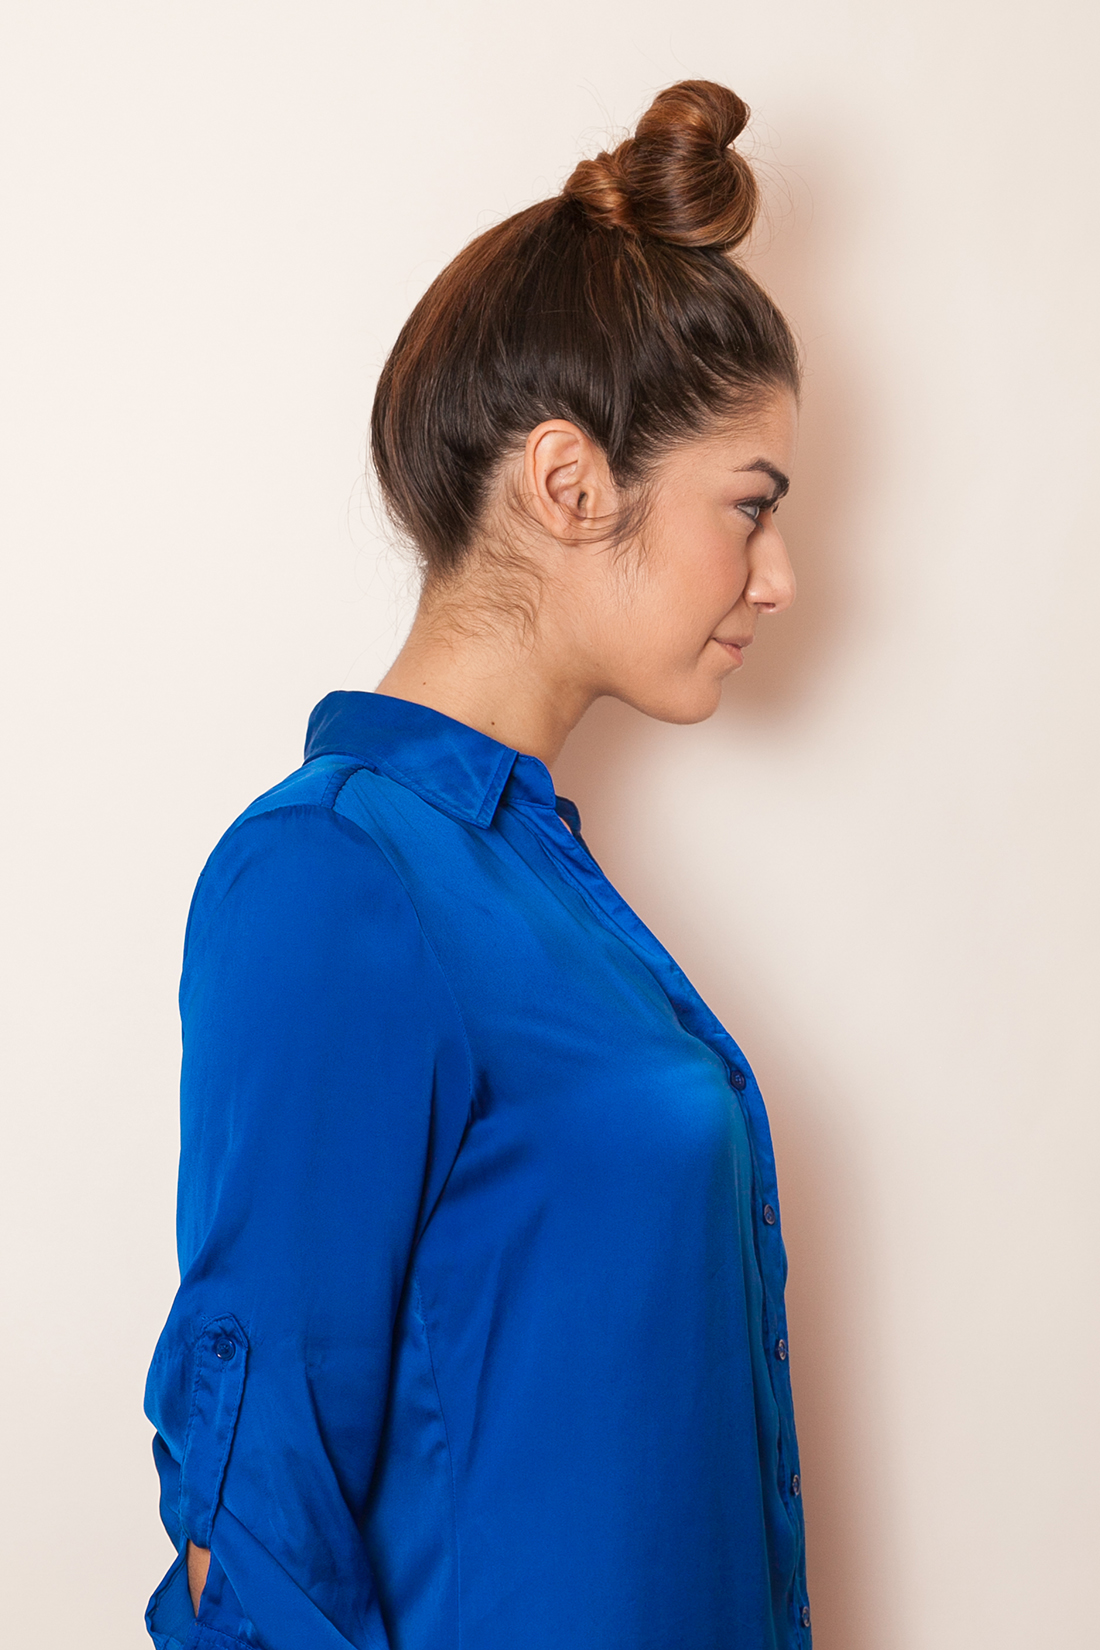
A tight, coiled bun is this year's top knot. Get the look with damp or completely wet hair by slicking tresses with a shine serum like Garnier Fructis Sleek + Shine, $5 on Amazon. Use the serum to create a tight rope to coil without frizz, and polish your finished style around the hairline.
Image via brit.co (hair by Maritza Buelvas, photography by Jennifer Coffey)
-
Sweep It to the Side
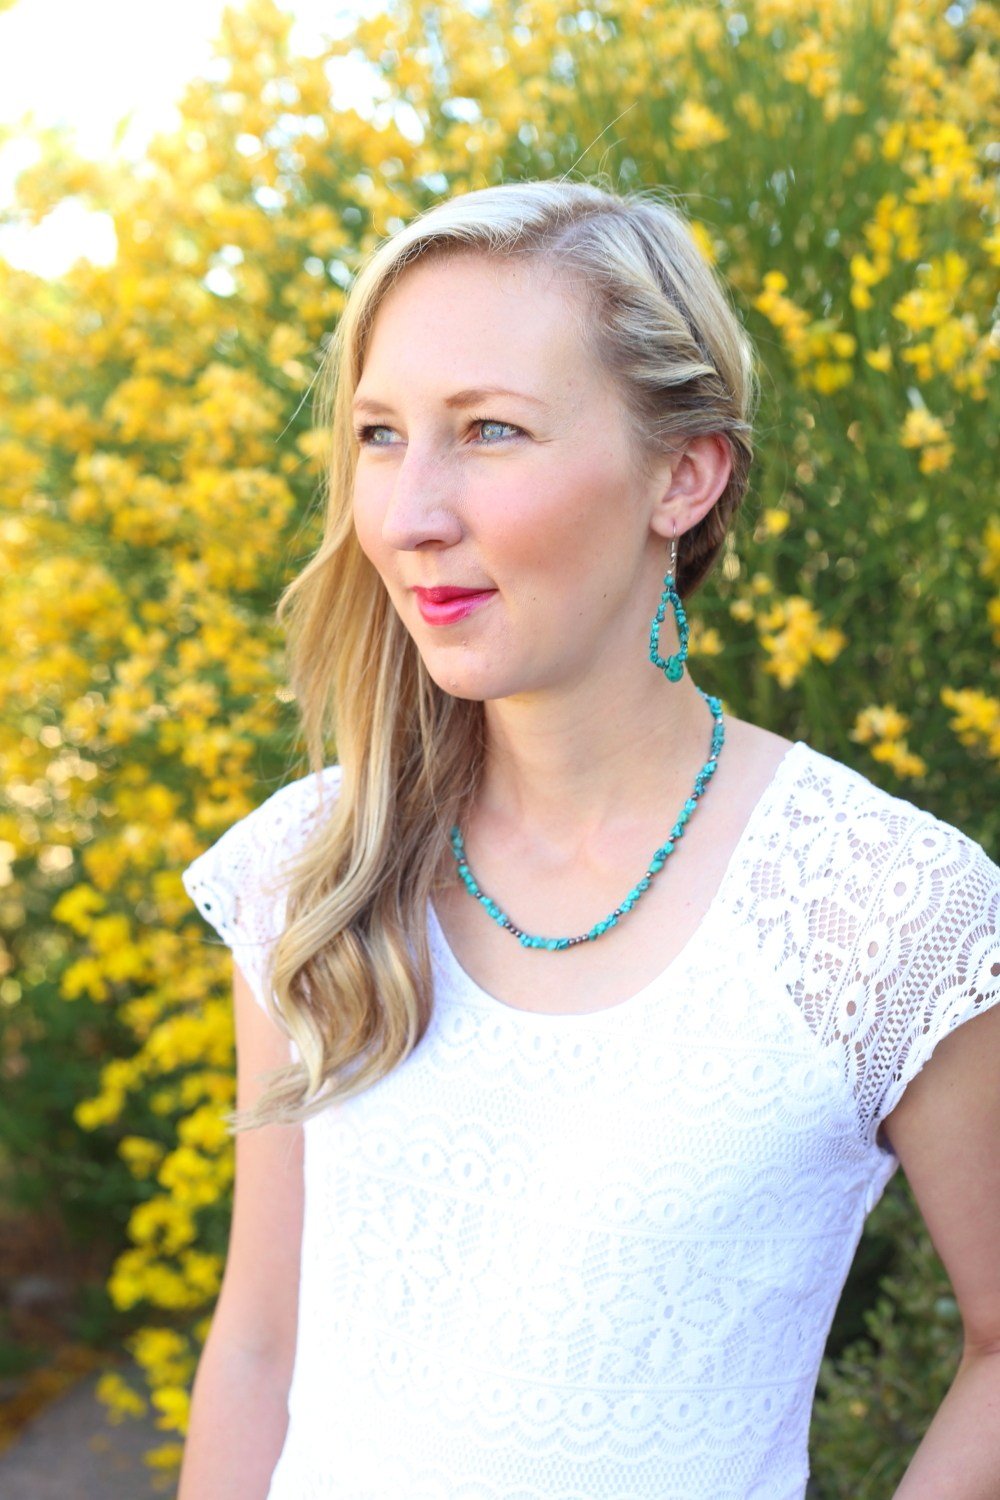
This one couldn’t be easier, and it is so pretty! Starting at the hairline on one side, take a tiny section of hair and roll it outward and down toward your ear, pinning in place after a couple inches worth of rolling. Repeat with the next section of hair right below. Depending on the thickness and texture of your hair, 2-3 of these should do it. Then, spray in place with Kenra Professional Platinum Finishing Spray ($22, Ulta.com), and get on with your day!
Image via A Modern Mom Blog
-
Make a Bow
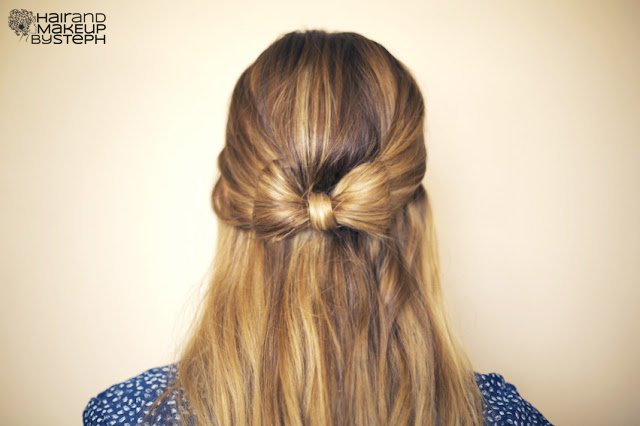
Your kids will love this hairstyle! You can do it with half of your hair like in the tutorial or apply the same method for a full updo. Pull two equal sections from either side of your head toward the back and affix with an elastic, looping into a small bun instead of pulling hair all the way through the last time. Separate the loop into halves, flattening each one against your head and pinning in place on the underside (so the pin doesn't show). Then, pull the remaining tail up, over, and through to create the center of the bow.
Image via Hair and Makeup by Steph
-
Wear a Scarf
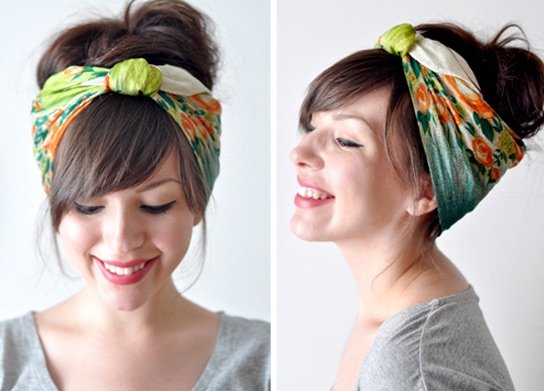
Start with your hair in a high, messy topknot or bun of your choice. It will also work with a ponytail or even down, depending on texture and length. Halve your favorite scarf corner-to-corner so it appears as a large triangle. Fold the point in toward the long end, turning it over on itself until you have it a few inches wide. With the folds against your head, put the middle of the scarf at the nape of your neck and pull the ends up toward the front. Tie in a loose knot, then pull the ends back and tuck them under the sides. You can affix with bobby pins on either side for a more secure fit.
Image via Keiko Lynn
-
Curl It Overnight

Wake up with gorgeous ringlets! At night, separate your hair so the bulk is up in a loose ponytail on top of your head as you work section-by-section. Taking one-to-three-inch sections, one a time roll them around straws. Tie each straw into a knot, eventually pulling down all of your hair and repeating all over. Spray your whole head with an extra-hold hair spray with added shine, like Moroccanoil Luminous Hairspray Strong Finish, ($20, Amazon). Sleep on it! Wake up in the morning, tousle with your fingers, and spray a bit more for added shine.
Image via Empty20
