During the holiday season, we’ve got a lot of parties to attend, from my husband’s work party, to the bash that our neighbor’s down the street plan to throw. I want to look my best, but I don’t have the time to keep my manicure in ship shape, nor do I have the time to change it out to match the outfit I’m wearing. Enter: the holiday nail wrap!
The concept of a nail art wrap is something new to me.
So, what is a nail wrap?
The DIY at-home version of a nail wrap is a thin vinyl sheet with adhesive on one side. Typically, application is as easy as sticking them on your nails, filing them down to your nail length, and applying heat with a hair dryer. That’s it! There’s no dry time needed, and they last as long as it takes your nails to grow out (I typically wear mine for about 2 1/2 weeks before they start to look like they could use a refresh). If you want to remove them when they’re fairly new, you can soak them in acetone to loosen them from your nails, then wipe them off with a cotton ball like you would regular nail polish. But, as they age, they’re easy to peel off without any nail polish remover. You can find nail wraps online (Jamberry is a favorite), or at drugstores (Sally Hansen carries a good selection).
Needless to say, I’m a bit obsessed with how easily I can change the color and style of my nails with nail art, especially during this hectic season.
Check out my favorite picks for the holidays season in the slideshow.
15 Nail Art Wraps For The Holidays I'm Crushing On
-
String Lights
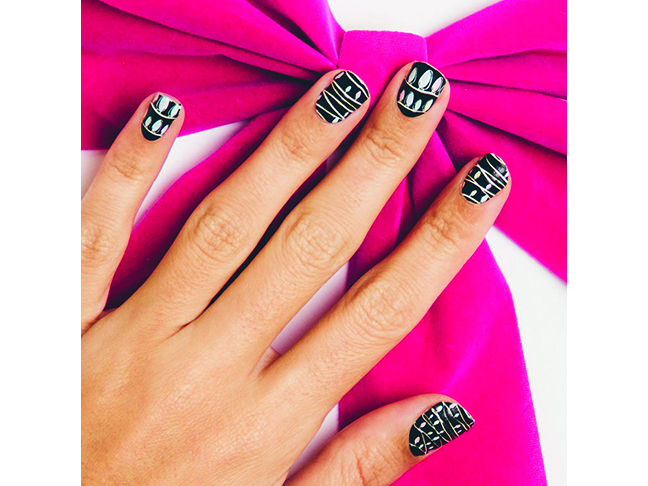
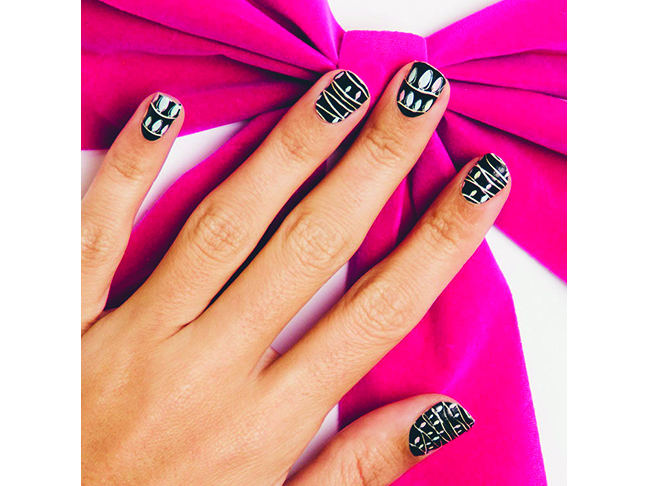
Channeling the movie "Christmas Vacation" with this one! Those string lights look gorgeous and the touch of black gives you an edge! Buy it here
Photo: Tattify on Etsy
-
Graphic B&W
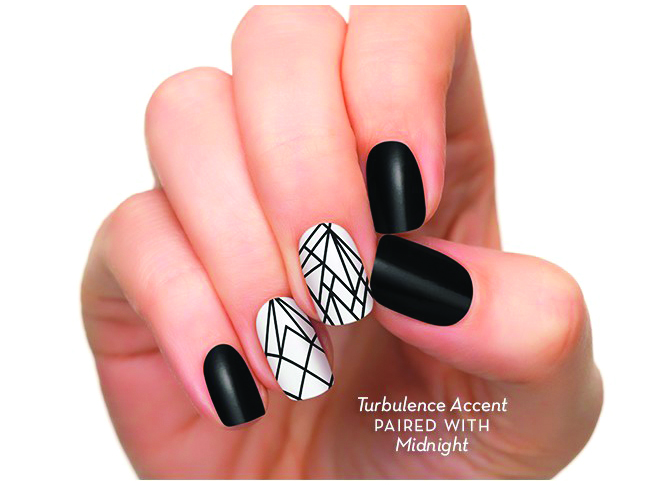
Keep things simple with an edgy black and white design that will go with almost any outfit this season! Buy it here
Photo: InCoco
-
Snowflake City
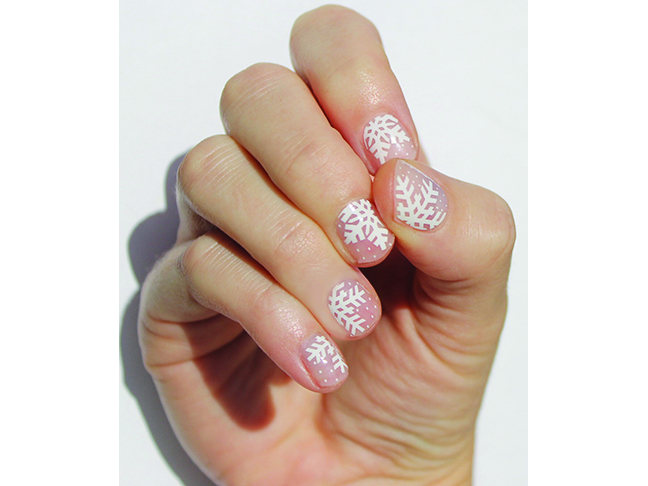
The epitome of the winter season with these pretty snowflakes! The white and nude combo is super stylish! Buy it here
Photo: SoGloss on Etsy
-
Solid Silver
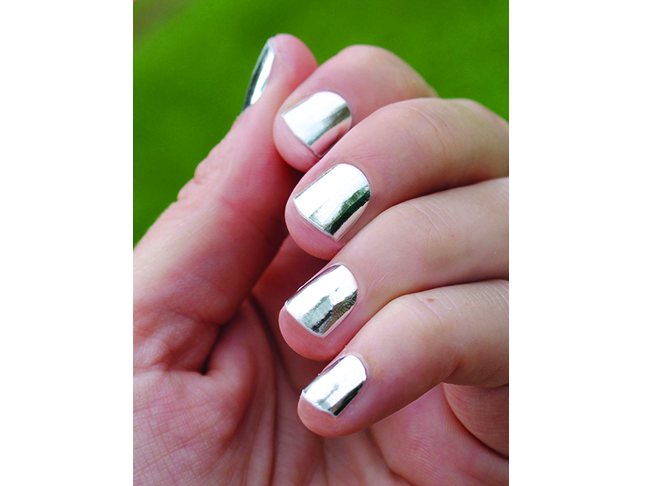
Keep things as metallic as possible with cool silver version! This manicure will go with silver AND gold! Buy it here
Photo: SoGloss on Etsy
-
Gilded Mint
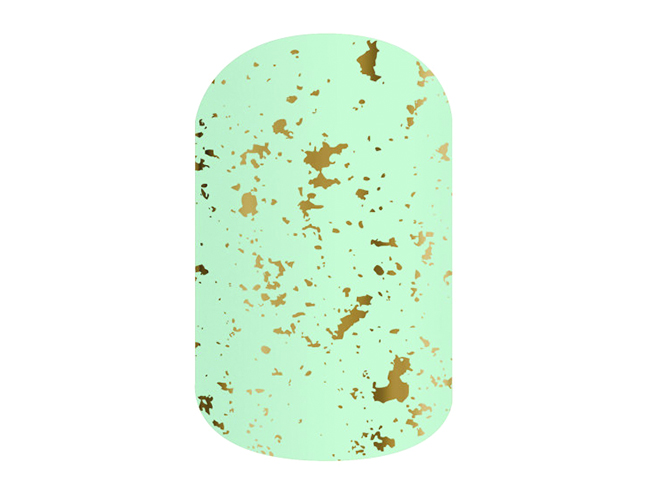
These look a little like gold leaf and the mint color is so feminine and trendy! Buy it here
Photo: Jamberry
-
Christmas Sweater
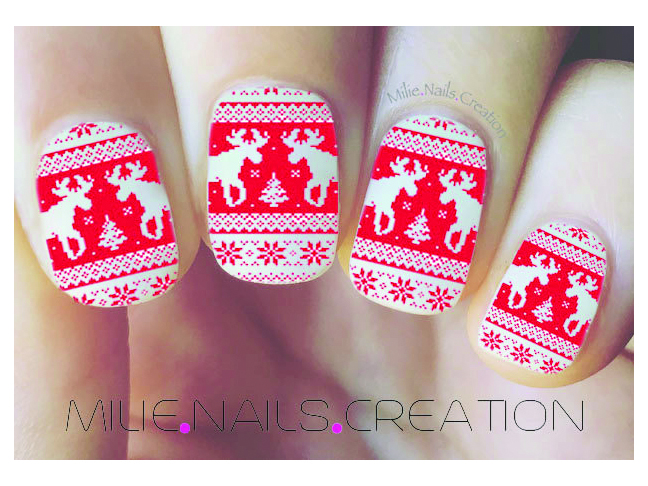
You'll be ready for any Ugly Sweater Party with this red and white manicure! Buy it here
Photo: MilieNailsCreation on Etsy
-
All Seeing Eye
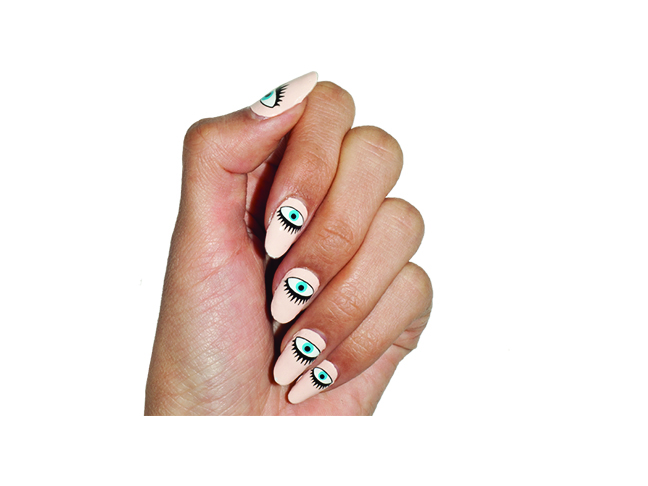
You'll be absolutely on trend this year with these cool eyeball wraps! And that hint of blue makes these even more fun! Buy it here
Photo: Scratch
-
Under The Mistletoe
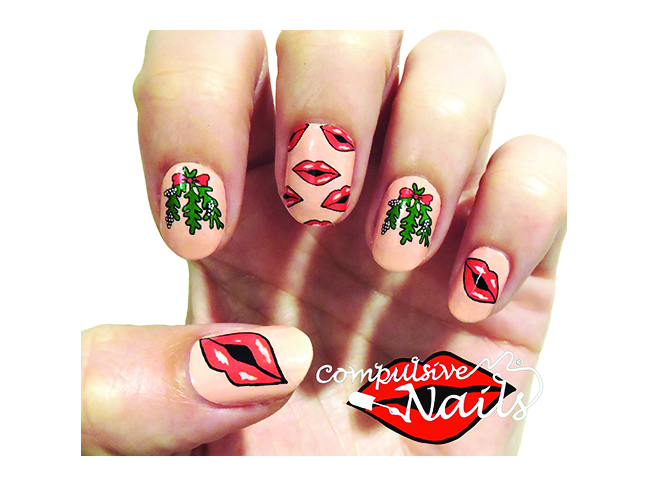
This manicure is the perfect addition for a date with your significant other! Bonus points for a real kiss under the mistletoe! Buy it here
Photo: Compulsive Nails
-
Fractured Gold

Gold is always in season, and is especially applicable during the holiday season! Buy it here
Photo: Jamberry
-
Candy Cane Wrap
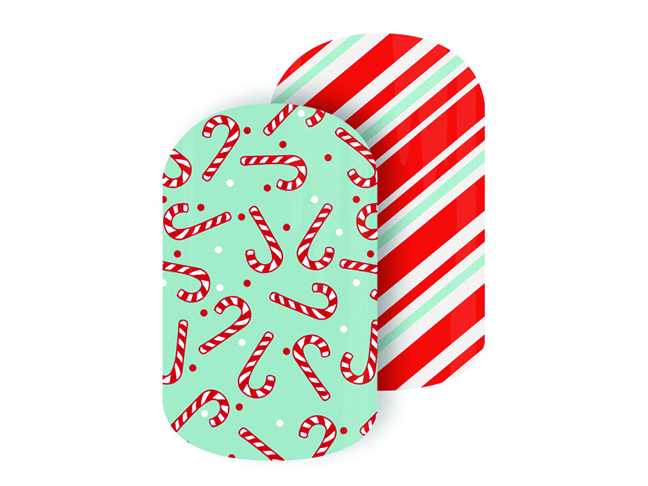
Usher in the holiday season with these fun wraps in a candy cane finish! The mint and red give nails a bright POP! Buy it here
Photo: Jamberry
-
Silver Stripe
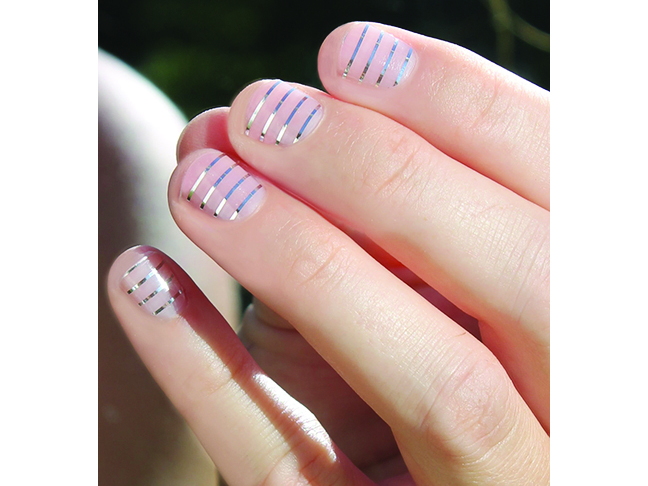
Keep your nails looking clean and minimalistic with a hint of metallic when you wear these fun transparent wraps! Buy it here
Photo: SoGloss on Etsy
-
Brushed White
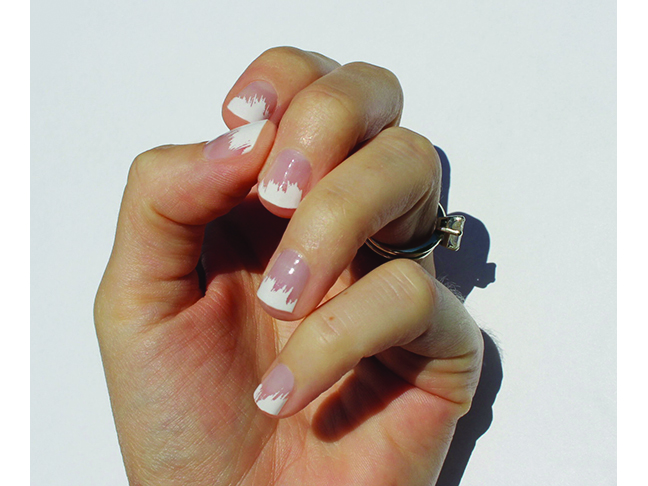
Keep only the tips white for that "just brushed" feeling! Get it? Buy it here
Photo: SoGloss on Etsy
-
Wrap It Up
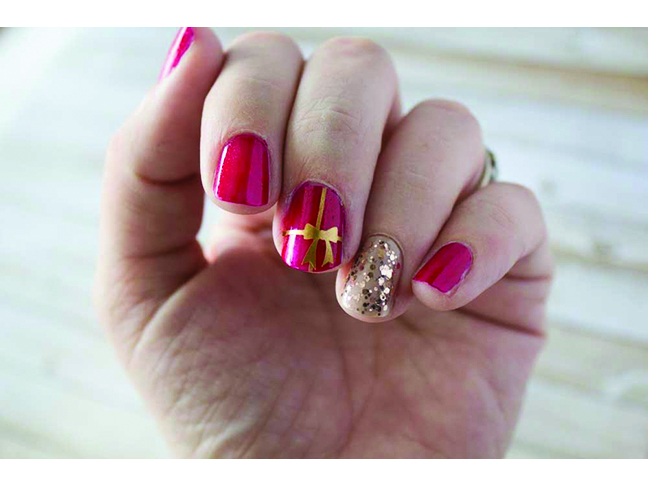
This might be the ultimate! Combine gold glitter with a gilded present?! Buy it here
Photo: StickItVinyl on Etsy
-
Marble Madness
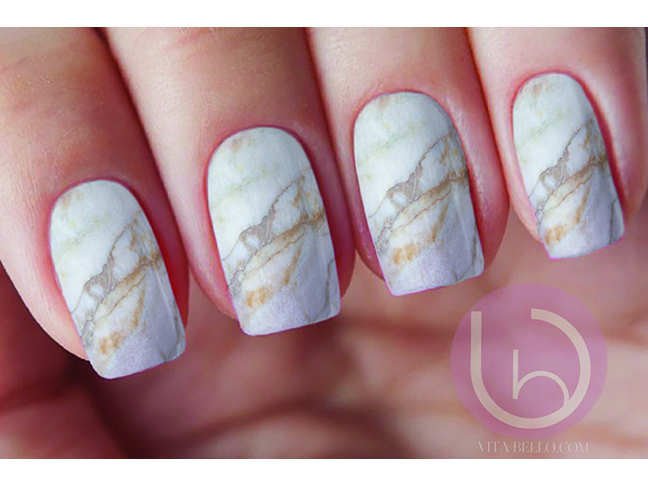
Get the look of marbled paper on your nails! These beauties are buy 2 get 1 free at the moment! Buy it here
Photo: VitoBelloVogue on Etsy
-
All That Glitters Is Gold
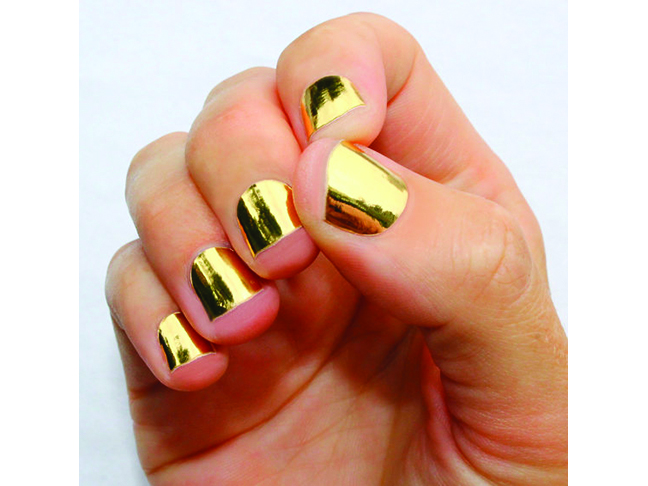
These wraps might just be my favorite. You can wear gold anywhere during the holidays! Buy it here
Photo: SoGloss on Etsy
