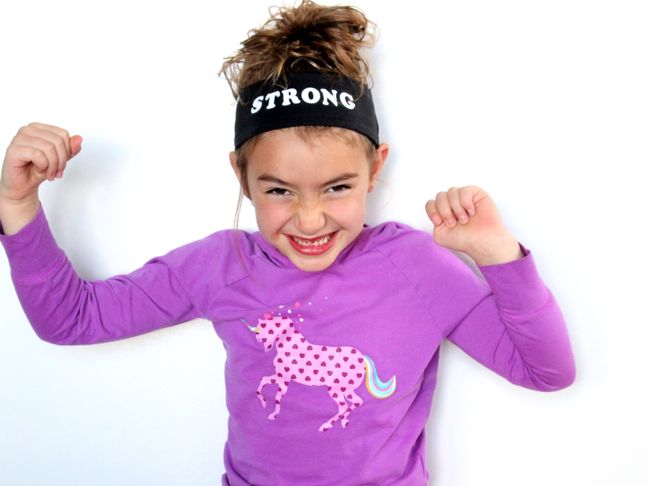
Girl power is a force to be reckoned with. As a woman, I know the awesomeness we are capable of, and I know many women who are changing the world for the better, both at home and in the workplace. As a mother, I know the importance of teaching my daughter to be strong, to always dream big and be brave. Not only am I teaching her by example, but I’m also finding subtle and fun ways to incorporate it into her girly world. My six-year-old daughter loves accessories, so we recently made her headbands extra bold with powerful words for her and her girlfriends. They are colorful confidence boosters and reminders to be fearless in a sometimes harsh world, plus bad hair days have never looked so cute and fierce.
These girl power DIY headbands would make for adorable party favors, team gifts with names and jersey numbers, or holiday gifts.
The tutorial is so simple; one headband can take less than ten minutes.
Supplies:
- Cotton headbands, Walmart or Target
- Iron-on letters
- Iron
Instructions:
Step 1: Gather materials.
Step 2: Cut out letters for the girl power statements. I chose brave, fearless, dreamer, warrior, and strong.
Step 3: Follow iron-on letter package instructions. On my package, I was instructed to do the following: Heat the headband with an iron for ten seconds.
Step 4: Place the letters on the headband.
Step 5: Set a cotton cloth over the headband, and iron the letters on with steady heat for twenty seconds. Press down with the tip of the iron around the edges of the letters. Then, turn the headband inside out and iron the backside of the headband for sixty seconds.
Step 6: Wait for the letters to cool for about one minute. Remove the plastic part from each letter, and the letter should be revealed.
Step 7: Wear to your next barre workout or send your daughter off to school and/or practice with a cool new headband.
More Kids Fashion:
