
Any food made with cream cheese is my love language. I absolutely love it, whether it’s savory or sweet! So, when I saw cheesecake stuffed waffle cones that impersonated ice cream perfectly, I knew I had to give the no-bake recipe a whirl. It did not disappoint. My taste buds were very happy. In fact, my whole family loved the cookies and cream cheesecake waffle cones so much, we plan to make them again…soon.
Cookies and Cream Cheesecake Waffle Cones
*makes approximately 5-6 waffle cones
Ingredients:
- 1 (8 oz) package cream cheese, softened
- 1 teaspoon vanilla
- 1 cup powedered sugar
- 3/4 to 1 cup heavy cream
- 1/2 cup Ghiradelli melting wafers
- 1 cup crushed Oreo cookie crumbs
- 6 waffle cones
Instructions:

Step 1: In a microwave safe bowl, melt the chocolate wafers in increments of 30 seconds until melted. Dip the top of each waffle cone in the chocolate. This creates a pretty and yummy chocolate rim. Set on a parchment lined baking sheet, or in the grid of a locker shelf. By the way, a locker shelf that’s less than $10 at Walmart makes for the best ice cream serving tray! Also note, if you want to eat the entire waffle cone with the cheesecake after it’s been in the fridge a day or two, make sure to spread a thin layer of chocolate inside the waffle cone with a spoon. This prevents the cone from getting “soggy” from the cheesecake mixture.

Step 2: Now it’s time for the cheesecake. Beat the cream cheese with an electric mixer until light and fluffy. Stir in the vanilla and then gradually add the powered sugar until smooth. This step is important because first I tried to make the whipped cream and fold the cream cheese into it. But, It did not turn out good because it was too chunky. So, make sure the cream cheese is smooth and there are no small chunks.
Step 3: In a separate bowl beat the heavy cream with an electric mixer until stiff peaks form.
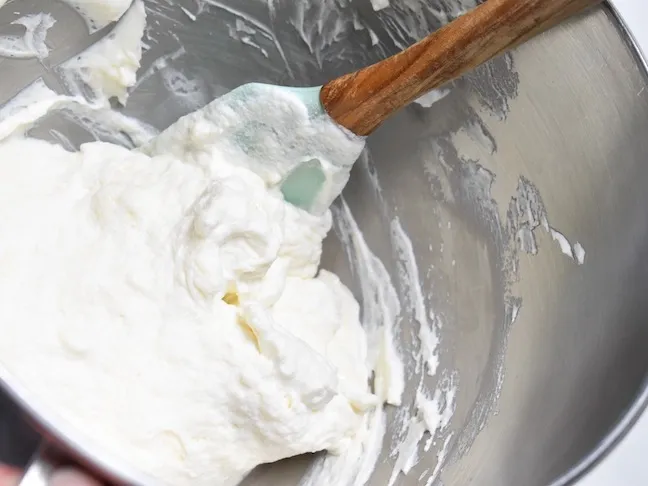
Step 4: Fold the whipped cream in to the cream cheese mixture until well combined. You can add the Oreo crumbs to the mixture now, or just top it with the Oreo crumbs.
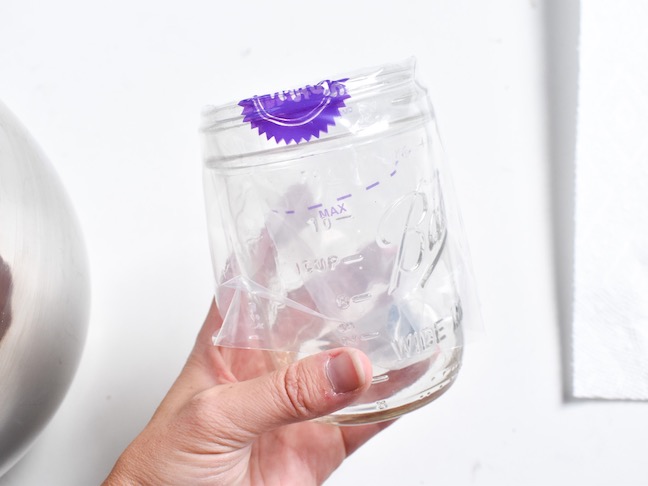
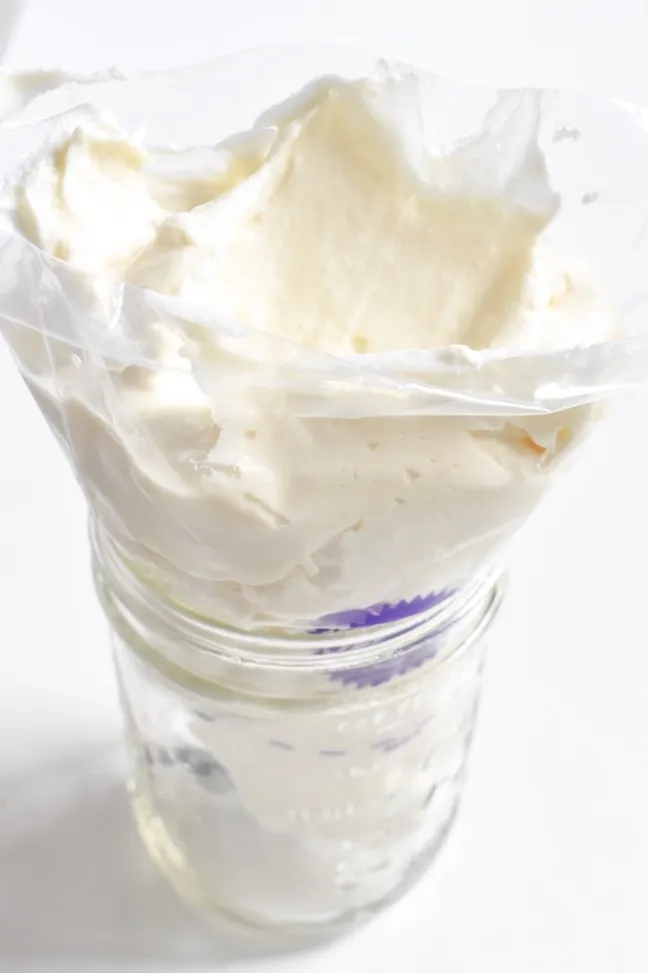
Step 5: Place a tip inside a wilton piping bag, and set inside a large glass cup. Fill the bag with the delicious mixture, tighten the end and begin to fill the waffle cone with the cheesecake.

Step 6: Swirl the cheesecake mixture into the bottom of the cones all the way up to the top. Next, top with Oreo crumbs. Set in fridge for 2 hours before consuming. Oh my goodness, it’s so good. Keep in the fridge for up to 3 days.

Now you don’t have to consume ice cream cones during the summer months. You can enjoy year-round waffle cones with this cheesecake recipe!
