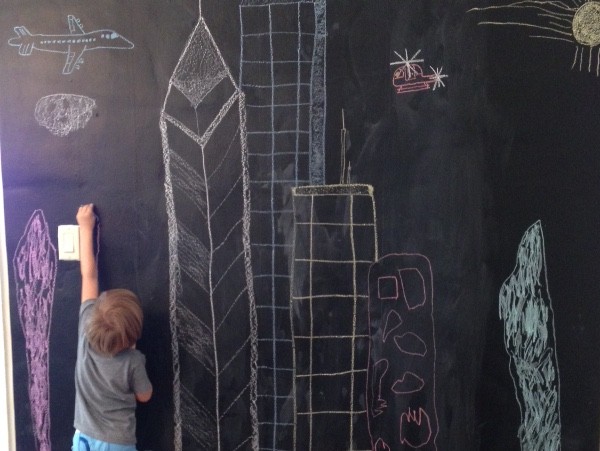
If you’re on Pinterest, and these days who isn’t, you’ve probably seen a plethora of chalkboard wall eye candy. I’ve pinned quite a few myself, dreaming of the day I could create a cool chalkboard wall for my kids. But I live in Los Angeles and I’m a renter, so if I painted a wall with black chalkboard paint, my landlord would probably kill me. And I imagine painting over it would be quite a chore. So I figured out a way that I could make my chalkboard wall dreams come to life, while being renter friendly and basically requiring no permanent commitment. The result has been a huge hit in our home. So, here’s how you make your very own renter-friendly, low commitment DIY chalkboard wall.
Supplies:
- chalkboard contact paper (I bought this four pack to do my whole wall—measure yours first to see how much you’ll need.)
- a smoothing tool (similar to what you use for wallpaper and decal application)
- X-Acto knife
- chalk
- chalkboard eraser (Get a dustless one to help minimize dust mess.)
Instructions:
Step 1: First, measure the wall or area of wall you want to use.
Step 2: Order the number of rolls you’ll need to cover that space.
Step 3: Starting at the top and in a corner of your wall, tape your first roll where you want it to start. You can use a level or ruler to make sure it is straight (although I just eyeballed mine).
Step 4: Starting at the top and working your way down, peel the backing paper down, revealing the sticky side of contact paper, and smooth to the wall with your smoothing tool from the center out to the edges.
Once you have one roll done, it should look like this.
Step 5: Continue with your next roll, overlapping on the last one slightly. That way, if your roll is a little crooked you won’t see it because you’ve overlapped on the last roll and your wall underneath won’t show.
Step 6: Once you’ve used all of your rolls and smoothed them thoroughly, cut around any plugs or light switches, or along the bottom if your roll is longer than your wall, with your X-Acto knife.
This entire process took me about thirty minutes. Mine isn’t perfect, but it looks great, is holding up really well about a month in, and is now the most popular activity at our house! We have created a solar system and an under-the-sea world, a city, and now have a half-dinosaur, half-bug world. And we take a picture of my son in front of his creation before we erase and start again. He loves it.
More Chalkboard Crafts:
