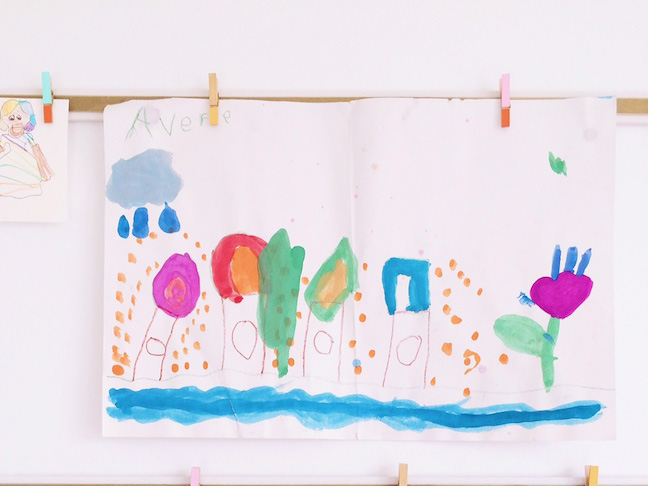
School is in session, and my kiddo is bringing home a ton of artwork already. Last year, I arranged her favorite works in a gallery format on her bedroom wall. That worked for a while, but changing one picture meant reconfiguring the entire layout because sometimes the pages ranged from notebook size to poster size. I knew I had to find a better way this year, and I think this DIY yardstick art display is exactly what she needs. It’s easy to add new art, easy to adjust the size of the spacing, and still looks neat, stylish, and orderly. In essence, it’s a time-saving decor dynamo.
Supplies:
- metal yardstick
- adhesive hanging strips
- white spray paint
- mini clothespins
- foam craft brushes
- ½” x 10′ roll of magnets
- acrylic paint in your palette
- level
- hot glue and glue gun
- scissors
Instructions:
Step 1: Paint the metal yardstick with white spray paint. Set aside to dry. If you’d like, you can also paint a stripe in a contrasting color down the center of the yardstick. Set aside to dry.
Step 2: Adhere adhesive hanging strips to the back of the yardstick according to manufacturer directions.
Step 3: Using a level to create a straight alignment, position the yardstick on the wall at your desired height. Press firmly to ensure yardstick is securely attached to the wall.
Step 4: Paint mini clothespins with acrylic paint and foam craft brushes. Set aside to dry.
Step 5: Using scissors, cut small strips of magnet to fit the unpainted side of the clothespin. Remove the magnet’s paper backing, and adhere to the clothespin. Repeat for each pin.
Step 6: Clamp artwork in clothespins and position on the display strips. Rearrange as often as desired.
Images by Shauna Younge of Sweet Tooth
More DIY Art Gallery Ideas:
Save
Save
