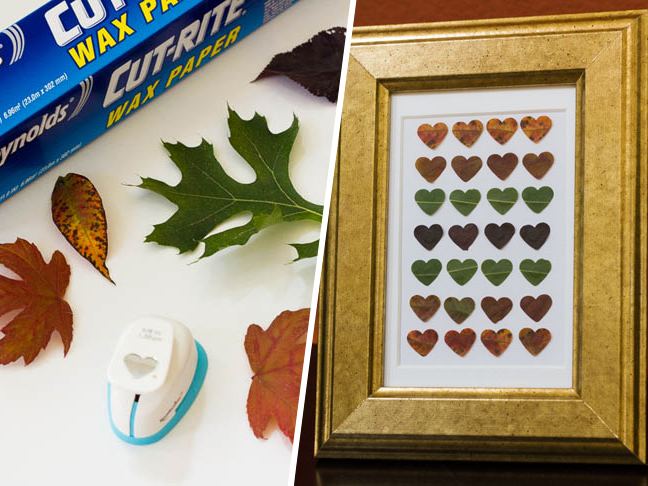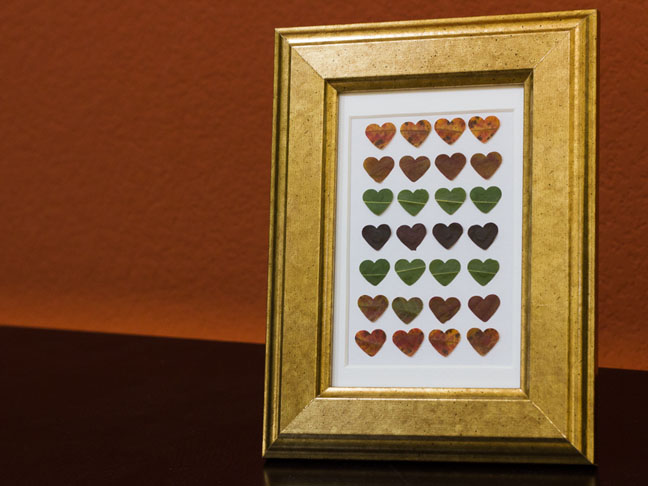
My daughter loves collecting leaves and rocks when we go on walks, and more often than not she insists on keeping them all. While there’s no room for random foliage cluttering up the house, we did come to a compromise by turning her collected leaves into fall artwork.
Now is the perfect time to bring a little bit of the fall back home on your next walk, and then come home to create a beautiful leaf punch art piece with your kids.
RELATED: 41 Fall Leaf Crafts Your Kid Will Love
Supplies:
- freshly fallen leaves of all colors
- small 5/8″ paper punch in any shape you’d like!
- wax paper
- parchment or freezer paper
- glue dots
- 4×6 inch index card (or card stock cut to size)
- picture frame (5×7 inch frame shown above)
- iron
- PRINTABLE template (PDF to replicate design above)
Instructions:
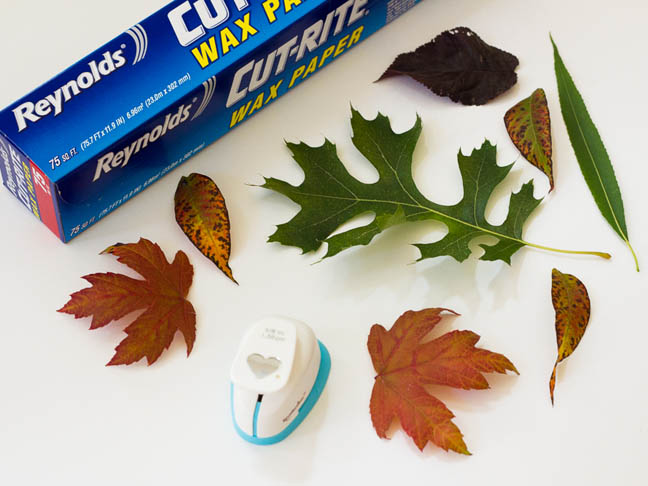
Step 1: Collect leaves from your neighborhood of all sizes, shapes, and colors. You’ll want leaves that have fallen off the tree and are slightly dry. If you pick fresh leaves, you’ll want to press them in paper towels and under some heavy objects for one to two days.
RELATED: 31 Awesome Ways to Entertain Kids with a Cardboard Box
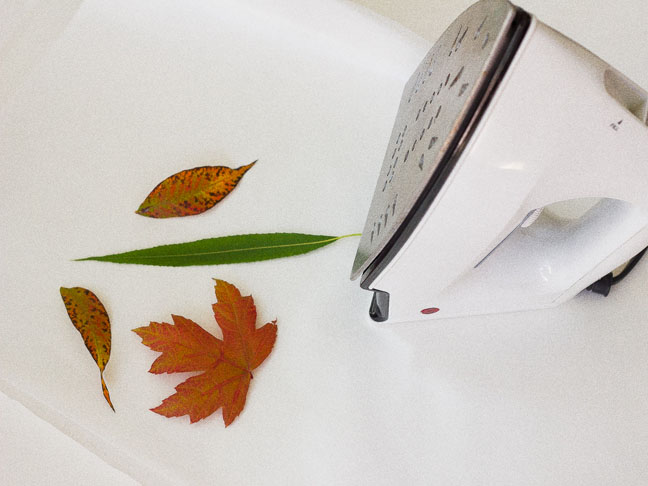
Step 2: Tear a large sheet of wax paper and fold it in half. Then tuck your leaves between the two halves of wax paper. Wrap a sheet of parchment paper or freezer paper (wax side down) around the wax paper.
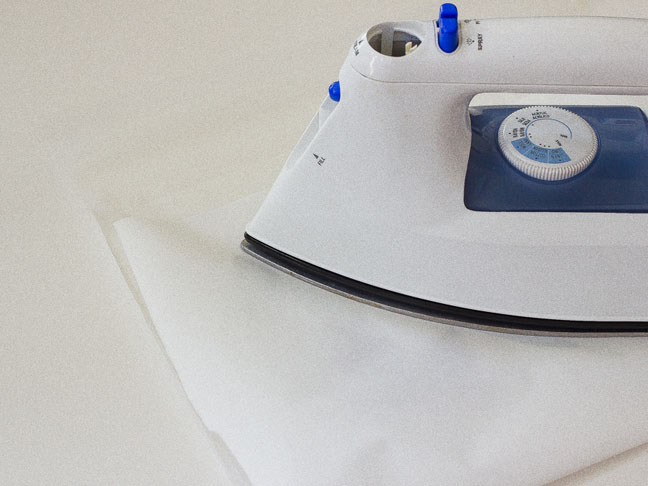
Step 3: Set your iron to a non-steam setting and gently press down on your leaf packet. You’ll want to apply heat until the wax paper is sealed around the leaves. You want the wax to transfer to both sides of the leaves, but not curl or bake the leaves, so watch your time and heat.
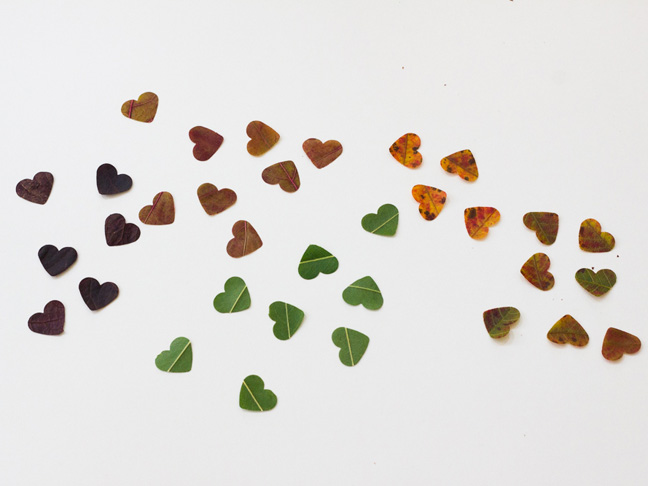
Step 4: Remove the leaves from the wax paper. Using your paper punch, begin to punch shapes out of your leaves. You’ll need twenty-eight punches for the design. This is a great activity for kids to help with, so make sure you gather lots of leaves to ensure you have room for mistakes. (Hint: Turn your punch upside down to make sure you’re getting the entire shape filled with the leaf.)
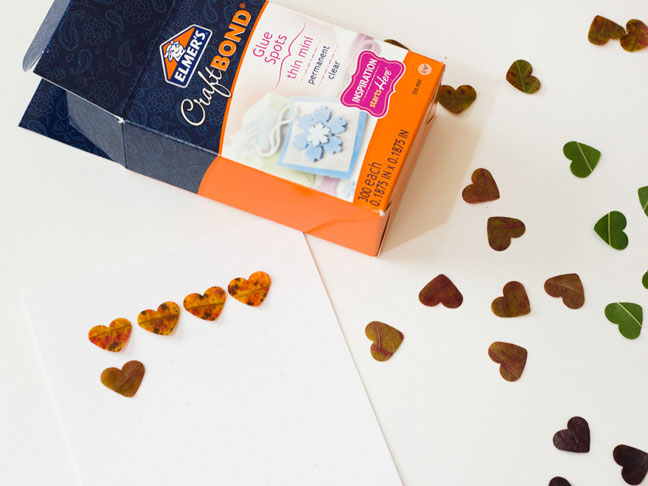
Step 5: Print out the template (download here) on a 4x 6 inch index card or piece of paper cut to size. You can choose to orient the pattern vertically or horizontally. Attach glue dots to the back of each punched leaf shape, and then attach the shape over each printed “X” on the card. Repeat until all twenty-eight X’s are covered with your leaf punches.
Step 6: If you had a lot of fresh leaves, you may want to press your print in wax paper for one to two days to ensure your leaves won’t dry out.
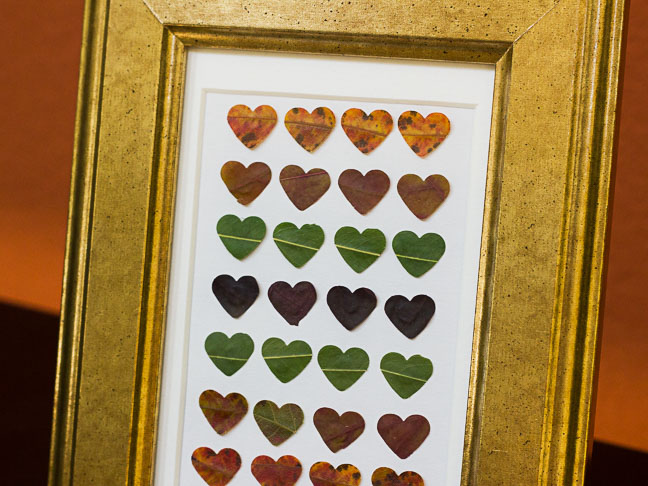
Step 7: Frame your card. You can choose a simple 4×6 inch frame or a matted 5×7 inch frame.

Enjoy your framed punch art throughout the fall to bring the beauty of the season into your home.
More Activities for Kids:
- 101 Easy & Fun Kids Crafts
- 15 Affordable DIY Rock Projects for Kids
- 15 Insanely Cool DIY Pallet Projects for Kids
