Supplies:
- brown paper bag
- evergreen trimmings
- 36 inch by 2 1/2 inch pine cone or solid color ribbon
- 3 pine cones
- brown card stock or construction paper
- 2 black 1/2 inch pom-poms
- 1 red pipe cleaner
- 4 brown pipe cleaners
- 2 ~ 1 1/2 inch brightly colored buttons
- 3 ~ 20 to 24 inch pieces of twine
Directions:
Step 1: Cut the brown paper bag down the side seam and cut out the bottom of the bag so it will lie flat.
Step 2: Cut the paper bag to fit the box your are wrapping.
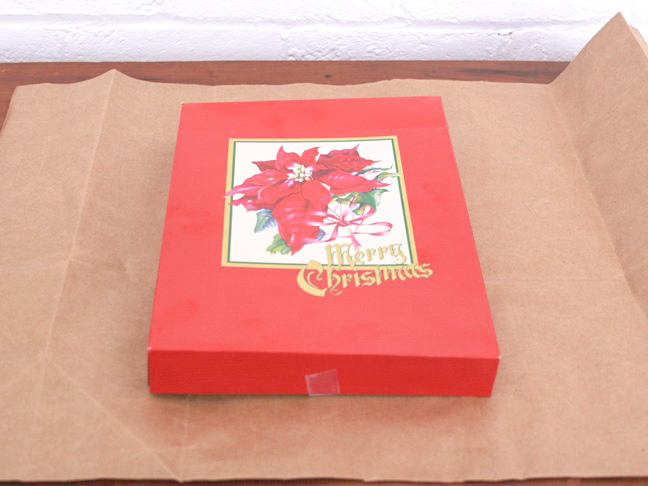
Step 3: Wrap your package with the brown paper bag, securing it in place with tape.
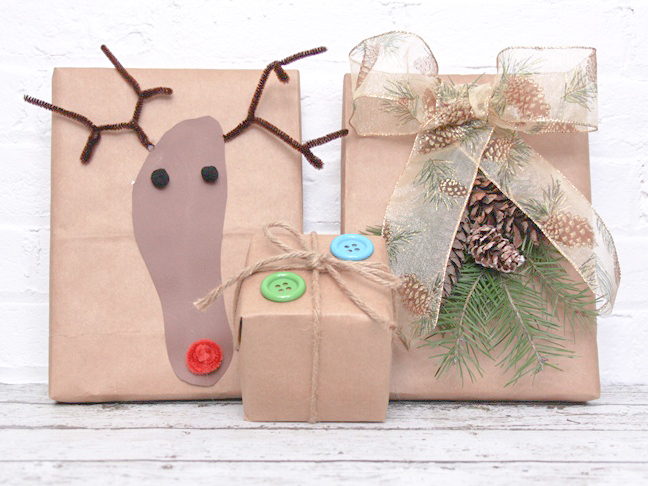
Evergreen and Pine Cone Brown Bag Gift Wrap Idea
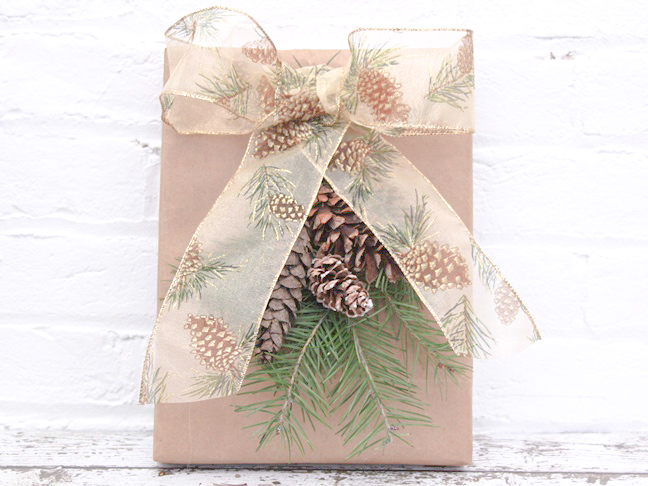
Step 4: When you trim your Christmas tree, save the scrap pieces of evergreen you remove. Cut them to size to fit your package and add 2 or 3 to the front of the package in a bunch.
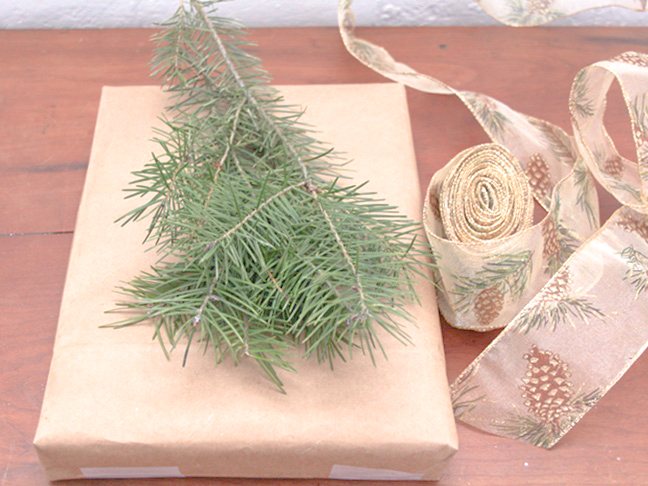
Step 5: Make a bow with the 2 1/2 inch by 36 inch piece of pine cone print ribbon. Solid green or gold ribbon would work great too if you can’t find pine cone print ribbon at your local craft store. Create the bow by making two large loops, then wrap the ribbon around the center one time, and to the back. Leave a tail on each end of the bow, then trim the tips so the 2 tails are even.
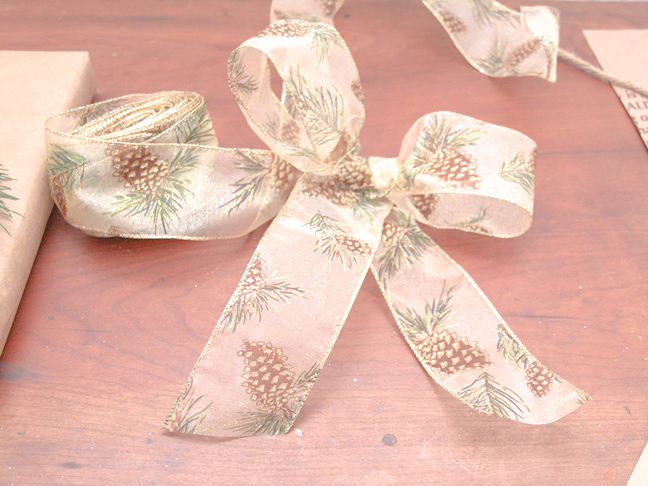
Step 6: Use hot glue to hold your bow in place at the top of the package over the tops of the evergreen pieces.
Step 7: Use the hot glue gun to glue 2 or 3 pine cones below the ribbon on top of the pine cone pieces.
Buttons and Twine Brown Bag Gift Wrap Idea
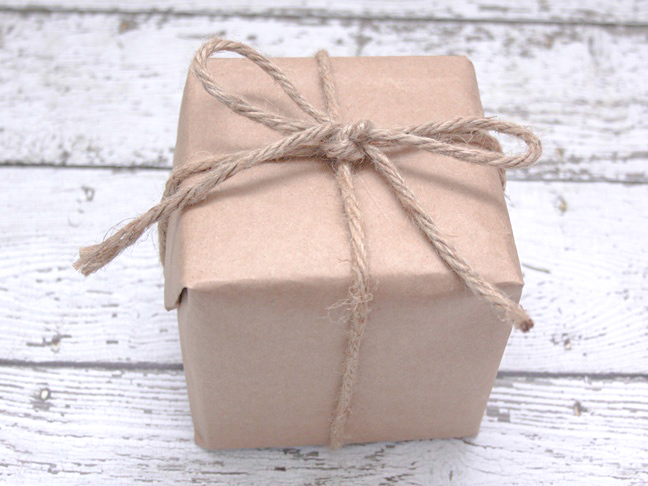
Step 8: Wrap a piece of twine around the center of your wrapped package and secure it on the bottom with a little hot glue.
Step 9: Wrap a second piece of twine around the center of the package so it crisscrosses the first piece of twine.
Step 10: Use a 3rd piece of twine to tie a bow where the other 2 pieces of twine intersect.
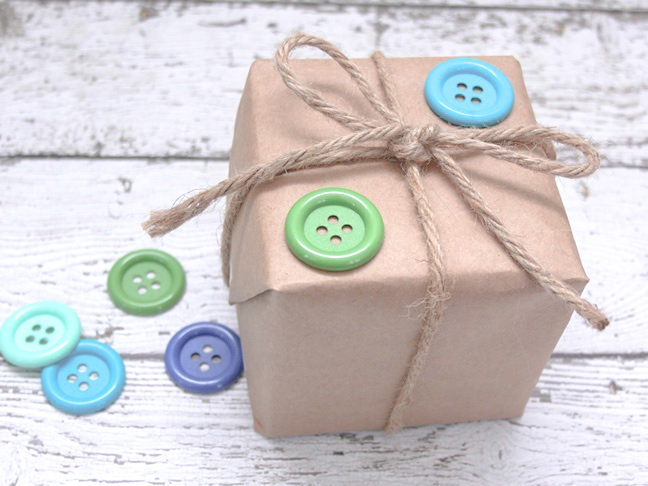
Step 11: Use the glue gun to add a couple large brightly colored buttons to the top of the package. If you’re wrapping a larger package you can add several buttons in different sizes.
Rudolph Footprint Reindeer Brown Bag Gift Wrap Idea
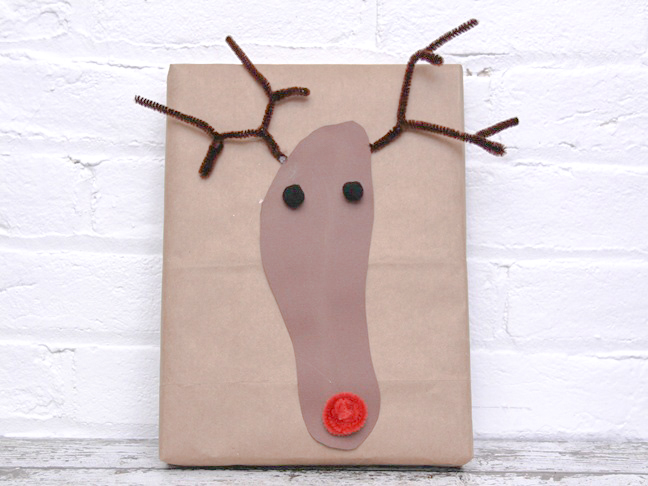
Step 12: Trace around the bottom of your child’s foot onto a piece of brown card stock or construction paper.
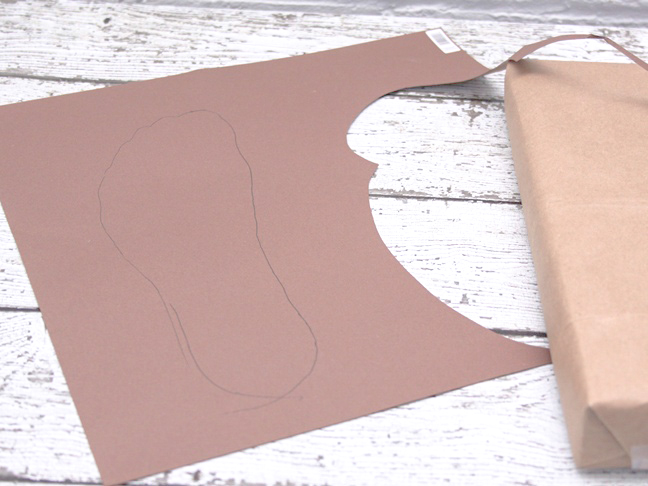
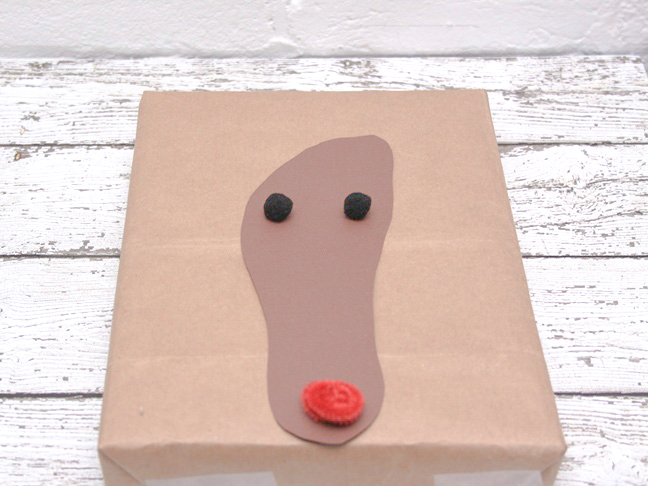
Step 13: Cut out the footprint and glue it to the center of the package, toes-side-up, heel down.
Step 14: Glue 2~ 1/2 inch black pom-poms toward the top of the print for Rudolph’s eyes.
Step 15: Roll a red pipe cleaner into a ball and glue it to the bottom heel of the footprint for Rudolph’s nose.
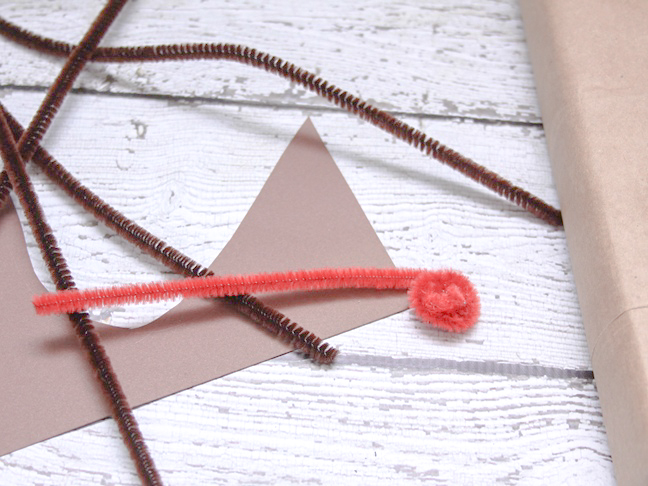
Step 16: Twist 2 pipe cleaners together, and bend them to create an antler. Repeat the process to form a second antler.
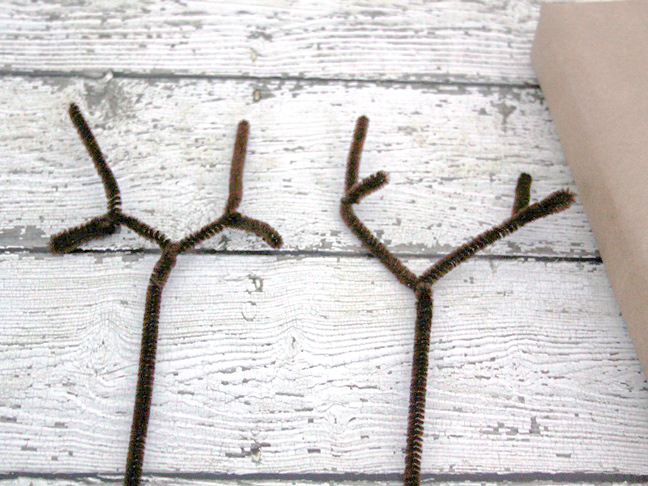
Step 17: Glue the antlers to the top of the footprint Rudolph.
