I’m sure many of you feel the same way, but I think Halloween got sooooo much more fun as a holiday once I became a parent. Last year, when my then one-and-a-half-year-old tried trick or treating and it “clicked,” it was a magical moment that I’ll never forget.
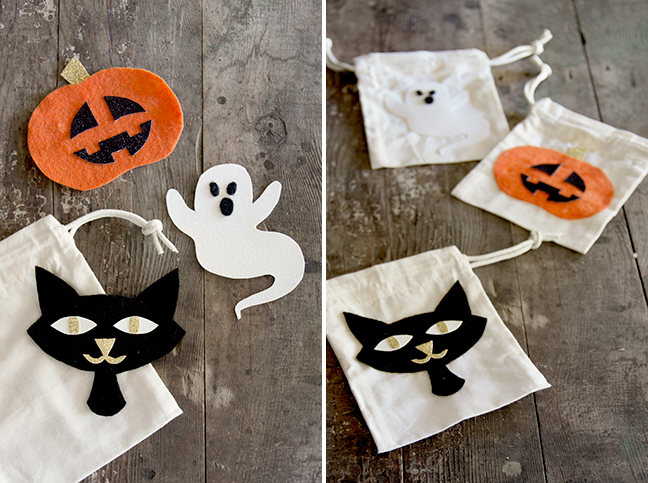
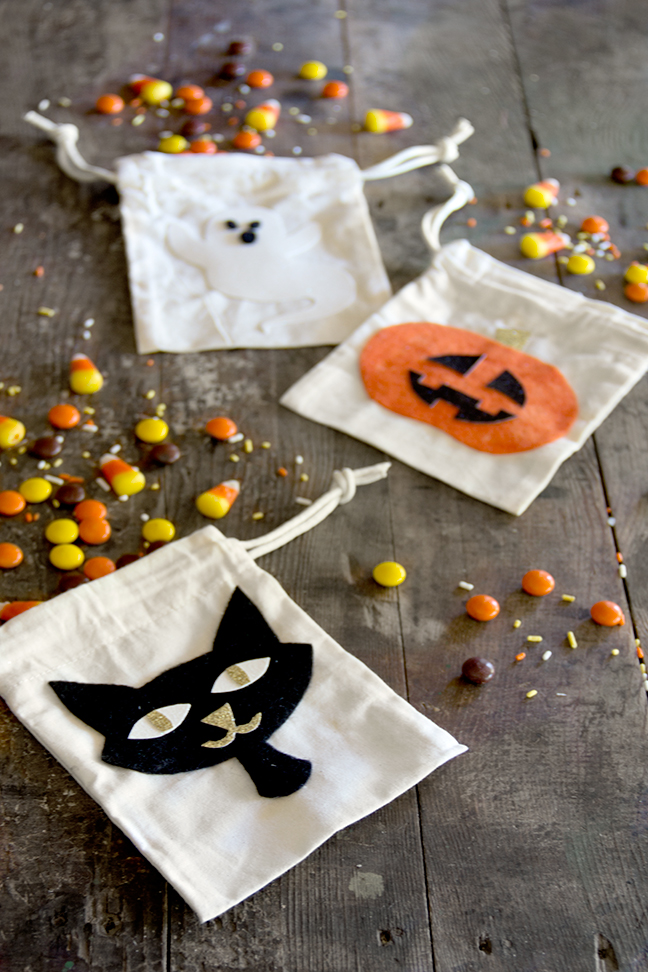
This year, I wanted to design some fun Halloween DIY tutorials for Momtastic that I know my daughter would absolutely love since I’m enjoying celebrating the holiday through the lens of a parent even more than I did as a kid. These felt character muslin bags are easy to make and feature illustrations I purposely made to be cute and kid friendly (no scary goblins, folks!). If you’re part of a “no trick or treating block” or live in a less developed area and are throwing a party for the kids instead, this is the perfect little gift bag for the little ones to stuff and take home. Or, you know, you could make them just ‘cuz!
And in case you’re wondering, these Halloween favor bags are definitely toddler approved! Aurora is currently carrying the black cat bag around as a purse.
Supplies:
- 4″ x 6″ muslin bags, preferably with thicker material versus thinner
- felt or fabric glue
- felt (I used standard craft felt and glitter felt.)
- scissors
- our PDF template
- index cards or card stock cut to 4″ x 6″
- paintbrush (optional)
Instructions:
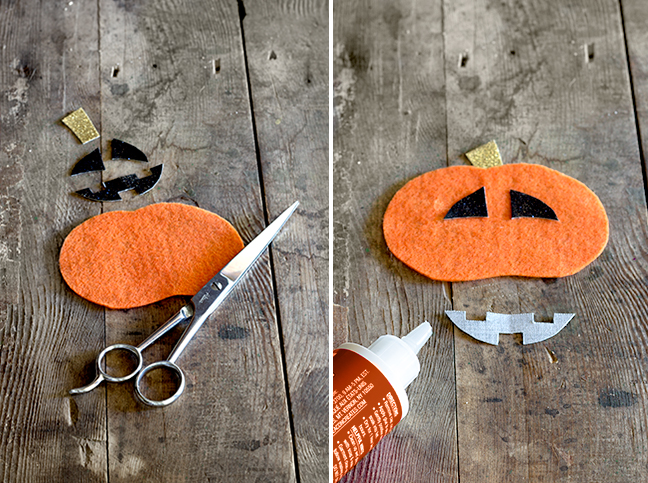
Step 1: Cut all of the pieces to your character out of the felt colors of your choice. After using the template provided for an initial guide, go back in and fine tune the shape to make sure it is cleanly cut out.
Step 2: Glue all of the pieces in place using felt glue or fabric glue. If you have a spare craft paintbrush handy, apply the glue with the brush instead of directly applying it so that excess glue does not spill out the sides when you press the pieces in place.
Step 3: Set the finished character appliqués aside to dry. In the meantime, line the inside of each muslin bag with a piece of card stock or an index card. This will prevent any bleed-through glue from gluing the bag shut when you attach the appliqué.
Step 4: When the character appliqué is ready, apply glue to the back of the felt appliqué, using a paintbrush again if you have it. Center the appliqué over the bag, then attach and press down firmly to secure. Set aside to dry, then remove the index card and enjoy!
Photos by Maddy Hague of Splendid Supply Co. for Momtastic.
More Halloween DIY Crafts:
