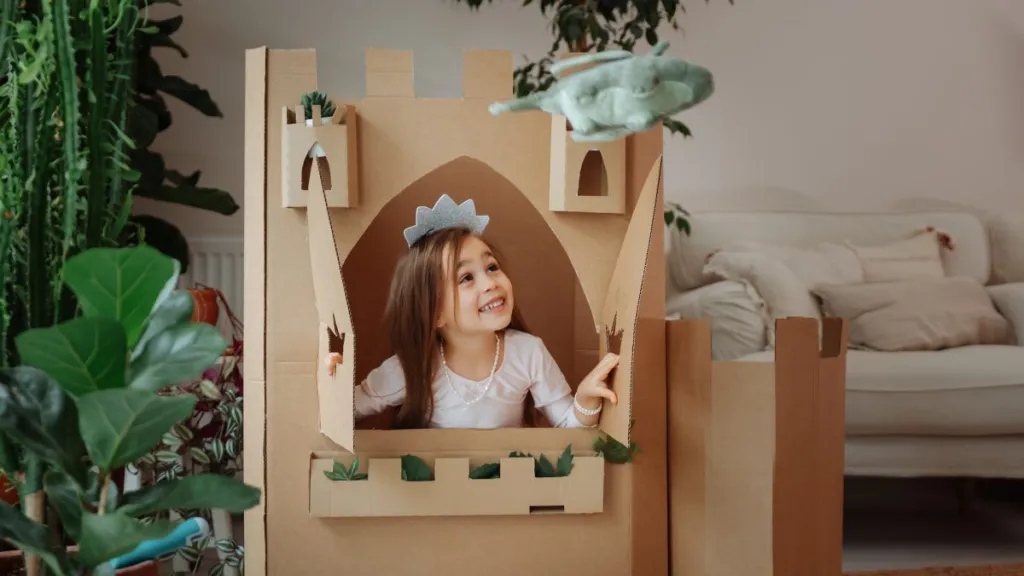
Kids love playing make-believe games, and living in a castle is the ultimate fun. Whether it be a princess castle or a king’s majestic home, kids love imagining themselves living in one with their friends. However, buying a readymade miniature castle that children can use during their playtime is not pocket-friendly. A DIY cardboard castle is the best way to ensure the kiddos get something customized to their needs without breaking the bank.
If you are wondering where to get the materials for this DIY project, use the cardboard that’s been lying around in the house or that you have been saving for a long time. With this DIY, you can turn it into something beautiful and valuable. Follow the instructions, and you will have a gorgeous DIY cardboard castle that your kids will surely love.
Materials
- Large cardboard boxes
- Tempera paint
- Shims or paint sticks
- Inexpensive plastic tablecloths
- String
- Packing tape (or other strong tape)
- Hot glue
- Box cutter
- Paint brushes
- Something sharp to poke holes into the cardboard
- Glitter (optional)
- Fake flowers (optional)
- Costume jewelry (optional)
- Small mirrors (optional)
- Foam stickers (optional)
Procedure
- To make the DIY cardboard castle for your kids, take apart all the cardboard boxes along the seams.
- Experiment with how you want to arrange the boxes until you find a shape your little one likes. Make sure the structure is stable and can stand on its own.
- Paint the outside of the boxes with at least two coats of tempera paint to make it as vibrant as possible. You may need a third coat if the print is extra dark.
- Use hot glue to attach shims (or paint sticks) across the folds to keep the box flaps upright.
- After the paint dries, reassemble the boxes into your desired shape. If transporting the castle later, use binder clips and/or clothespins to hold the pieces together.
- With a sharp box cutter, cut out a door, windows, and whatever else you and your kids want in their cardboard castle.
- If your kids want to close the castle windows, leave the bottoms attached for easy closing.
- Paint the castle’s doors, windows, and other details with your kids.
- Glue pieces of the tablecloth to the inside of the door.
- Move your castle to its final destination to assemble it. Poke holes in the corners and attach the boxes using string.
- Line the floor with another unfolded box. Cover it with an inexpensive tablecloth. Make sure to tape the doorway down well for a strong base.
- You can decorate the castle with your munchkins with glitter and other items.
- You can hang lightweight mirrors and add dress-up items to encourage interactive play.
Voila, your cardboard castle is ready for your little princess or prince. Depending on your little boy’s interest, you can also place some action figurines or LEGO stations in the castle to make it more fun for him.
However, remember to assemble the castle at the final place, indoors or outdoors. Moving the completed castle from one place to another will be an unnecessarily difficult task you can skip if you plan it right. Plus, it can damage the castle, so why risk it? Cut the shapes, paint them in one place, and assemble them where you have finally decided to place the castle.
Also, before making the cardboard castle, sit with your kid and ask them what they want in their castle. The colors, windows and doors, and structure should be their pick as they will use the object. You can even ask them to draw the castle of their dreams so you can incorporate elements from their drawing into the DIY cardboard castle.
Get your supplies, involve your kids wherever possible, and make the DIY cardboard castle with them. They will love playing in it for hours. If you have more suggestions for making the castle, share them with us in the comment section below. It might help fellow moms trying their hands at this DIY craft.


