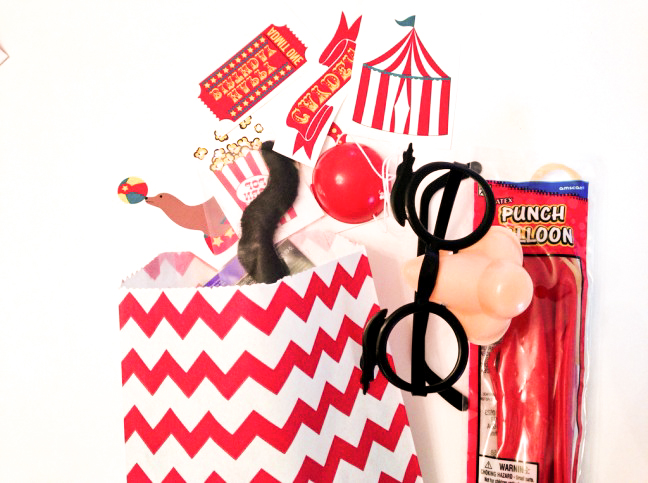
What little kid doesn’t love a temporary tattoo? Whether you want to create tattoos as party favors, like I did for my son’s third birthday, or you just want a stash of them at home for fun, these DIY temporary tattoos for kids will provide tons of fun and entertainment for all!
Supplies:
- Tattoo designs**
- Temporary tattoo paper for printing your tattoos on.
** You can design them in Photoshop yourself or buy temporary tattoo downloads online. (There are lots available on Etsy). I was lucky enough to have a friend, Rachel of Lupa and Pepi, who designed my carnival-themed tattoos for me. If you design them yourself, don’t forget to flip the image so it looks backward—it prints backward but looks correct when applied.
Instructions:
Step 1: Once you have your designs ready, insert your temporary tattoo paper into your inkjet printer, following the instructions on the paper. I would recommend buying extra paper—for every sheet that did work, I had a sheet that didn’t, so I used the entire two-pack of tattoo paper.
Step 2: After you print your tattoos on the paper, lay the sheet of printed tattoos on the self-adhesive sheet, and use a squeegee to press the two sheets together to ensure the adhesive is stuck to the design.
Step 3: Once you have your tattoos printed and stuck together, cut them to size.
Step 4: All you have left to do is apply them and enjoy! Be sure to follow the application instructions that come with your tattoo paper for best results.
Do your kiddos love temporary tattoos as much as mine? Happy tatting!
More DIY Party Ideas:
