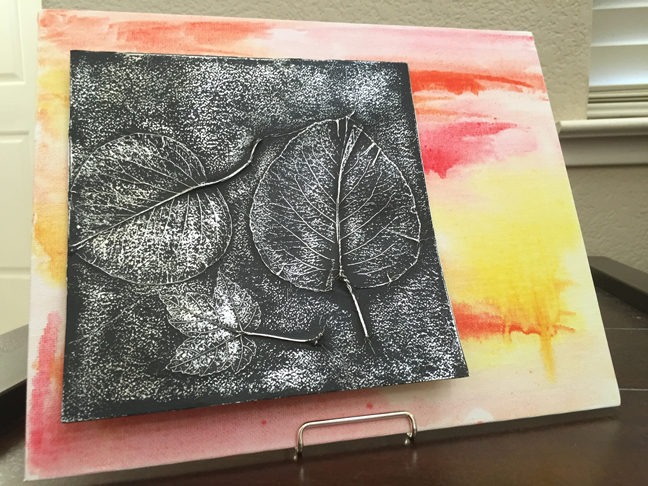
Don’t just admire all of the beautiful leaves with your children as they fall to the ground in autumn! Have them start picking them up, grab some supplies, and help turn them into works of art that can be enjoyed year-round! This leaf imprint art will amaze your guests and they’ll never suspect that your little ones are the artists!
Supplies:
- Freshly fallen leaves
- Aluminum foil
- Textured paper (Look for fun options in the scrapbooking area!)
- Spray glue
- Cotton swabs
- Black spray paint
- Steel wool (fine #0000)
- canvas board
- paint
Instructions:
Step 1: Take a stroll and hunt for leaves with your child! Try to collect ones that have recently fallen from the trees, or carefully pick ones from plants in your yard.
Step 2: Select a piece of heavy textured paper, and cut it to the size you’d like for your artwork.
Step 3: Spray the paper with an even layer of spray glue. Have your child select leaves and press them securely to the paper.
Step 4: Cut a piece of foil large enough to cover the paper. Spray the leaves and paper with a layer of spray glue and press down the foil.
Step 5: Using a cotton swab or a gentle finger (we don’t want to tear the foil!), press down on the paper and the leaves to reveal the texture below.
Step 6: When you’re happy with the result, bend the foil around the edges of the paper. Then coat the foil in an even layer of black spray paint.
Step 7: When the paint is dry, take a small wad of steel wool and use it to gently rub off the black paint from the image. Rub off as much as you like. (Note: A little bit of parental elbow grease may be needed to help younger kids.)
Step 8: Paint your canvas board with an abstract design and fill it with color. When dry, mount your leaf relief image on top using mounting tape!
More DIY Fall Leaf Projects:
