One of my favorite things to do with my little girl is going to the beach and running around. When it is nice and windy out, we love flying kites together.
To remind my daughter of all the fun we have on the beach with kites, I’ve made some pretty DIY paper kites for decor. They make the cutest nursery/kids’ room wall decor! You could even decorate your baby shower with them or have a “make your own kites DIY craft station”. My daughter loves waving hers around the house. Here’s how to do it:
Supplies:
- White card stock
- Paint (any colors!)
- Clear tape or washi tape
- Skewers
- Roll of streamers
- Scissors
- Pencil
- Ruler
Instructions:
Step 1: Lay out your card stock on a table or counter. With a ruler and pencil, draw a straight line down the paper. You can make your kite however big or small you would like.
Step 2: Within the lines, take your skewers and cross them. If they are too long, cut them! At the cross, tape them together, as well as onto your paper (image below).
Step 3: Cut along your line.
Step 4: Pour some of your paint onto a plate. You may use as many colors as you would like.
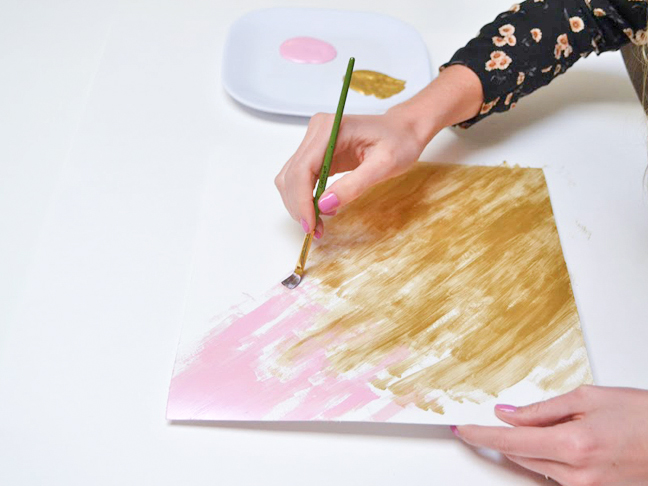
Step 5: On the top of your kite (side without skewers), paint any design. You can paint it one solid color, bleed two together, like we did, or make a pretty design!
Step 6: While it is drying, cut three three-foot streamers.
Step 7: Once your paint is dry, flip your kite back over and tape your streamers at one of the four corners. YAY, you’re done!
This is what our finished kite looked like. Super cute. Have fun!
More DIY Paper Crafts:
