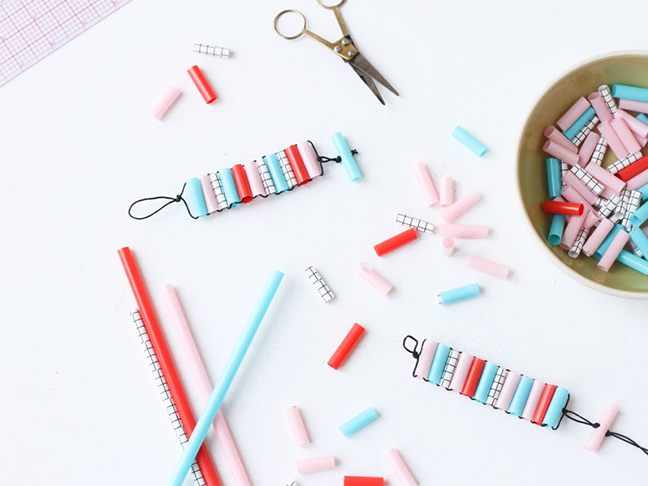
If you’re looking for an easy project to keep little hands busy after school, try these DIY straw bead bracelets. I love projects that only require a few supplies, and this DIY only requires four. With the exception of cutting the beads, kids can be left on their own to complete these wearable works of art.
Change the color scheme and straw patterns to make these bracelets unisex in a pinch, and make a few extras to pass along to friends for the start of the new school year.
Supplies:
- straws (plastic or paper)
- scissors
- ruler
- waxed string
Instructions:
Step 1: To start, cut beads from paper or plastic straws. I used 1″ pieces for my bracelet, but use any width you’d like.
Step 2: Measure and cut a four-foot length of cording.
Step 3: Fold the cord in half and make a knot about 1.5″ from the folded end.
Step 4: To thread the beads, take one bead and pass the left cord through the left side of the bead. Pull the cord through. Then take the right cord and pass it through the right side. Pull both ends of the cord to cinch the bead to the top of the bracelet. Repeat this step with as many beads as you would like for your bracelet.
Step 5: Once you have the length of beading you like, close it off by knotting the cord together. Leave about 1″ of space and then make another knot.
Step 6: To finish off the bracelet, we will create a toggle closure. Cut a slightly longer bead. Then make two small holes in the middle of the toggle bead, directly across from each other. An easy way to do this is to cut a tiny “V” into each side of the straw. Alternatively, you can use the point of your scissors to pierce small holes in the toggle straw. Make sure the hole is large enough to pass the cord through, but also small enough so that the end knot doesn’t pass through.
With a similar technique, you can also create straw bead necklaces. Just skip the knotting step (step 2) and make the beads a slightly longer length.
More DIY Bracelets:
Save
Save
Save
