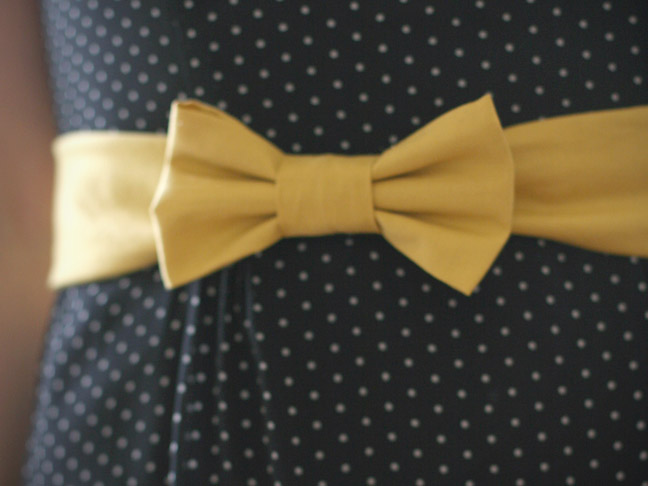
With bows being fiercely back in style, what better way than with a bright bow belt! You can pick any color for this but we’d recommend something solid and cotton. You’ll need a simple snap as well to hand stitch on. The measurements for the three pieces you’ll need to make are in the directions below.
Measure your waist (over a thin shirt) and add 2 inches to that length. The width for everyone is 5”. If your waist is 28”, for example, you’d cut a piece of fabric 30” x 5”. Cutting on the bias will give you a little stretch which is beneficial when making a belt.
Iron your piece after cutting.
Making the belt: Fold in half the long way and sew along the long side. Leave both shorter ends open for now.
Fold over one open end and hand stitch one side of the snap into the inside.
Now sew that opening shut (the belt is still inside out).
Flip right side out now.
Once it’s right side out, measure it around your waist. The short side that is sewn shut should have the snap on the outside now. Mark with a pencil where the second snap should be. It will be underneath the other piece so you won’t have to worry about the stitches or hem showing.
Now sew the second snap on through both pieces. Trim the end, fold and sew along the fold.
Making the bow: For the bow cut a piece of fabric 6” x 10”. Fold in half and sew along the long side. Iron the seam flat.
Turn it inside out and move the seam to the middle. Iron flat.
Sew the ends together as shown.
Making the Middle Band: The middle of the bow is a piece of fabric 3” x 4 ½”. Fold it in half and sew as you’ve done the other two pieces. Turn inside out as well.
Take this small piece and fold it around the middle of the band. Sew where you’re pinching, you want it tight but you’ll be sliding the bow in it, so not very tight.
Pinch the bow and pull it through the middle band you’ve just sewed together.
Straighten and fluff your bow!
Snap around your favorite dress or shirt for an instant stylish accessory!
