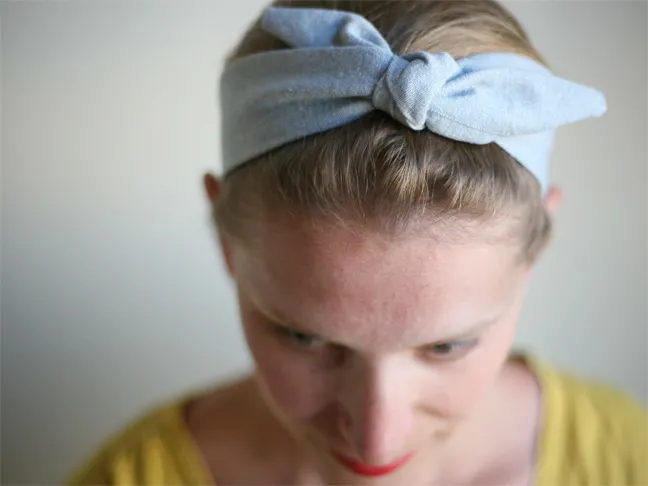
We’ve got an easy tutorial for you today so you can make one yourself (and then go put on a floral dress and back a seven layer cake!)
Cut two of this shape above, 14 inches long. It should be pointy on one side and more dull on the other. About 2 1/2 inches side. If your head is on the large side, add an inch. If it’s on the small side, subtract one. Don’t worry there’s elastic in the back so room for error!
Fold each in half right sides together and sew along all three sides leaving a small opening to turn inside out on the duller point end.
When they’re turned inside out they should look something like the two above. The left side is slightly open, that’s fine for now.
Take the pointy ends together and tie a pretty knot. Try to work the knot around so the ends both are laying on top (or as close to that as you can get)
Lay the headband on your head and see where it falls in the back to determine how much elastic you need. Cut a piece of elastic an inch or so shorter than you think the distance was between the two ends in the back. You’ll want it to be tight back there, not loose
Now those frayed ends: Fold them into each other so the fraying is tucked inside
Then stick one end of the elastic inside and sew a curved stitch. I reinforced twice as shown above. Do the same for the other side.
The back should look like this when you’re done. Now try it on!
Off to bake a cake!
