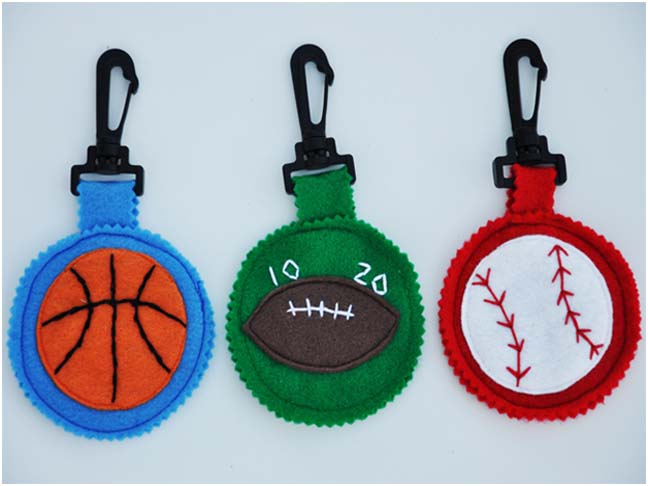
I love these felt badges because they can clip on to the Mesh Activity Bag we made a few weeks ago, or be used as a great accessory for the backpack!
MATERIALS:
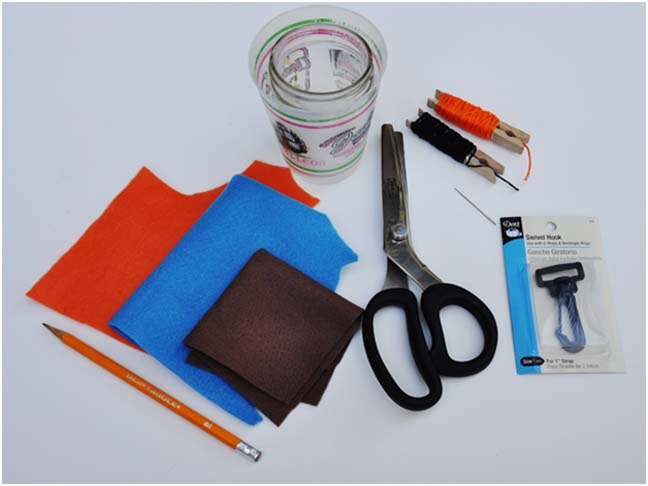
- Scraps of felt in 3 colors
- Pinking Shears
- A few colors of embroidery floss
- Embridery needle
- Swivel hook
- Pencil
- 2 different sized diameter objects
- Sewing machine & supplies
INSTRUCTIONS:
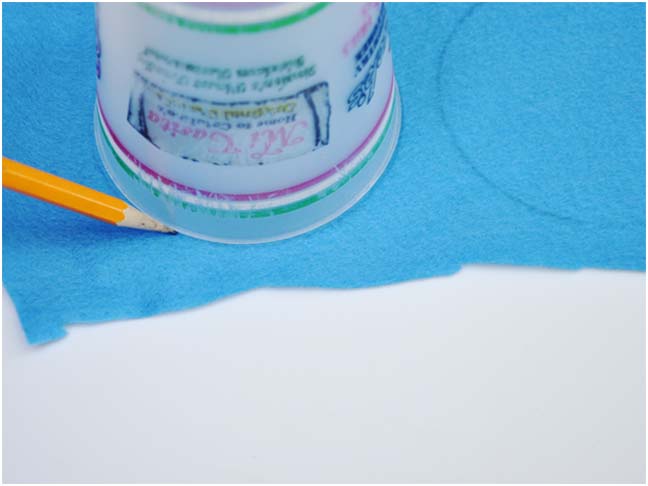
Start by drawing your circles. Use the larger diameter for the badge. You will need 2 (blue). The smaller diameter is the ball shape (orange).
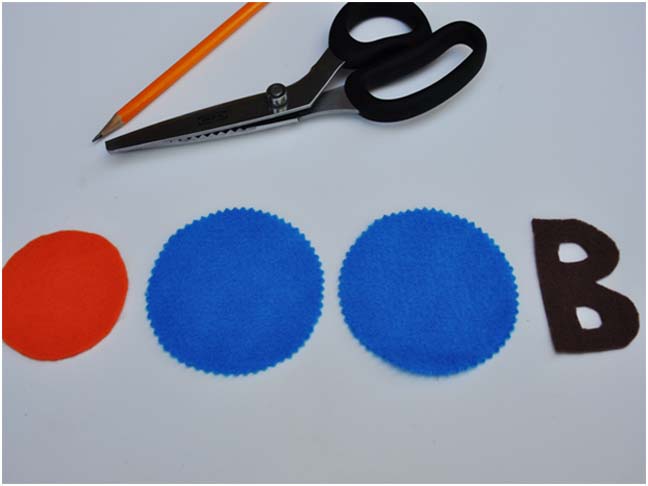
Cut the 2 badges with pinking shears. Cut the orange ball with straight scissors. Freehand and cut your child’s initial in the third color (brown).
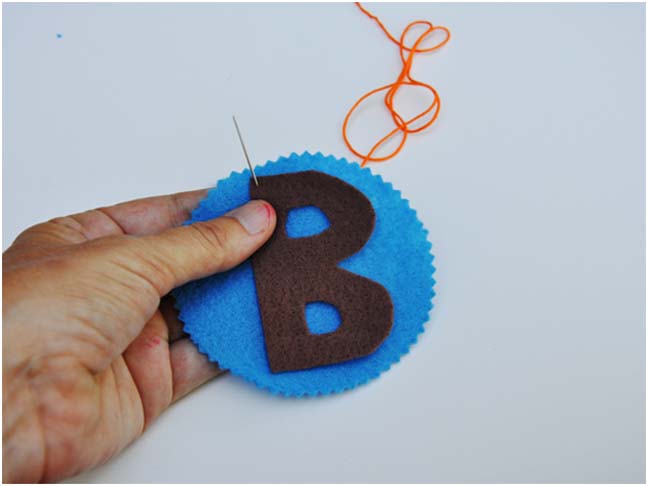
Begin by placing the initial on one of the badge circles and begin hand sewing. I like a random stitch look and chose to use orange thread for contrast.
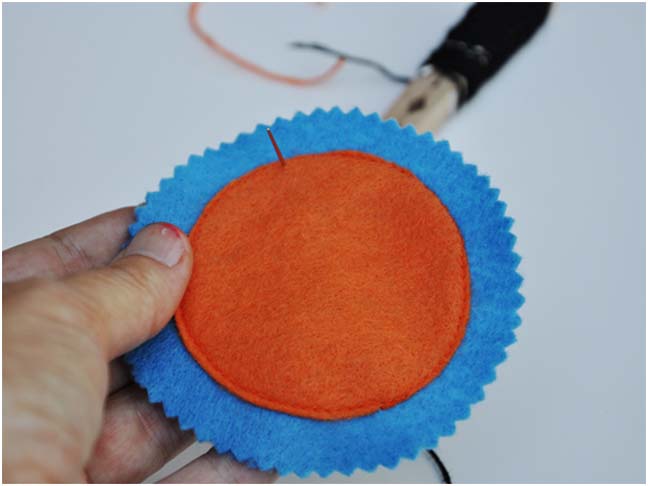
After machine stitching the ball to the other blue badge, begin the ball markings. I printed out an image of a basketball as reference for placement off the lines.
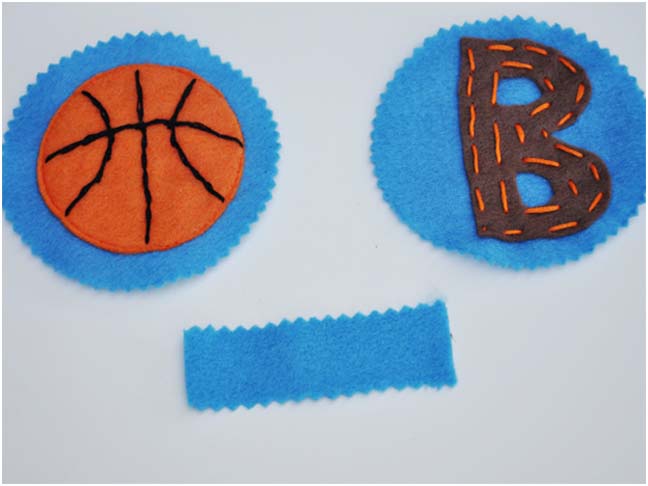
Here are both sides of the badges and a piece of blue felt cut at just under an inch wide by 3 inches long
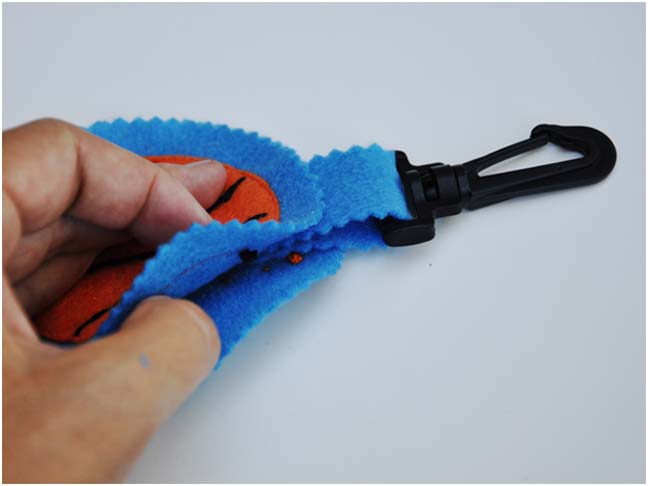
Thread the strip through the swivel hook opening and sandwich between the two badges, wrong sides together.
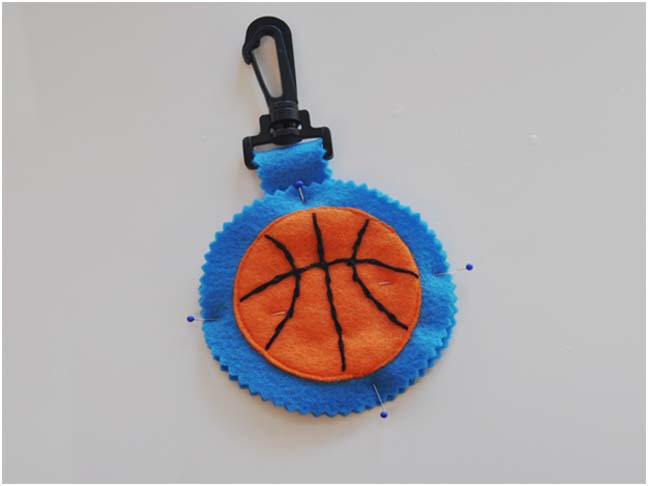
Pin in place and sew along the outside edge in a coordinaing color.
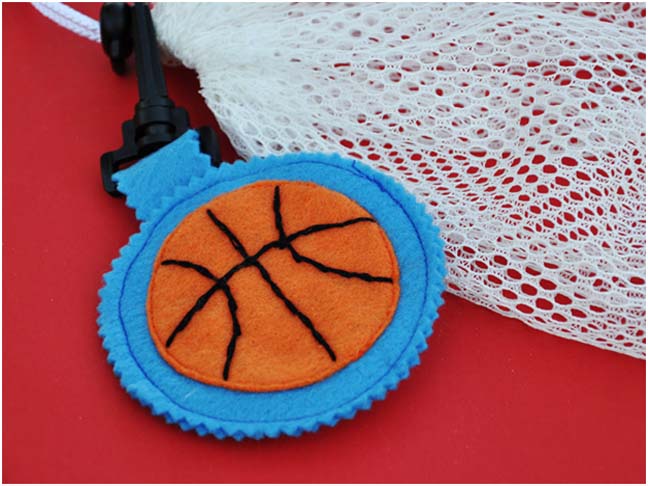
Your kids will love strapping them to all their belongings!
