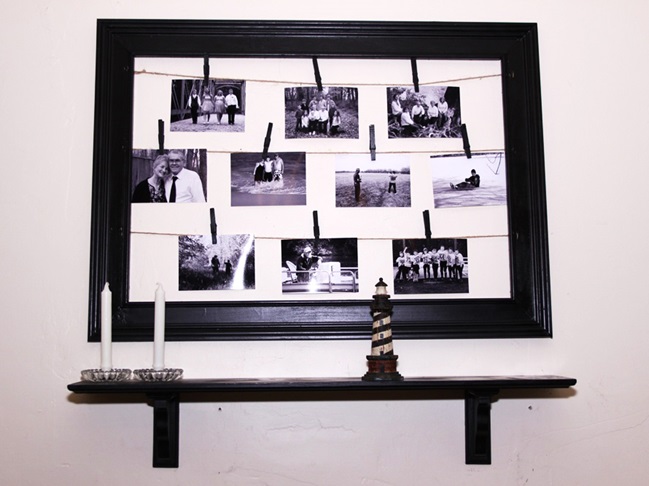
We recently renovated our living room with a brand new SoftSpring carpet from The Home Depot. The carpet inspired lots of decor updates including a grogeous DIY Photo Installation and this DIY Wood shelf. Learn how to DIY a simple shelf to display decorative items in your home, and check out the entire living room transformation here.
Materials:
- 2 2-way wood brackets, measuring 5 inches x 7 inches
- wood board, measuring 1¾ inch x 8 inch x 4 feet long
- 1 can black satin spray paint
- 2 screws, measuring 1½ inches
- wood glue
Directions:
Step 1: Cut the board length to 42 inches.
Step 2 (optional): Route the outside edges to make it decorative.
Step 3: Use the wood glue to glue the brackets to the shelf boards, about 6 inches in from the end on each side, or measure the distance between the studs in the wall of your house and attach the brackets accordingly for hanging.
Step 4: Drill one pilot hole through the shelf into each bracket and install one 1½ inch screw into each hole to give extra support and help hold the brackets in place.
Step 5: Sand the shelf board and brackets lightly so they have a smooth finish.
Step 6: Paint the shelf with black satin spray paint.
Step 7 (optional): We set the set below a framed photo installation that really finished the room. Learn how to make the DIY Framed Photo Installation here.
*This post was sponsored by The Home Depot.
