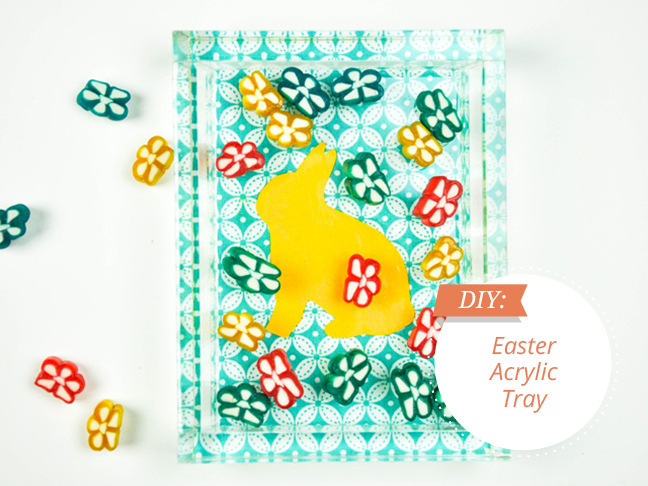
I love extra touches for a holiday celebration. Even a small holiday figurine or cheery candy dish can make your space more joyful this season. This DIY acrylic tray is so simple, and can do double duty in the office as customized organizational pieces for holding small office supplies.
Supplies:
- acrylic or glass tray (source)
- scrap fabric
- scrapbook paper
- Mod Podge
- scissors
- small paintbrush
- Free shape template
Instructions:
Step 1: Place your scrap fabric face up and trace around the base of the tray.
Step 2: Cut out your free template.
Step 3: Trace your template on to the scrapbook paper.
Step 4: Cut out the traced shape.
Step 5: Brush a small amount of Mod Podge on the bottom of the tray and affix the shape. Make sure the side facing up has your trace marks so the other side is clean.
Step 6: Brush the entire bottom of the tray with Mod Podge.
Step 7: Place the fabric right side down onto the Mod Podge. Press down and adjust with your fingers. Allow to dry.
Step 8: Add a final layer of Mod Podge to the bottom. Allow to dry for 24 hours before using to prevent tackiness.
Make two or three! It’s such a memorable way to enjoy the holidays!
More Easter & Spring DIYs:
