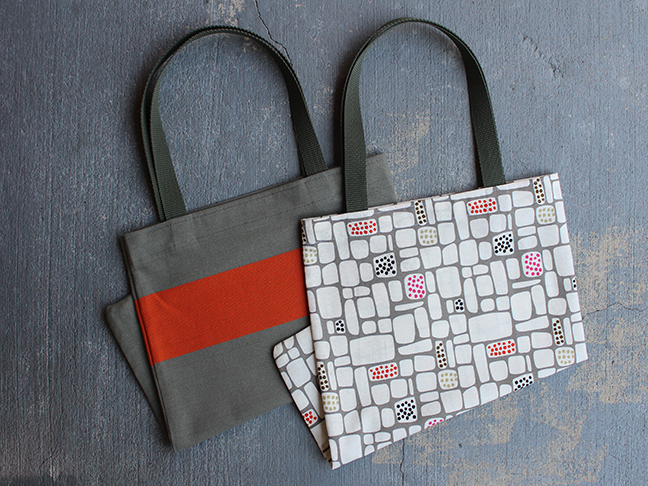
Spring is in the air! This means heading outdoors and getting lots of fresh air. Why not make a funky dish towel tote bag to take on your next adventure?
This tote bag uses dish towels for the fabric. It's a great project for a beginner sewer—just a few straight stitches and you are good to go. No cutting of the fabric. And no lining needed for the bag. But the best part…most dish towels come in sets, so you can make two totes for the price of one! IKEA has great dish towels—head on over and pick up a set. I bought these towels for under $5.00. Hello cute co-ordinating totebags!
Supplies:
- Colorful dish towels (1 towel per tote bag)
- Straps – 48" of webbing
- Sewing machine and related supplies (pins, thread, scissors, measuring tape)
- Disappearing fabrc ink pen (optional)
- Iron and ironing board
Instructions:
Step 1: Lay one towel onto your work surface. Right side should be facing down. Along the long edge, turn down and fold the edge 1". Press with an iron. Turn and fold again. Press again.
Step 2: Keep right side facing down. Fold in half and finger press a line into the fabric. Open up and mark a dashed line at the fold with the disappearing fabric ink pen.
Step 3: At the top edge, measure inward 3" from the side seam. Also measure 3" inward from the folded center line. Mark with the disappearing ink pen. Repeat for other side of the bag.
Step 4: Cut the webbing into 2 pieces that are 24" long.
Step 5: At each pen mark, insert the webbing under the folded edge. Make sure that about 1" of the webbing is under the fold. Also make sure that straps lay flat and are not twisted. Repeat for the other side.
Step 6: Fold the webbing upward and pin in place. You are now ready to sew the staps down.
Step 7: Place into your sewing machine and stich two lines—one along the bottom of the folded edge and another at the top of the folded edge.
Step 8: Place right sides together. Pin at the side seams and bottom edge. Place into your sewing machine and stitch together with a 1/2" seam allowance. Press seams with an iron. Be super careful to NOT touch the webbing with the hot iron. It can melt!
Step 9: Turn the bag right side out. Give the seams another quick press, and that's it!
Fun, right? Make one for yourself and a few for your friends. OR a few for yourself…
More Easy Sewing DIYs:
