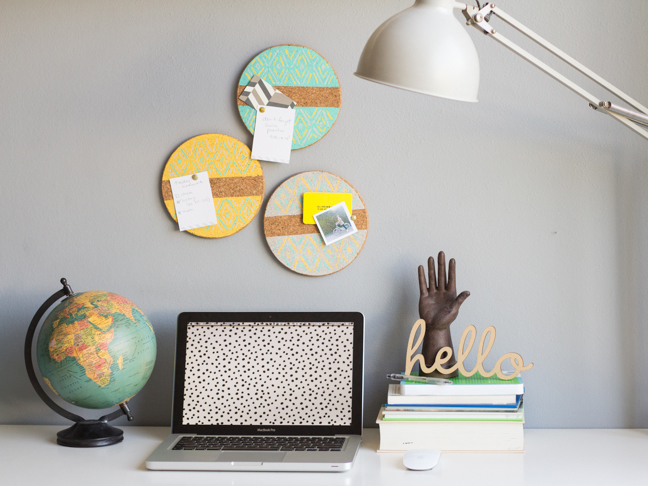
If you’ve got a crafty kid going back to school, this is the perfect project! These mini bulletin boards are super cool (not to mention totally affordable, made from IKEA trivets!). Follow our instructions to recreate this tribal pattern on your bulletin boards, or go off the beaten path and make a one-of-a-kind pattern of your very own. Whatever you decide, these DIY painted bulletin boards will help keep your kiddos organized and on top of things during the new school year!
Supplies:
- blank bulletin board or cork board (These trivets from IKEA are just $3 for a pack!)
- painter’s tape
- 3 shades of craft paint
- paintbrushes
- a way of affixing your bulletin board to the walls (hammer and nail, etc.)
Instructions:
Step 1: Put a strip of painter’s tape across the center of the cork boards. (Note: This step can be left out if you’d rather not have a natural cork stripe down the center of your bulletin board. I liked the look of it, and it’ll help keep the pattern aligned later as well. But omit it if you’re not feeling it!)
Step 2: Paint each cork board a different background color. Remove the painter’s tape.
Step 3: On one cork board, choose a second color and find a thin, small paintbrush. Paint large diamonds on either side of the center strip. (Side note: Tin foil makes a great palette for paints and brushes while you’re working!)
Step 4: Using the third color, paint a set of lines that outlines each of the diamonds.
Step 5: Using the second color once again, paint the smallest set of diamonds.
Step 6: Repeat the process, alternating colors on the other two cork trivets. If you’re using one large bulletin board, just continue the pattern across the whole thing! Allow the cork to dry completely.
Step 7: Hang the bulletin boards on the wall in your family’s or child’s workspace and use it to help organize! Tack up everything from homework lists to appointment reminders to fun photos and more.
More Home Office DIYs:
