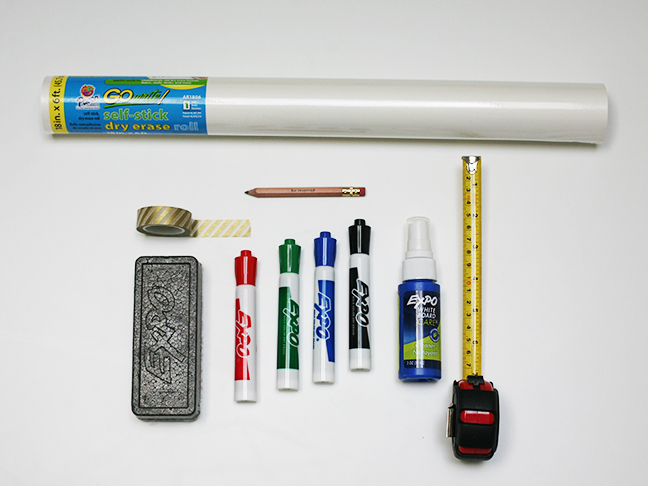
This DIY whiteboard wall is super easy to put up anywhere in your home or office. We use ours for everything from office meetings to Wi-Fi passwords, etc., and we love it! Use it for chore charts, homework assignments, or grocery lists, or anything that requires leaving messages for yourself or the fam! It’s functional and adds a pop to an empty wall.
Supplies:
- Whiteboard adhesive
- Washi tape
- Scissors
- Level
Instructions:
Step 1: Pick a space and height for your whiteboard. Using a level, pencil a line on the wall where you want the top of your board to be.
Step 2: Cut your whiteboard adhesive the desired width for your wall.
Step 3: Peel back the plastic in the center of the adhesive and align the top of the adhesive with the line you sketched on the wall. It’s easiest to start in the middle and press the adhesive against the wall slowly and evenly in order to avoid bubbles in the strip!
Step 4: Rub the adhesive flat and make sure it is all sticking to the wall, and then clean off any marks you made so you have a fresh clean slate!
Step 5: Outline the edges of the whiteboard with washi tape (we chose a gold diagonal striped tape, but there are SO many options!) and put your new whiteboard to use!
More DIY Home Office Decor:
