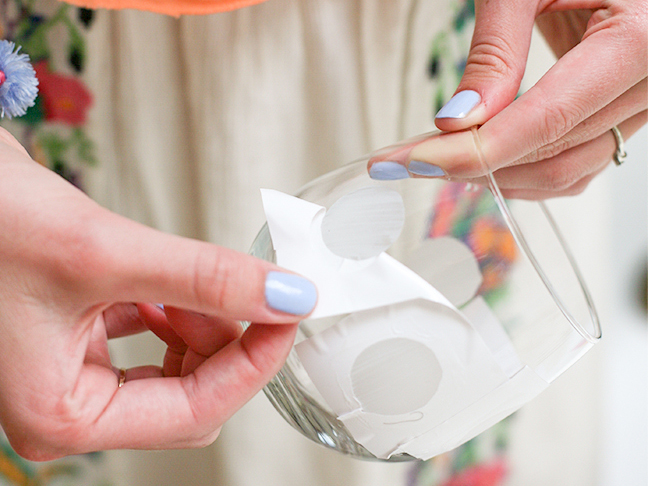
One of my favorite ways to spend an evening is having a girls’ night in with a great cheese spread, my best girlfriends, and a good bottle of wine! I’ve been seeing adorably polka dotted wine glasses pop up in store like these Kate Spade Larabee dot stem glasses, but they’re $50 for a set of four. I loved the idea, but wanted bigger polka dots, and didn’t love the price so much. So I took some inexpensive wine glasses and etched them myself.
Here’s, quite possibly, the easiest tutorial for how to etch wine glasses. It’s so simple, and are such a cute way to add some details to a plain wine glass. Grab some wine glasses, etching frost, and your creativity, and you’re all set.
Supplies:
- Wine glass (Stemmed or stemless works.)
- Etching cream
- Adhesive vinyl or contact paper
- Sponge or small paintbrush
- Scissors
Instructions:
Step 1: Begin by cutting the vinyl into the little squares, and then cut out the shapes you want on your glasses from the adhesive vinyl—we chose circles and hearts, but feel free to do whatever you like!
Step 2: Once you cut them out, peel the adhesive side and place it on your glass! (Try to smooth it out as best as you can, keeping the shape flat on the glass.)
Step 4: Once you are done painting, let your glasses sit for about 1-3 minutes before you wash them off under water. Washing them will take the etching cream off, leaving your glasses etched with shapes!
Step 5: Peel off your vinyl and any leftover etching residue!
You are all set for you next girls’ night or party with these super cute and easy DIY glasses! Cheers!
More DIY Wine Crafts:
