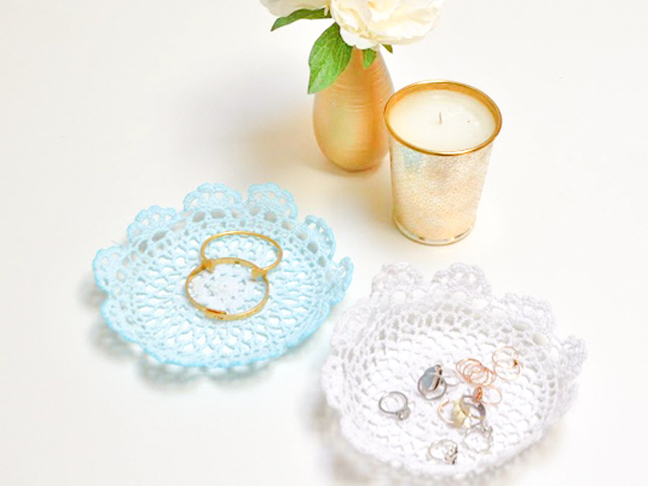
I always have a difficult time trying to figure out the best way to organize my jewelry. Oftentimes the best organizers aren’t the prettiest. Today, I am going to show you how to make a DIY doily jewelry organizer. Using lace doilies, these are great for storing your rings and bracelets. They are so cute and are such a fabulous way to add a little flare to your bathroom counter! These holders make your favorite jewelry pieces easily accessible so each morning you can quickly grab and go. Hope you enjoy!
Supplies:
- A large glass or plastic bowl
- Plastic container
- Water
- Saran Wrap
- Salt
- Color dye
- Lace doilies
- Mod-Podge
- Sponge brush
- Plastic bag
Instructions:
Step 1: Fill your plastic container with water. This is for dyeing your lace doilies. (If you like their color as-is, you may skip to step 4.)
Step 2: Add a touch of salt to your water, as well as a few drops of your color dye. We chose blue! Add more drops for a deeper, darker color.
Step 3: Dip your white doily into the colored water. Afterward, you can lay out a trash bag on your counter to let air dry.
Step 4: With either your dried, colored doily or a new plain white one, soak it in a bowl of Mod-Podge. Use a sponge brush to help spread the Podge. Make sure the doily is completely covered, as this will be what will shape it into a bowl.
Step 5: Flip over your bowl and cover the bottom with Saran Wrap. This will help to make sure your doily doesn’t stick!
Step 6: Take your doily and lay it over the bottom of your bowl. Let it sit here until it is completely dry. Once dry, peel your doily off. It should keep the form of the bowl!
Repeat steps 4–6 for all dyed doilies!
You’re done! Pick out your jewelry favorites and place them in the bowls. SO cute!
More DIY Jewelry Holders:
