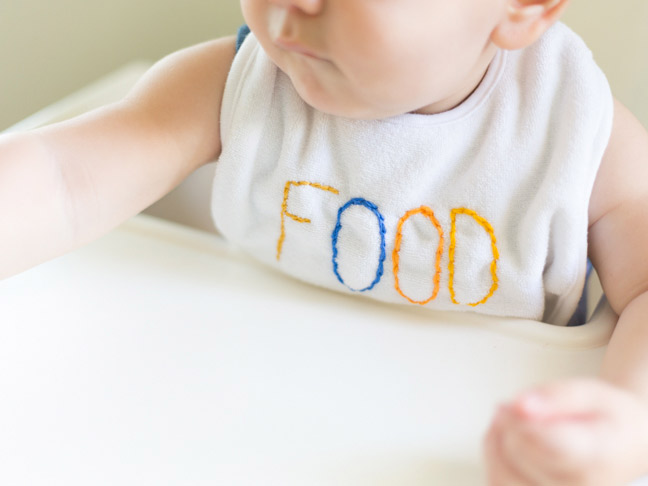
As a new dad, I find myself somewhat shocked at the sheer number of baby bibs we go through weekly in our household. Our little guy loves to eat, and it seems like no matter how hard we try, those bibs just get clobbered with everything from apples to zucchini. But that’s what they’re there for, right? We have a stash of plain white bibs that we like to use, but they get a little boring, so my wife and I decided to get a little creative and embroider a couple of them, just for kicks. As it turns out, it’s a pretty cool way to beat bib boredom—it would also be perfect for personalized baby shower gifts or to keep track of bibs for multiple kiddos. Here’s how to make your own DIY embroidered baby bibs.
Supplies:
- plain baby bibs
- embroidery thread
- embroidery needle
- scissors
- pen
Instructions:
Step 1: With a fine tip pen, outline the words (or image) you’d like to embroider on the bib. Outline with small dots; just touch the pen to the bib. Place the dots about 1/8″ apart.
Step 2: Cut about 30″ of embroidery thread. Thread your needle and knot the ends together.
Step 3: Start embroidering with a backstitch. To make a backstitch, begin by coming up through the backside of your bib, being sure the needle goes through the second-to-last dot. Then push your needle down through the last dot.
Step 4: Pull the thread taut, completing your first stitch.
Step 5: Bring the needle up through the back of the bib again, through the next dot.
Step 6: Push the needle down through your original dot. Continue in this fashion to create a chain of backstitches. If you want to change colors, just knot the thread at the back of the bib and start again with a new color, repeating steps 2–6.
Step 7: Finish embroidering your word and toss that bib on a baby! Your next meal will be twice as fun—I promise.
More DIY Bibs & Onesies:
