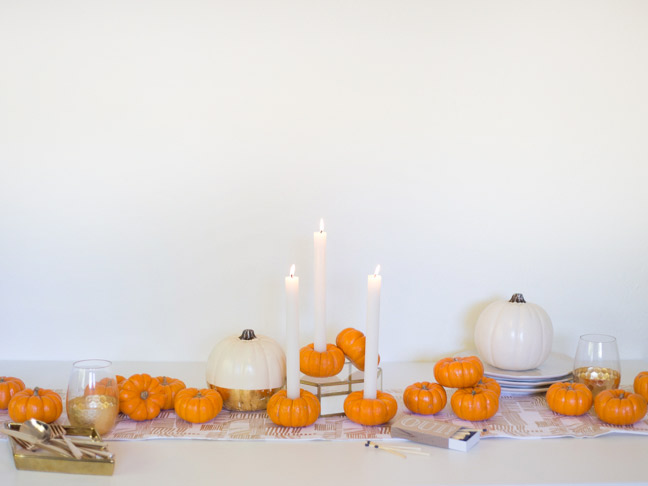
Are you hosting Thanksgiving this year? We are! And I wanted to make a plan for a super simple and fast centerpiece that would also look totally fab. I love hosting family gatherings, but this year my son’s birthday party falls on the day after Thanksgiving, so I’m looking for ways to entertain that are crazy-fast and cost-effective too. This little mini pumpkin candle holders centerpiece is the answer to it all! It’s really just a one-step process, and your holiday table will look like it came from the pages of a magazine. Let’s get to it!
Supplies:
- mini pumpkins
- taper candles
- drill with drill bit the same diameter as your candle base
Instructions:
Step 1: Pick your mini pumpkins. It helps if you find ones with short stems or no stems at all. Aim to use pumpkins that are all pretty similar in size and have a nice flat bottom.
Step 2: Wipe pumpkins clean of any dust or debris.
Step 3: Pressing directly down on the center of the stem, start drilling into your pumpkin slowly. Carefully brace the pumpkin with one hand while you drill with the other.
Step 4: Continue drilling past the stem and into the flesh. Drill down about halfway through the pumpkin, but be sure not to puncture the bottom.
Step 5: Wipe off any debris and insert your candle. If the candle is a little loose, shim one side with a pumpkin seed!
Step 6: Arrange the pumpkin candle holders on your Thanksgiving table! These look great with a really simple arrangement; lay down a runner and use more mini pumpkins to fill the space. Happy Thanksgiving!
More DIY Thanksgiving Centerpieces:
