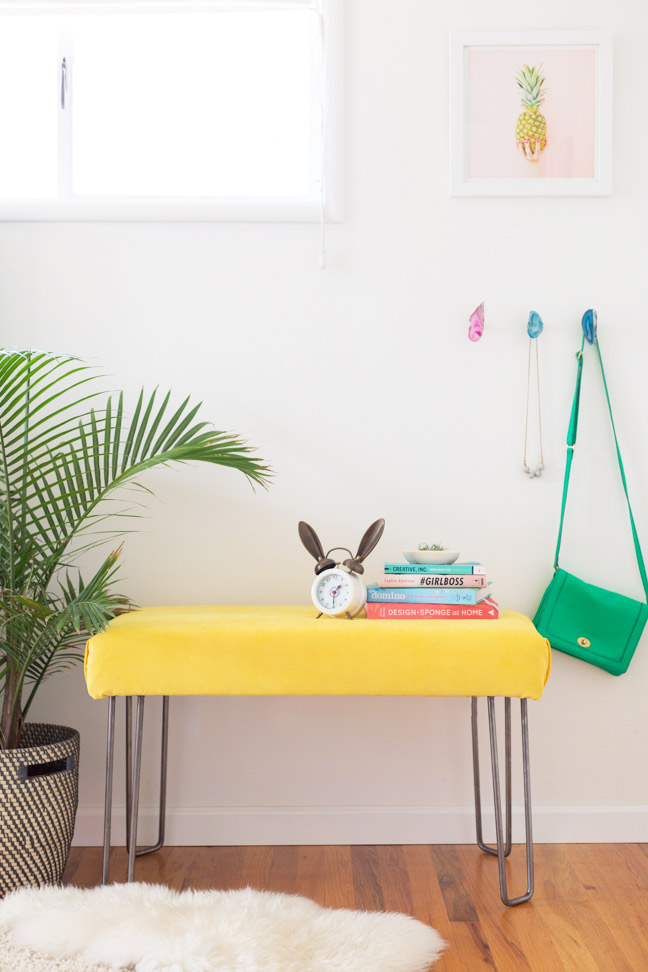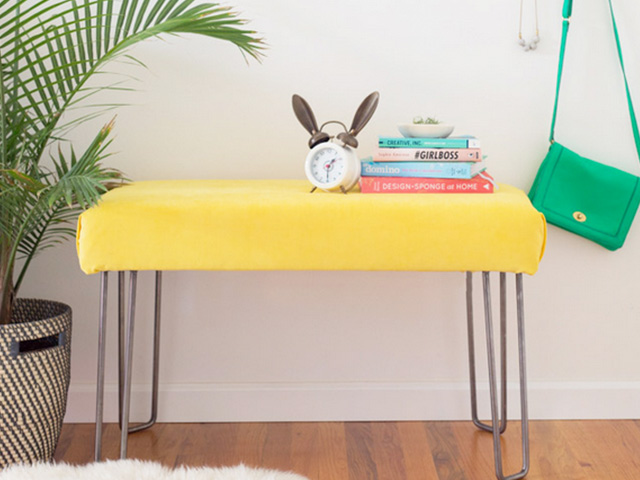
Wanna try your hand at making furniture? Don’t be scared! This pretty, modern bench is such a snap—you can make it in about an hour. (Seriously, my husband and I put it together during our son’s nap.) It makes a perfect go-anywhere piece; it would be great in an entryway to catch bags and coats, perfect at the end of a bed to perch on while you get ready, or as a bright little coffee table in a living room. There are also about a zillion ways you can customize this little DIY hairpin leg bench, with your favorite fabric or a different shaped leg. Give it a try and you’ll be able to tell people you made it yourself!
Supplies:
- ¾-inch plywood in the size of your desired bench (Ours was 16″ x 34″.)
- 2-inch foam padding
- batting sheet
- upholstery fabric
- scissors
- box cutter or knife
- staple gun
- hairpin legs (We got ours here.)
- drill
- screws
Instructions:
Step 1: Lay your plywood at the corner of your foam and line it up so the edges are flush. Use a box cutter to trace around the plywood and create a scoring line.
Step 2: Cut along the line with scissors.
Step 3: Repeat the process with another piece of foam. Lay the two pieces on top of each other on the plywood to be sure all edges are flush.
Step 4: Flip the stack of wood and foam over with a sheet of batting underneath. Starting on the long sides, staple the batting to the underside of the wood with a staple gun. Be sure to pull taut but not create ripples with the batting or foam.
Step 5: Once the long sides are stapled, staple the short sides in the same manner, folding the batting over as you would if you were wrapping a gift.
Step 6: Place your fabric wrong side up on a surface, and place the batting-covered bench wood side up on top of the fabric. Staple the fabric to the wood in the same way you did the batting. Once the ends are complete, trim away any excess fabric and batting.
Step 7: Drill your hairpin legs into the corners of the bench.
Step 8: Set up your new bench in your home and admire!
More DIY Furniture Projects:


