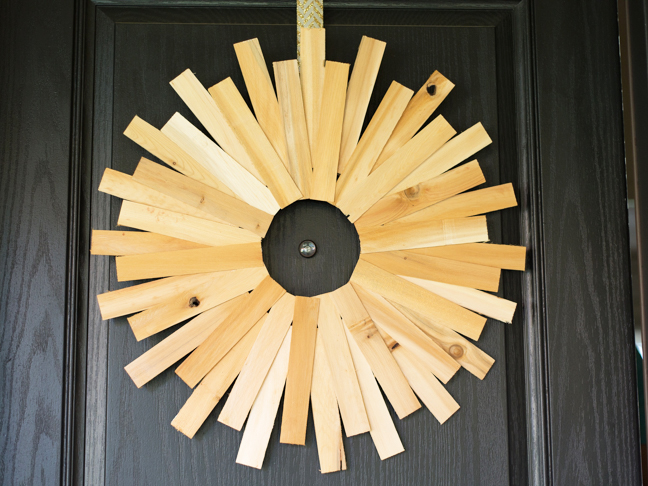
We decided to break from tradition this year for our holiday wreath. Sick of sweeping up pine needles on our porch every day, we decided to go a bit crafty post-modern chic with our wreath instead.
I made a beautiful starburst wreath out of some simple wood shims from the hardware store. I’m keeping ours minimalist and super simple, but feel free to spruce your version up with some color or holly leaves.
Supplies:
- 4 packs of cedar wood shims
- hot glue gun
- ribbon
- flat thumbtacks
Instructions:
Step 1: Your packs of cedar shims come in two sizes, thin and thick. Start by separating them into two piles. Now take your thin shims and arrange them in a starburst pattern to make a perfect circle.
Step 2: Once you have made your circle, arrange all of your thick shims in an overlapping pattern on top of it.
Step 3: Going piece by piece around the circle to keep the shape, glue each overlapping shim together.
Step 4: You should have eight shims remaining, four of each size. Lay four of them out in a square on the wreath and glue them in place.
Step 5: Glue the remaining four shims in a square diagonal to the first square. This will help maintain the wreath’s structure.
Step 6: Take a three foot long piece of ribbon and attach to the top square using a thumbtack.
Step 7: Attach the other end of your ribbon to the top of your door using another thumbtack. Hang to the proper height and trim away your excess ribbon. Tada! You have a super simple wreath—done and done!
More DIY Wreaths:
