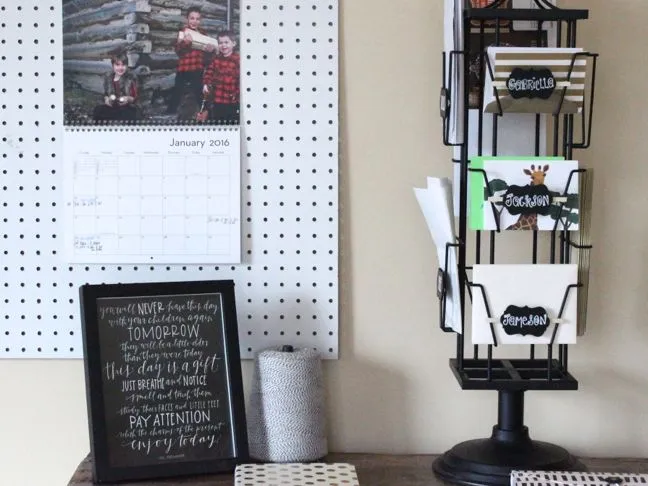
We have a rotating greeting card display rack that sits on our desk at home. Right now, its sole purpose is to collect random envelopes, photos, loose CDs, and a lot of dust.
Perhaps it’s the fact that the new year is here and I feel the need to organize, or maybe it’s the internal chaos I feel every time I look at it. Either way, I was motivated to do something about it and finally organize my home office (or at least one part of it).
I took a simple yet effective and affordable approach—one that required just a little bit of time (three easy steps, to be exact), chalkboard labels, a chalk pen, and glue.
Supplies:
- Greeting card display rack
- Wood chalkboard labels
- Chalk pen
- Sticks
- Hot glue, E-6000 glue, or removable putty
Instructions:
Step 1: Write the titles for each tiered pocket. You can organize it as you wish and write labels such as envelopes, cards, stationery, incoming, outgoing, etc. The items I needed to focus on the most were bills to pay, letters and bills to mail, invites to RSVP to, and our kids’ mail and paper items. I wrote the letters freehand, with chalkboard typography as my inspiration.
Step 2: Use glue or a removable putty to glue the chalkboard labels to the rack. My greeting card display rack had some pockets with a short width, and others with a long width. For the longer width pockets, I glued the chalkboard labels to thin wooden sticks, and then used putty to “glue” the sticks to the rack.
Step 3: Organize all your papers in the rack.
Here’s a before and after. Ah, it’s instant gratification! Wouldn’t you agree?
More DIY Home Office Ideas:
