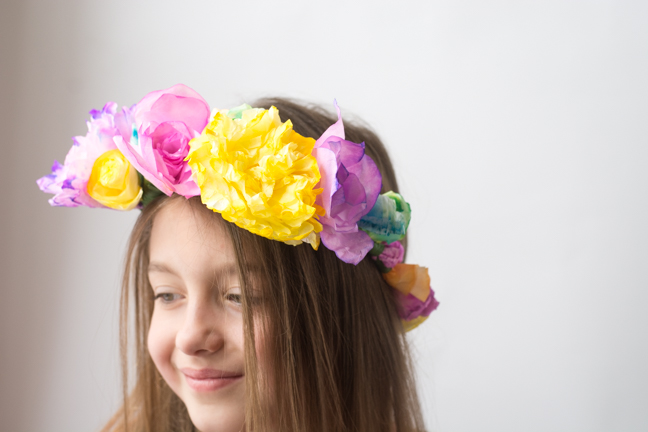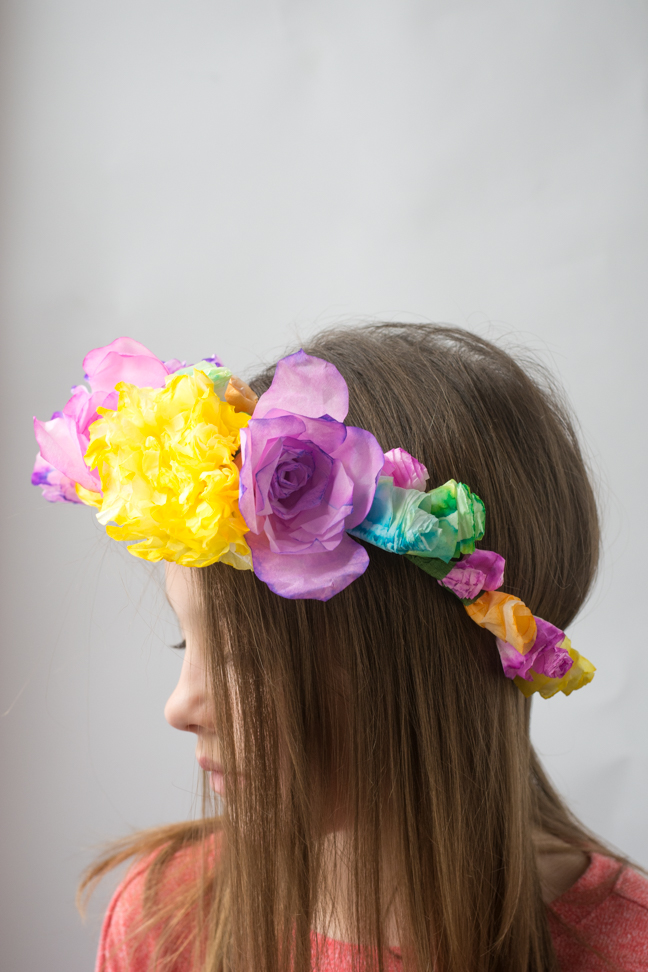
We love flowers of all kinds in our house. When we can’t pick real ones from the garden, we love to make paper ones. Okay. We love to make paper flowers all year around. But what REALLY makes my daughter’s eyes go all big red hearts are floral crowns; she loves them because they’re the perfect accessory for her imaginative play, and I love getting to watch her play.
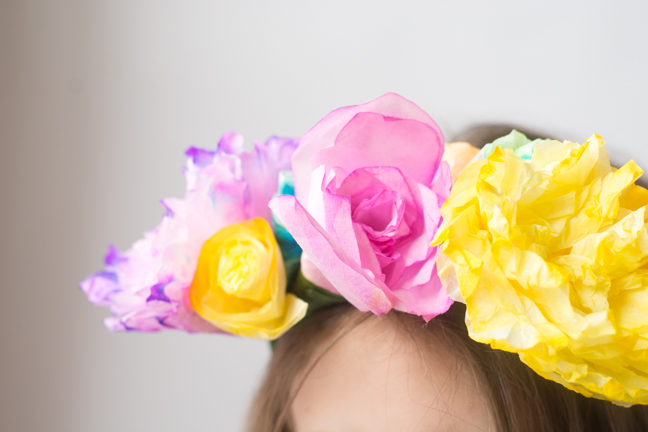
We’ve made a crown out of baby’s breath, but I have yet to show her one of those really gorgeous real flower ones because I’m afraid she will request one frequently (I sure do!). But we found a colorful compromise. Simple, easy, and brightly colored coffee filter flowers make for a gorgeous, unique, and bohemian crown. All three are really easy; only one requires a few precise shapes. I simplified the color step as well, so in no time you and yours will be well on your way to a beautiful coffee filter flower crown.
RELATED: 31 Awesome Ways to Entertain Kids with a Cardboard Box
Coffee Filter Roses
Supplies:
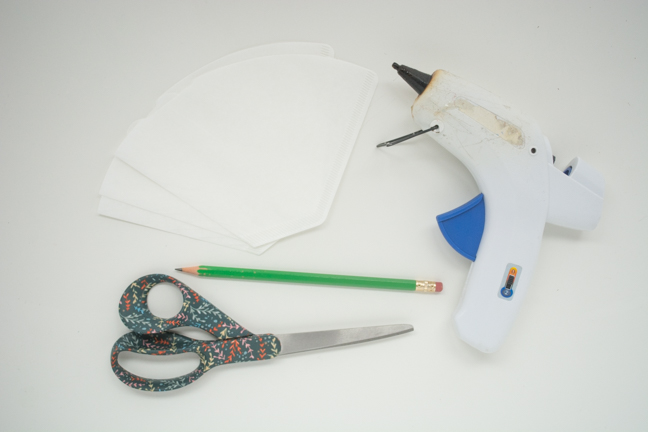
- cone coffee filters
- hot glue gun
- scissors
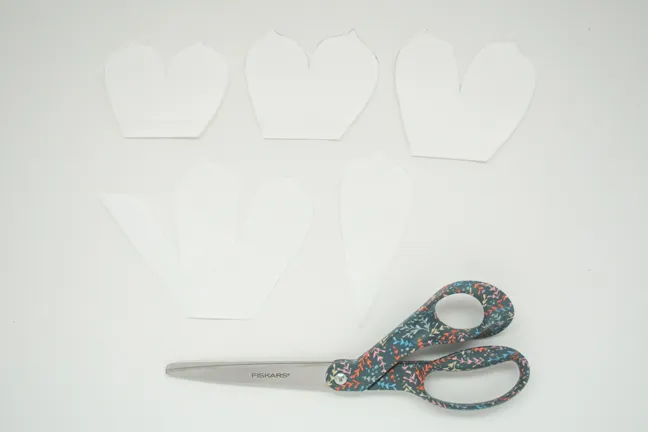
- templates: petals 1-3, petals 3-4
Instructions:
Step 1: Trace and cut out the the petals from the coffee filters using the template.
Step 2: Using petal #1, roll tightly and secure with hot glue. (It may be helpful to roll around a pencil temporarily to hold the shape and release the pencil when finished.)
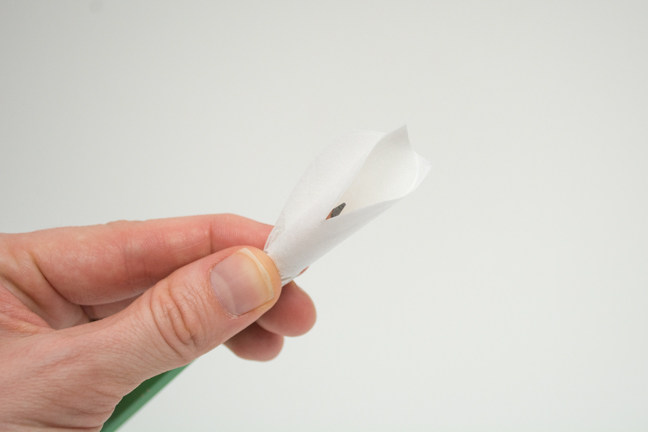
Step 3: Wrap another #1 petal, making sure points do not overlap. Secure with hot glue.
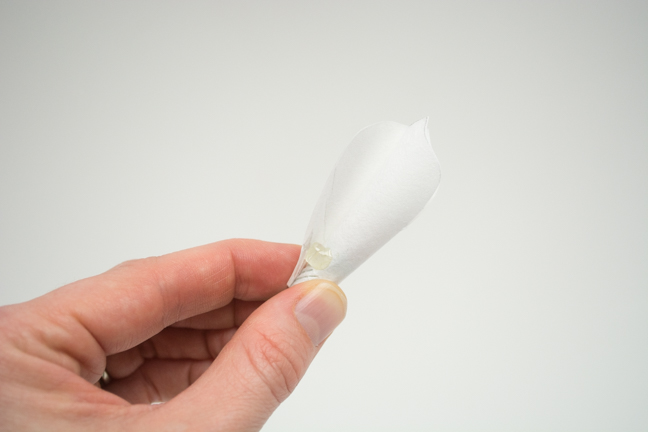
Step 4: Using petal #2, wrap petal around previous work and secure. Repeat with another #2 petal.
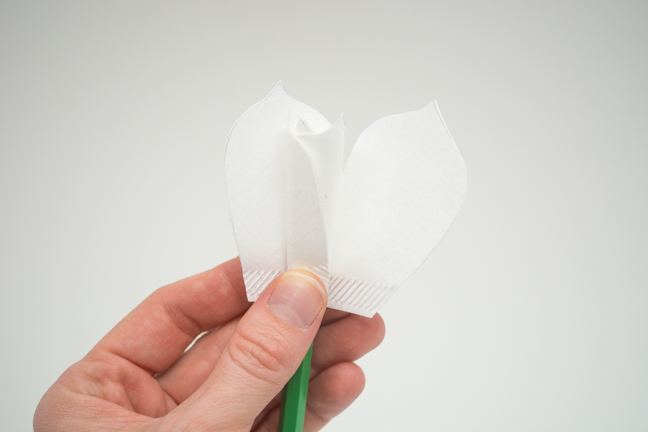
Step 5: Using petal #3, wrap and secure. Repeat with another #3 petal.
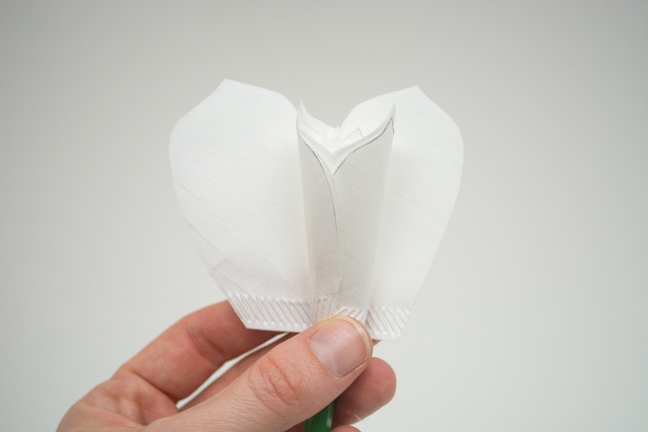
Step 6: Using petal #4, gently separate coffee filter layers on the perforated edge. Wrap and secure petal #4 around previous petals.
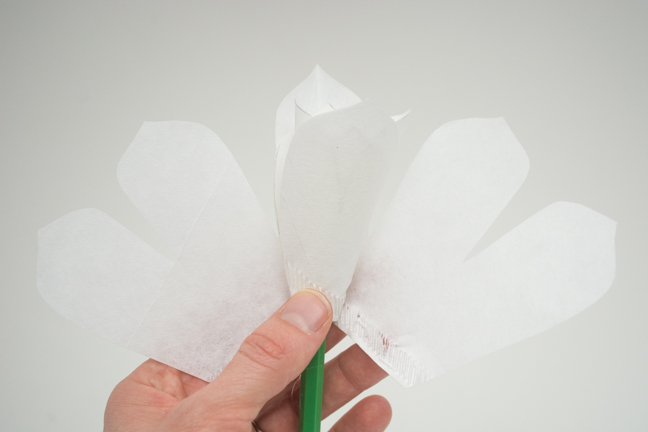
Step 7: Using your desired amount of the #5 petals, glue the petals on the coffee filter flower to fill in the gaps.
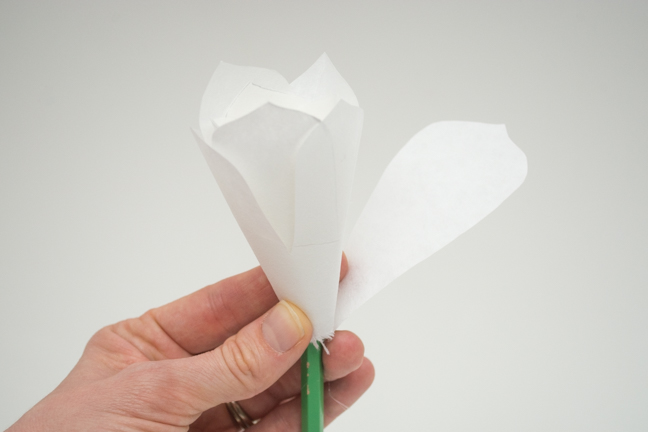
Step 8: Finally, using a pencil or your fingers, pull apart petals to fill out the rose.
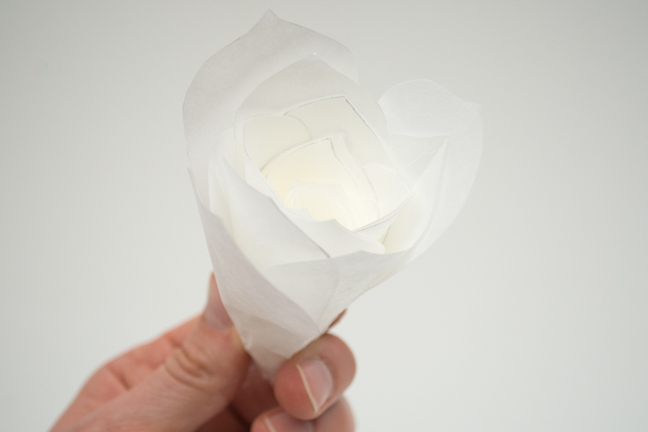
Coffee Filter Peonies
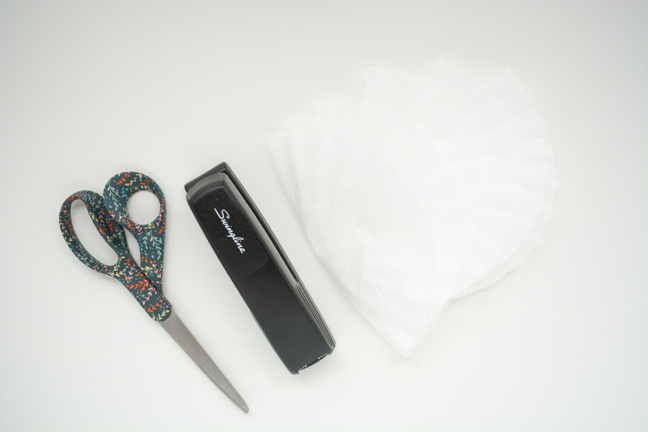
Supplies:
- basket coffee filters
- scissors
- stapler
Instructions:
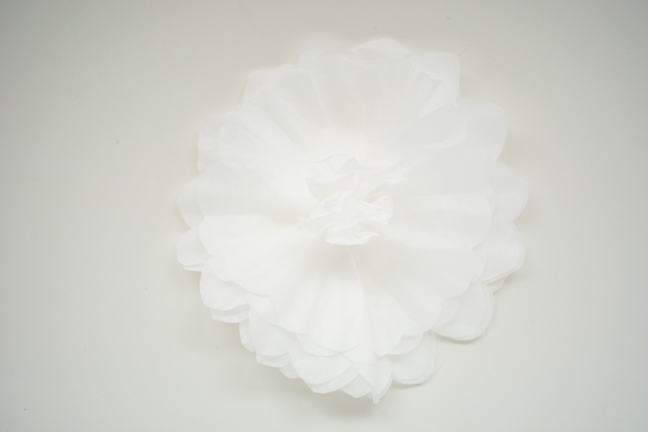
Step 1: Take 3 layered coffee filters and fold in half. Repeat, folding in half 3 more times.
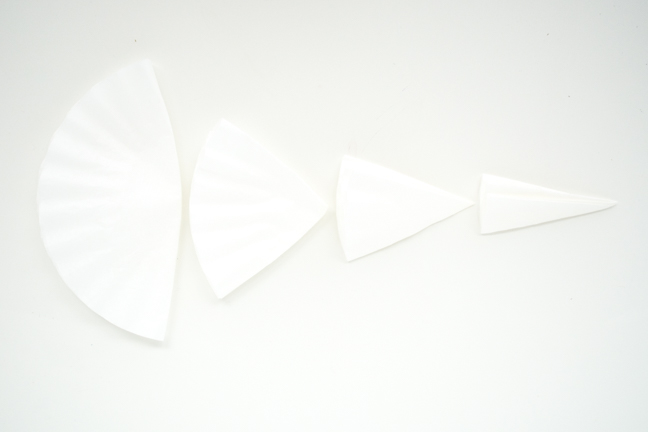
Step 2: Starting ½ inch from the top of the folded filters, make an arced cut.
Step 3: Repeat step 1 with another set of 3 layered coffee filters.
Step 4: This time, make the arced cut ¼ inch from the top of the folded filters.
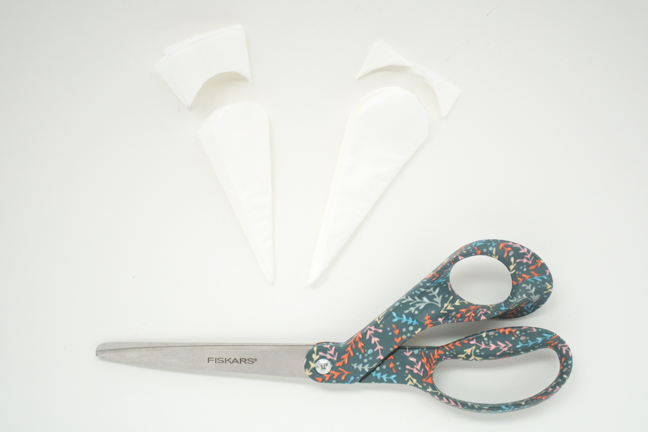
Step 5: Open the larger set of filters and pan out so the notches of the petals are staggered.

Step 6: Repeat step 5 with the smaller set of filters and lay in the middle of the larger filters.
Step 7: Place your finger in the center of the stacked filters, and with your other hand pinch the bottom of the stack. At this point, secure the bottom of the filters together with a staple.

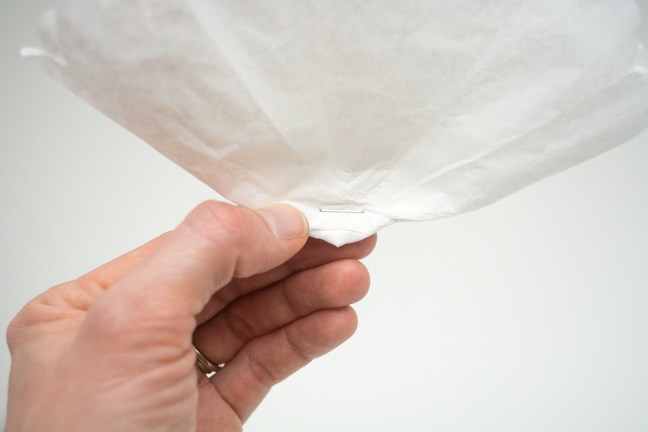
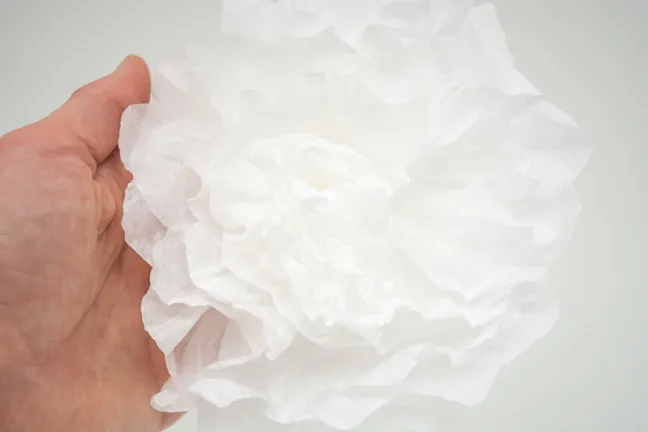
Step 8: Now, open and lay out the flower.
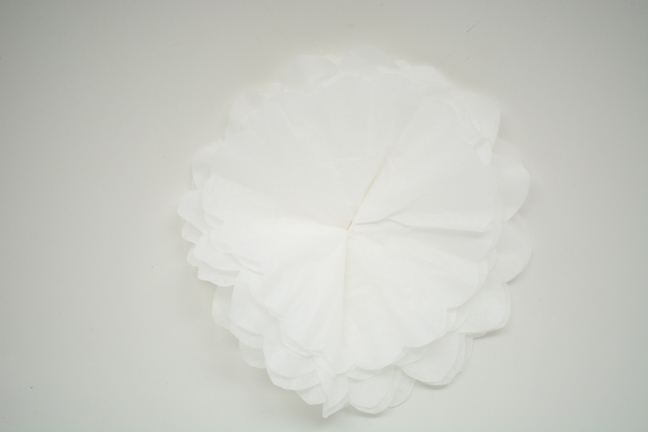
Step 9: Starting in the middle, separate each layer and pinch in the center. Don’t hesitate to “smash” the layers a bit to create a more realistic texture for the petals.
Simple Rolled Roses
Supplies:
- basket coffee filters
- scissors
Instructions:
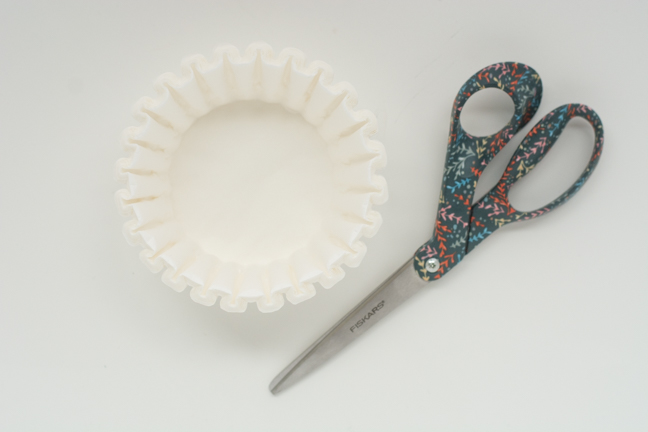
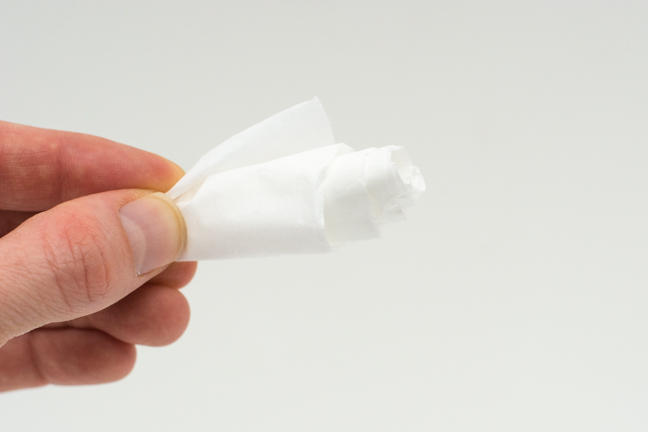
Step 1: Take one coffee filter and fold in half.
Step 2: Cut out inside center circle, leaving only ruffled rim.
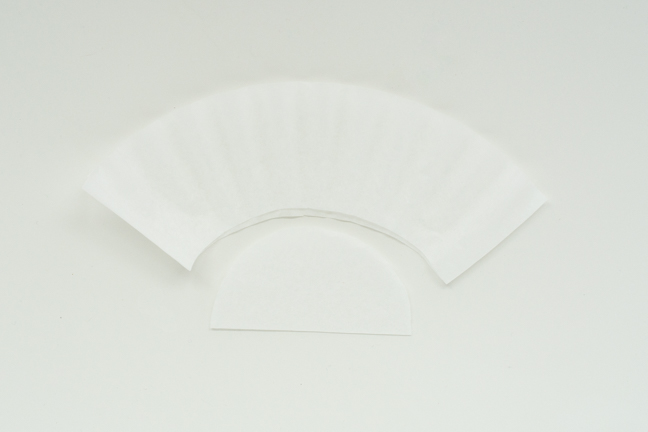
Step 3: Keeping the rim folded in half, simply roll to create a flower! Pinch the bottom so it stays together.
Dyeing Flowers
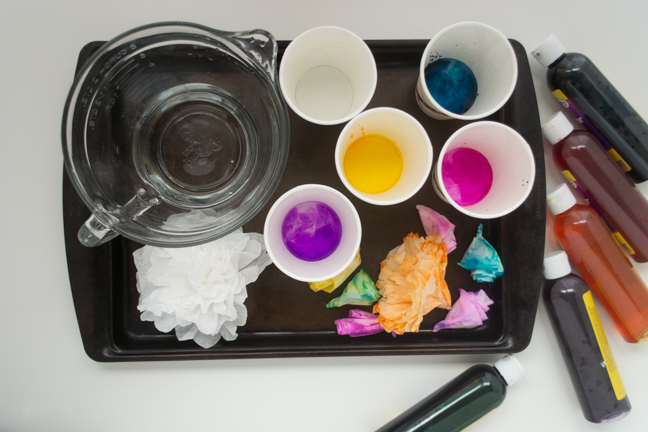
Supplies:
- medium cups
- water
- liquid watercolor paint
- clothespins
- rope, twine, or string to make clothesline for drying
Instructions:
Step 1: Pour about ¼ cup of water into a cup.
Step 2: Depending on the potency of each color, pour drops of paint into the water and stir.
Step 3: Submerge the flower into the paint mixture.
Step 4: Squeeze the excess paint out of the flower.
Step 5: Using a clothespin at the base of the flower, hang upside down on a clothesline to dry.
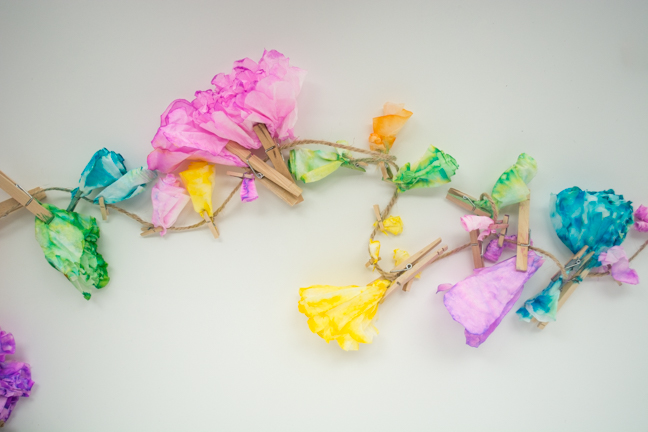
Step 6: Repeat steps using different colors and styles of flowers.
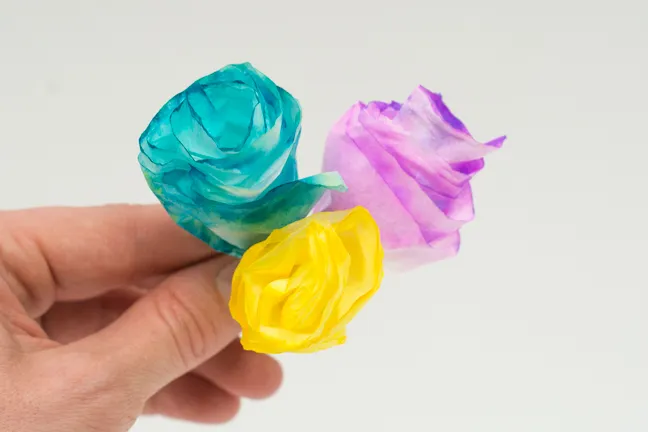
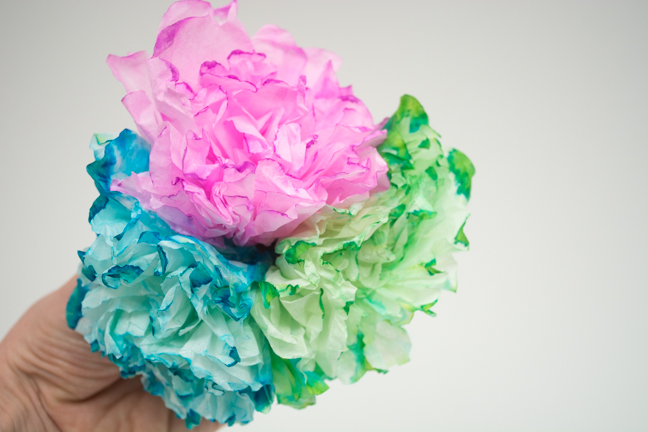
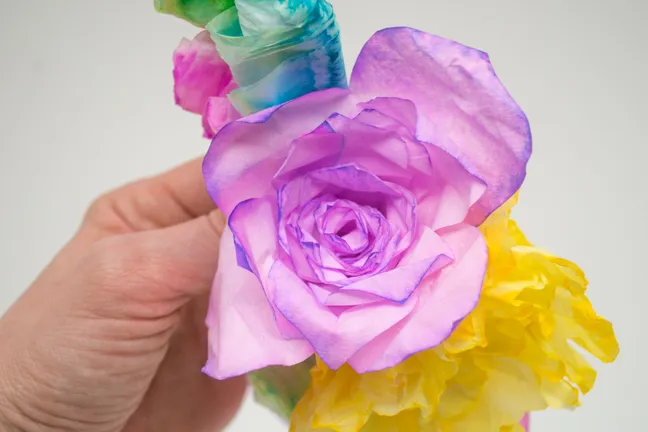
Making the Headband:
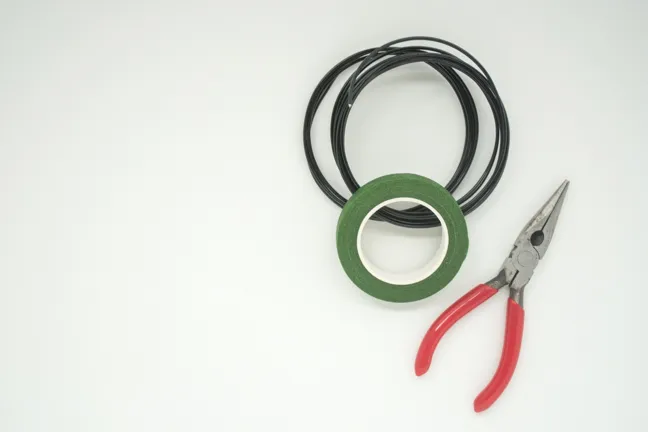
Supplies:
- floral tape
- floral wire (soft and malleable)
- pliers
Instructions:
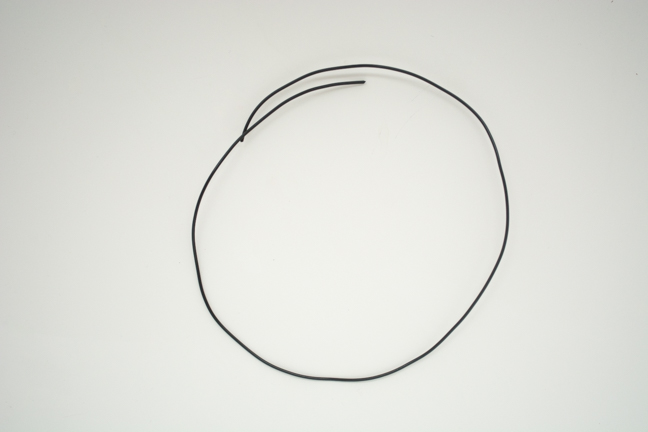
Step 1: Wrap your wire around the child’s head to determine the length of wire needed and form a circle.
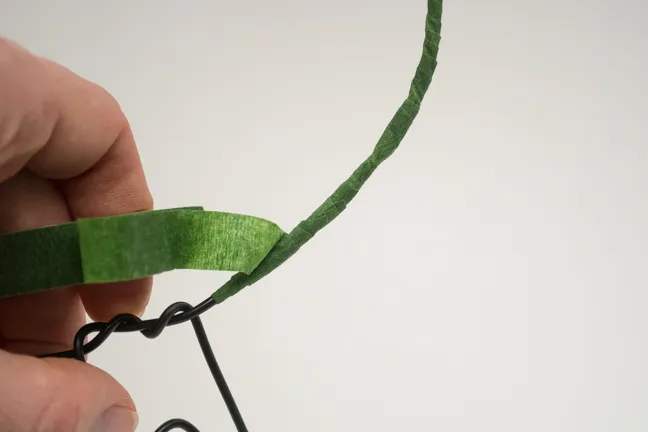
Step 2: Wrap the wire with floral tape to hide the wire. (This also makes it easier for the flowers to adhere in the next step.)
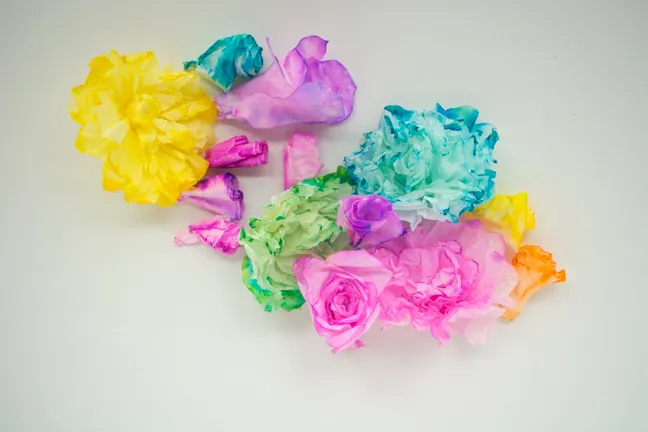
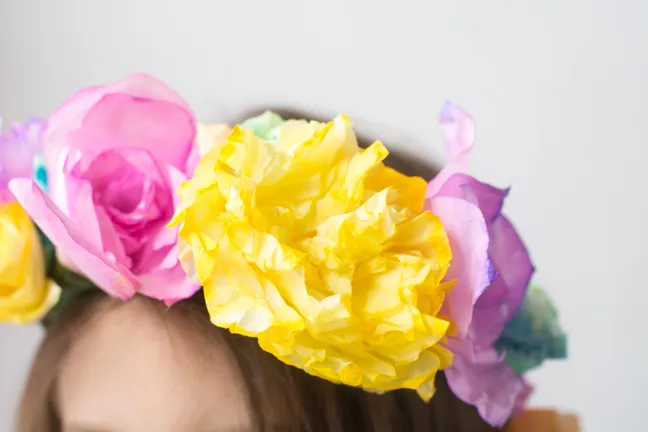
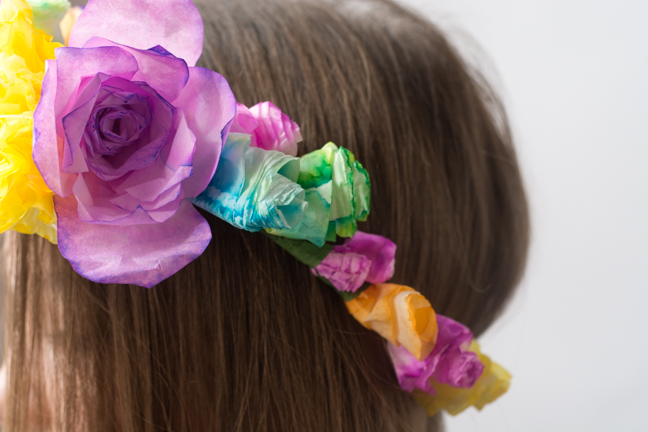
Step 3: Arrange your flowers how you prefer and attach them using floral tape. We chose to have the larger flowers in the front for a focal point, and we used the smaller ones to fill in holes and in the back.
More DIY Projects for Kids:
