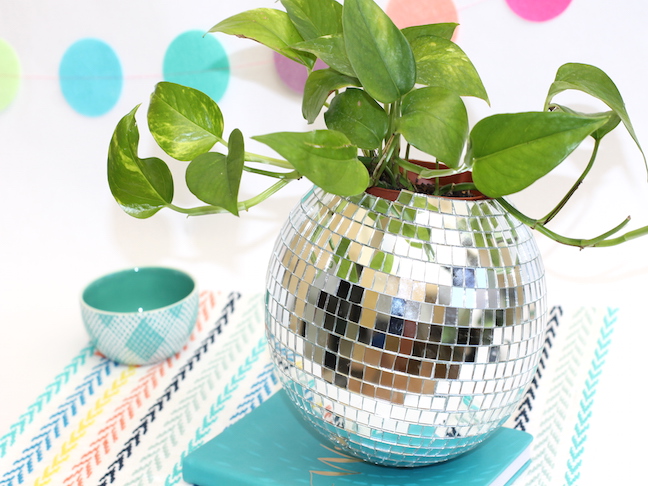
I don’t know about you, but I love adding groovy and surprising elements to my living space. I try to have a couple conversation starters in every room of the house, and this DIY disco ball planter never fails to make people that come over smile.
This ten minute DIY project will funk up your living room. Maybe it’ll even inspire your family have a dance-off every night after dinner!
RELATED: 31 Crafty Ways to Upcycle Wine Bottles
Supplies:
- 8” disco ball
- knife
- plant in a 4” container
- plastic bumpers normally used to protect the inside edges of your kitchen cabinets
Instructions:
Step 1: Use your knife to pry off some of the mirrors on the top of the ball. After the first few, you’ll probably be able to peel them off with your fingers. Peel off as many as you need to fit your plant. It’s best to be conservative; otherwise, you’ll be hot gluing the mirrors back onto the ball.
Step 2: Take your knife and cut into the ball. Cut only enough space for your pot to fit snugly inside. You’ll want to make sure your disco ball is hollow before attempting this project. (I’ve only ever owned two disco balls in my life, and they were both hollow. Honestly, I’m not sure how you can tell if they are hollow or not when you buy them. I guess it depends on the brand. Click on the link above to buy the one used in this project.)
Step 3: Place three plastic bumpers in a triangle shape on the bottom of your disco ball. This will help keep your ball from rolling off the table. I originally tried taping it, but that didn’t work.
Step 4: Snugly fit your plant’s pot into the disco ball.
Project complete!
More Home Decor Projects:
