One of my kids’ favorite traditions of the holiday season is the Christmas tree. They love to trek through the snowy woods to cut it down with my husband, and bring it home to make it our own. We string it with mini white lights, and then hang the ornaments, all while listening to classic Christmas songs. There is a sense of pride that beams from my children’s faces when they hang their own, handmade ornaments on the tree.
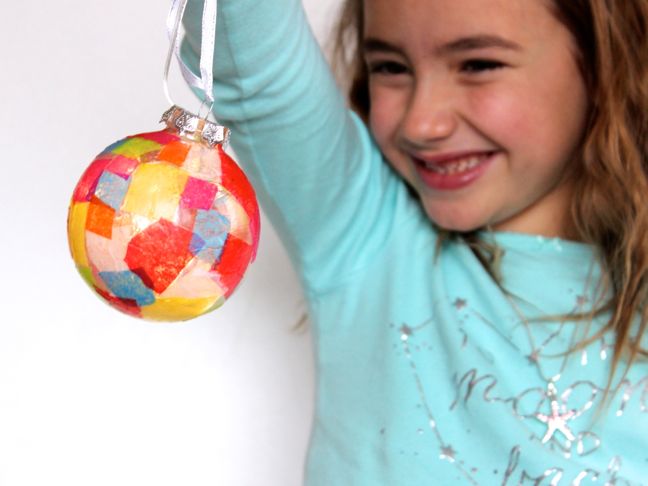
Each year they like to add a new DIY ornament to their collection. This year we opted for a colorful, DIY “stained glass” ornament. The inspiration came from all the tissue paper scraps lying on our floor after a gift wrapping session. Believe me, it’s so easy to do that you can turn your paper scraps into beautiful stained glass, too, even if you’re not a DIYer.
Supplies:
- Colorful tissue paper
- Scissors
- Mod Podge
- Clear, round ornaments (found here)
- Paintbrush
- Twinkle lights (found here)
Instructions:
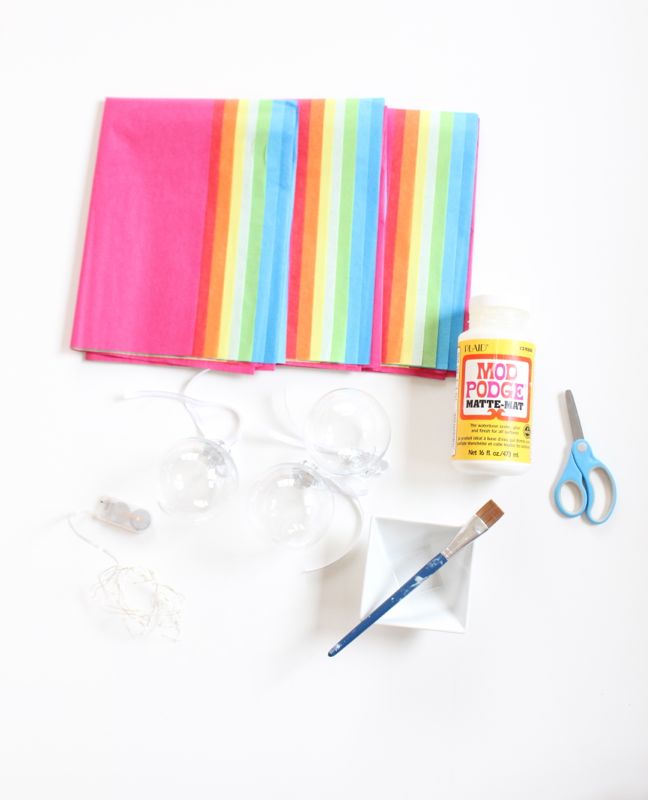
Step 1: Gather all of the materials.
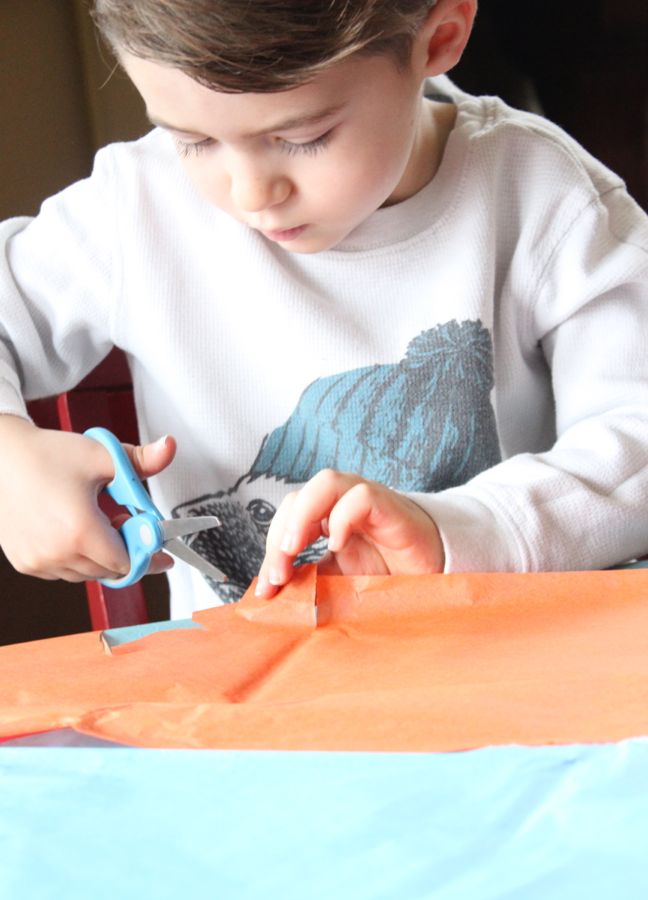
Step 2: Cut tissue paper into various shapes.
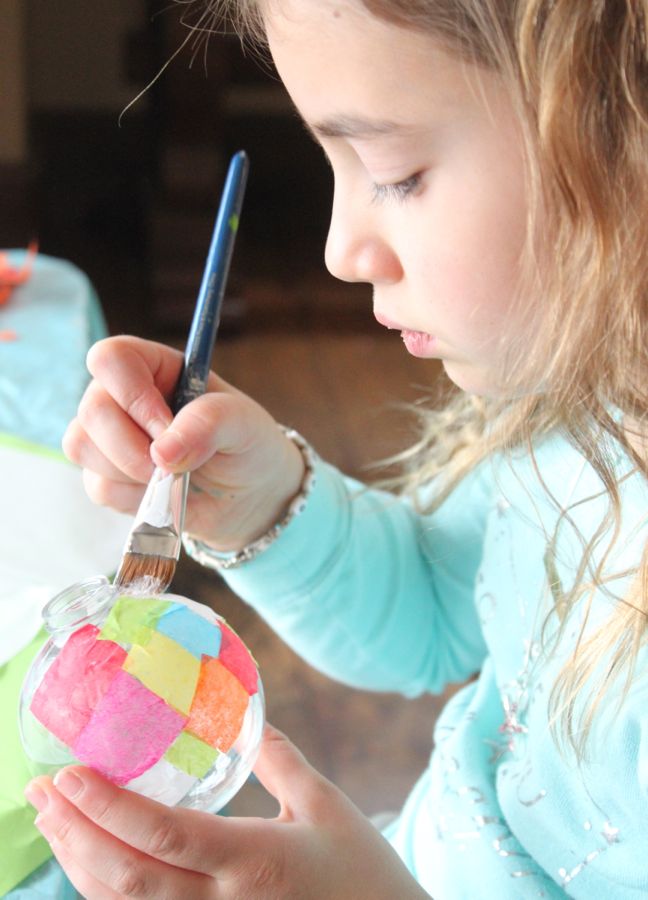
Step 3: Paint a small amount of Mod Podge onto the ball ornament.
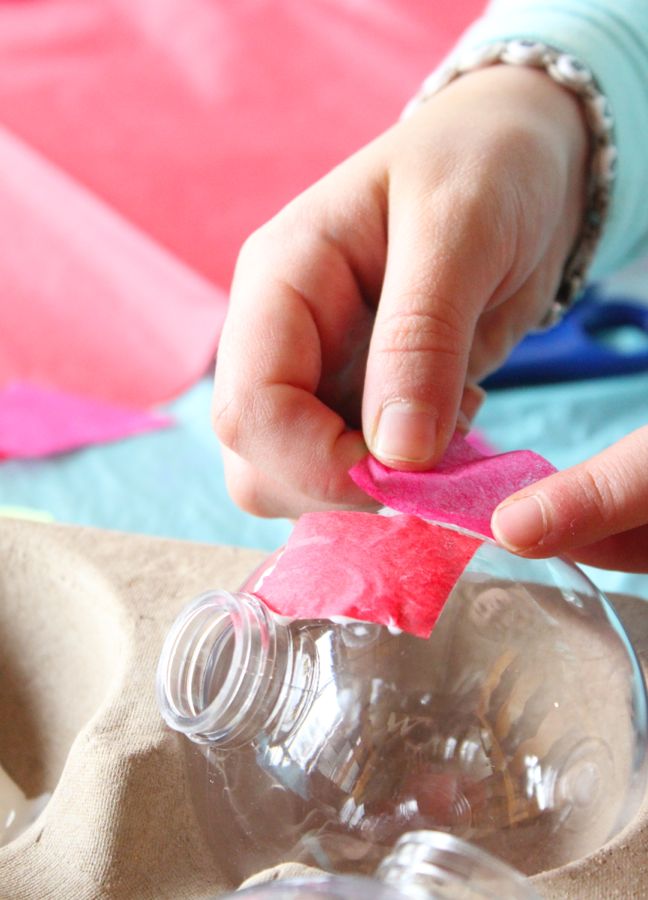
Step 4. Add a piece of tissue paper, and gently press down. Repeat this step until the entire ball is covered.
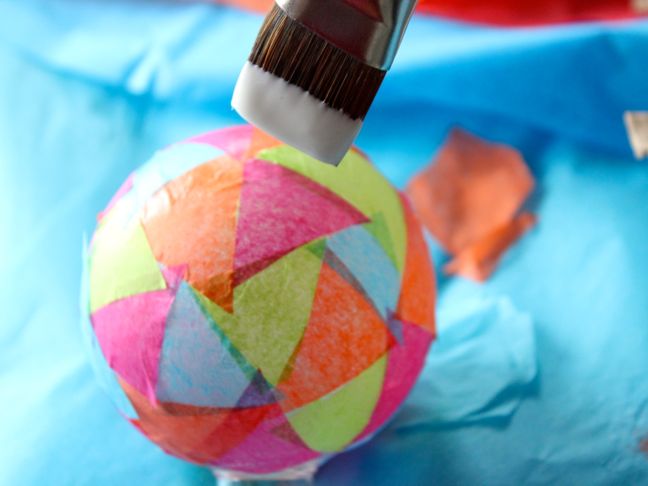
Step 5: Use a wide paintbrush to paint a thin layer of Mod Podge around the entire bulb. This is the step where I helped my kids, who are ages 4 and 6.
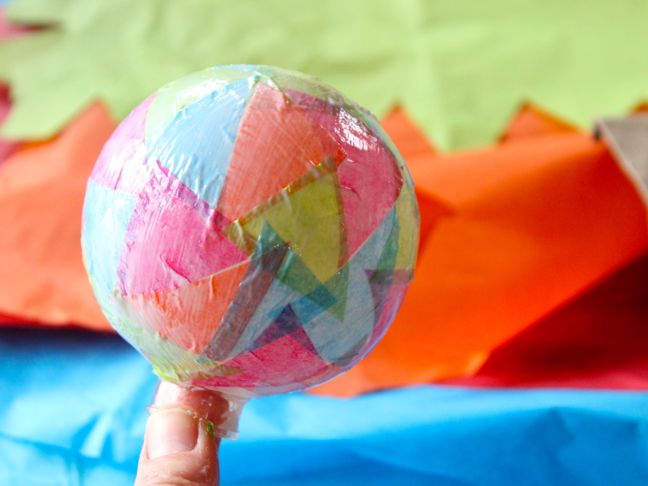
Step 6: Let the ornament dry; you will know it’s completely dry when the Mod Podge turns clear.
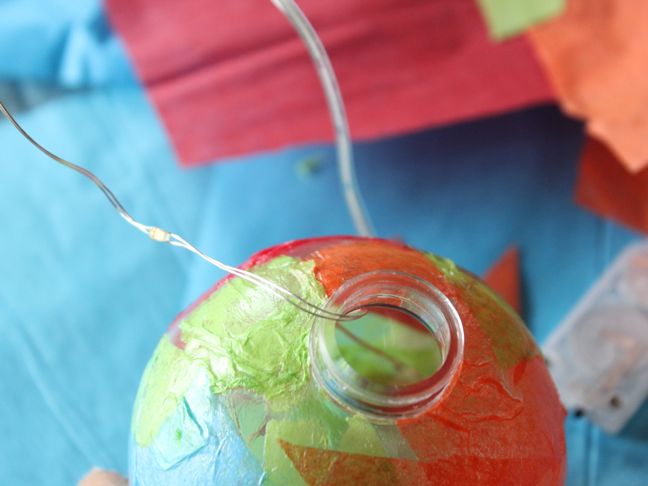
Step 7: Once the ornament is dry, remove the silver top and insert the twinkle lights. The small battery pack should be left outside the ball. You can camouflage it once you hang the ornament on the tree.

Step 8: Light the twinkle lights and watch the colors shine. Enjoy!
