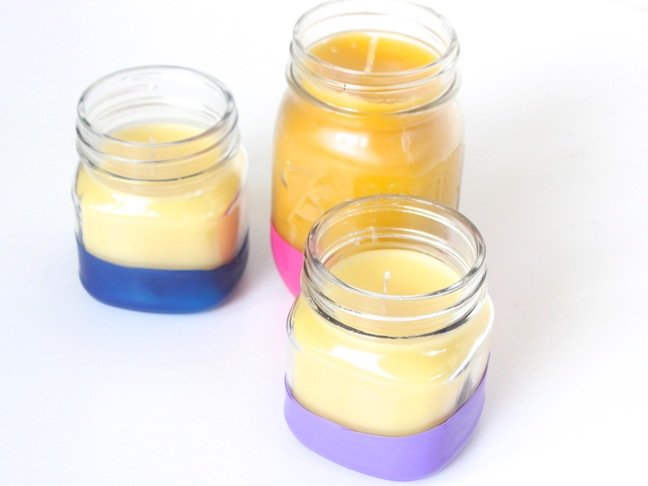
I love warm summer nights. Unfortunately, I’m not the only one. Pesky mosquitos like them, too and although small, the itch from their bites is mighty, so they can certainly ruin an evening out of the porch. The cycle typically goes a little something like this. First, I apply mosquito repellant on my skin (which often stinks). Next, the mosquitos still bite, and finally (the worst part), I itch like crazy for several days.
To put an end to this cycle, I tried a new mosquito repellent: citronella candles. Citronella, an essential oil, is one of the most common natural ingredients used in mosquito repellants. Not only does the scent keep the mosquitos away, but the candle is a pretty addition to the table. I’ve never made candles before but I learned that it is easy and fun! I made several extra candles, because they make the best summer hostess gifts.
Ready to make your own DIY Citronella Candle? Here’s how to do it, step by step.
Materials:
- Beeswax or soy pellets (1 lb. block of beeswax made two 8 oz, mason jars, and approximately 2.5 cups of beeswax pellets, available in white or yellow, made one 16 oz. mason jar)
- Clothespin or wood stick
- Citronella essential oil
- Metal pot, medium
- Water
- Candle wick
- Hot glue gun and hot glue
- Balloons (for the color-block effect)
- Mason jars, 16 oz, 8 oz or 4 oz
- Avery labels
Directions:
Step 1: Glue the silver base of the candlewick to the bottom, center of the Mason jar.
Step 2: Wrap the extra wick around a wood stick or through a clothespin (see above), and then rest the stick or clothespin on the rim of the Mason jar. Make sure the wick is tight and in the center of the Mason jar.
Step 3: Fill your metal pot with 2-3 inches of water, and then fill the glass measuring cup with beeswax. If you have a block of wax, try to slice it into smaller pieces or shave it. The wax will melt faster. I found that working with pellets was easier. Place the measuring cup inside the metal pan and turn the stove on medium-high to high heat to melt the wax. Stir with a Popsicle stick every once in a while. This part of the process took longer than I thought. It took about 20-30 minutes to melt the wax for each candle.
Step 4: Once the wax has completely melted, remove from heat and drop the citronella inside the wax. For every pound of wax, add 40 drops of citronella. If you are making one small Mason jar, 20 drops is good. Stir the essential oils with a Popsicle stick.
Step 5: Immediately pour the melted wax into the Mason jars, almost to the top. It will take about 24 hours for the wax to completely harden.
Step 6: Now that the candle is done, you can add any tag, label or color you want. I chose a simple way to add color to each Mason jar with a balloon. To do this, cut the stem off of the balloon. Next, wrap the bottom of the Mason jar with the balloon. For more permanent color, paint the mason jar.
Step 7: I think these will make lovely hostess gifts, so I made tags. I used round, white Avery labels. Avery has a great online program (it’s user-friendly and amazing) to create a label. Once the label is made, adhere the label to the Mason jar lid.
Step 8: Light the candle and let that citronella scent fill the air.
Have a happy, bite-free summer.
