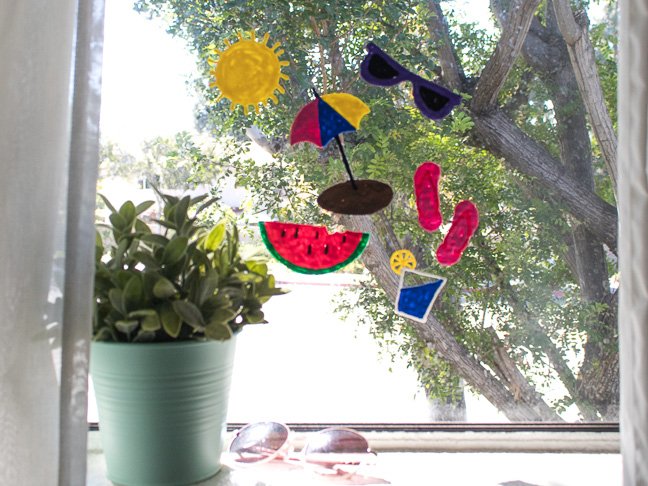
The time will come this summer when your kids need to escape the hot weather and enjoy the air conditioning indoors. But that doesn’t mean they have to give up fun summer activities. Give your kids a chance to make their own fun summer-themed window clings by painting their own shapes or following stencils. With puffy paint, they can make colorful window clings that they can arrange and rearrange on the windows inside the house. And best of all, they are removable. As in – not stuck or stained on your walls forever like some of their other masterpieces that you have been meaning to paint over for the past three years.
Making window clings is as easy as painting! Give your kids bottles of puffy paint (you can see how to make your own puffy paint with Mod Podge here!) with an easy-to-draw-with tip and let them paint on wax paper or a ziplock bag for art that can be transferred to your windows once dry.
Supplies:
- Wax paper (or large clear plastic bag)
- Puffy paint
- Tape
- Stencils, optional
Instructions:
Step 1: If using a stencil, print out your desired shapes or pictures.
Step 2: Tape the stencil to a table. Then tape a large piece of wax paper or a plastic bag on top.
Step 3: Let the kids use puffy paint to trace and fill in shapes on top of the parchment. Make sure they use somewhat thick layers of paint. This will make them easier to peel.
Step 4: Let the paint dry completely for several hours or overnight.
Step 5: Once completely dry, carefully peel the window clings off of the parchment. Remember, they may be fragile. I found that some areas would stick to the wax paper, but it was because I did not allow them enough time to dry.
Step 6: Now, stick away! Kids can use fun summer window clings to make their own scenes on the windows and keep them busy indoors!
