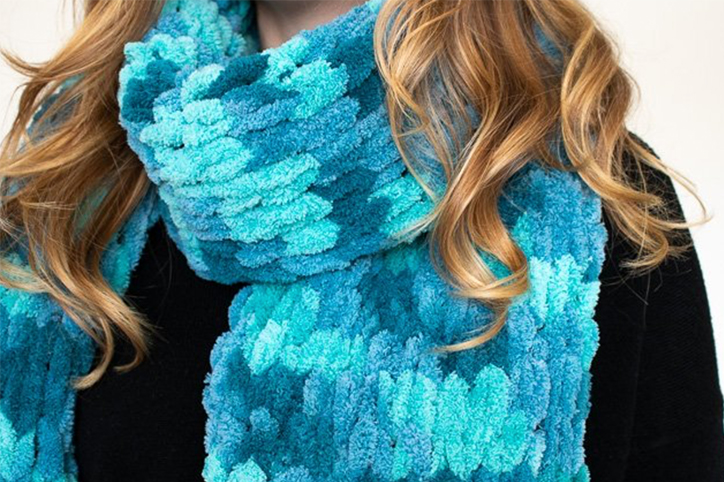
I’m a big crafter but knitting has always been frustrating for me. Until now. I was introduced to a special looping yarn, and I learned how to finger knit a colorful scarf in less than one hour! Finger knitting is a great first step to learning how to knit successfully. And it’s kind of mindless and easy so you can actually binge watch your favorite shows while doing it! It’s a total win.
Also – If you’ve ever wanted to bring your knitting tools on a plane, but couldn’t because of safety regulations, then this easy finger knit scarf is perfect for you because there are NO sharp objects required (and no chance of your kids using your knitting needles as swords). You can really finger knit anywhere you want because all you need is some yarn and your fingers! It may take the first few rows before you perfect the looping process, but then it begins to feel like instinct, and you’ll have a finished scarf in no time at all. Just think about all of the DIY gifts you can create for the holidays!
Want to make a scarf but have ZERO knitting experience? This finger knitting technique is just for you. Follow my simple instructions below.
How to Finger Knit a Scarf in Less Than One Hour:
Supplies:
- 2 skeins of loop yarn
- Scissors
Instructions:
Step 1: Pull out yarn and count 12-16 loops. This will determine the width of the scarf (mine is 16 loops, so it’s very wide, but thinner scarves will also be faster).
Step 2: Take the 17th loop (working end) and pull it through the 16th loop to create a row of “stitches.” Repeat across the 16 loops, pulling each through, and repeat across the other direction when you reach the end.
Follow this pattern until you run out of yarn in the first skein. It’s mindless work, but be sure to check your work often as it is easy to miss a loop here and there, and one missing loop could stick out like a sore thumb on your finished scarf. If you make a mistake, simply pull the loops loose and fix it.
Step 3: When you reach the end of the skein, cut the last loop open. Thread this piece through the upcoming loops to hide it.
Step 4: To begin the second skein, repeat the above technique. Cut the first loop loose, thread it through the scarf loops and then continue pulling the working loops through the existing ones on the scarf. Continue until your scarf reaches your desired length. (I used about 1-1/2 skeins total.)
Step 4: When you’re satisfied with the length, you will still have a row of unfinished loops. Choosing the farthest loop on one end, pull the next loop in the scarf through it. Repeat across the width of the scarf to “finish” the edge, making a braided appearance with the loops.
Step 5: When you reach the end, repeat step 3 on both sides of the scarf. Cut the loop loose, trim and weave the strand of yarn through the loops in the scarf. Now it’s finished!
Like what you see? Don’t forget to Pin it!
