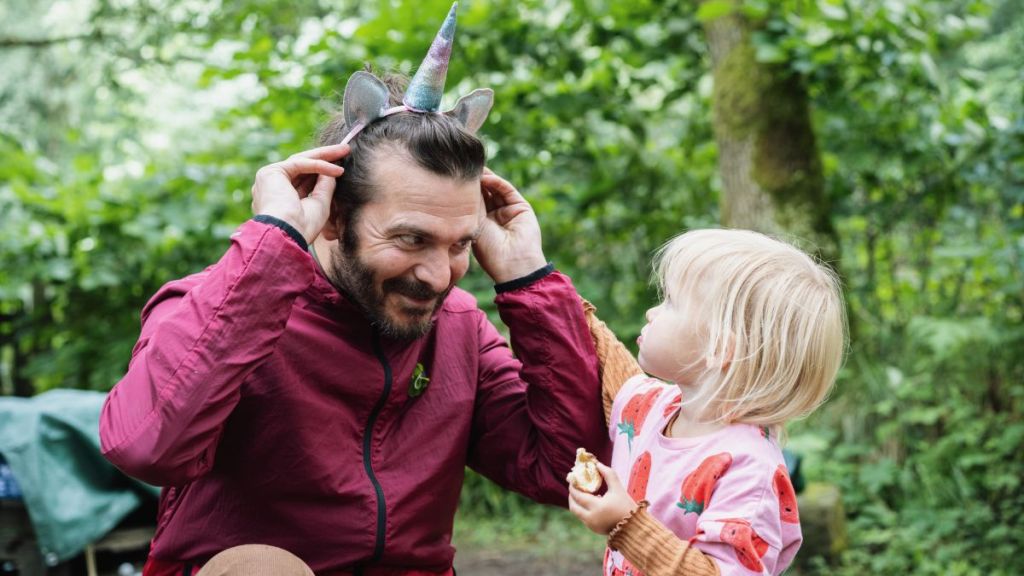
It is hard not to love unicorn accessories, so we can’t blame the kiddos for wanting to rock one of them for the spooky season. They are simply adorable and perfect for Halloween celebrations. If you have a unicorn lover at your home, we have the perfect no-sew DIY unicorn headband tutorial for you (and your kids) to get started on.
You will need just a few materials to make this DIY unicorn horn that’s as mystical as they come. Moreover, if you want to go full-on unicorn for your Halloween costume, you can pair this pretty no-sew DIY headband with a whimsical, colorful outfit. Finish the look with glittery makeup that further elevates your Halloween costume. Alternatively, you can wear the headband on its own for a simpler, “no-costume” vibe. This no-sew unicorn headband would also be lots of fun to make for birthday parties, baby showers, bachelorettes, etc.
Materials
- Felt in various colors
- Embroidery thread
- Glue gun
- Batting
- Scissors
- Pen
- Headband
Procedure
- To make the no-sew DIY unicorn headband, start by cutting a piece of felt for the cone that will create the unicorn horn. First, decide how tall you would like the horn to be. Then, cut a tall triangle with a slightly curved bottom.
- Use the glue gun to stick the end of a piece of embroidery thread along the edge of the top of the horn piece.
- Create the cone for the no-sew unicorn headband by placing a thin line of glue along the edge of one side of the felt.
- Then carefully roll the piece into a cone shape, pressing it gently into the line of glue on the edge. You may want to do a few inches at a time, rather than glue the entire edge in one go.
- Once your cone shape is complete and you have a horn, carefully start stuffing the horn with batting to make it firm so it stands upright on the headband. Pull a bit of batting off and press it up into the horn. Then, use a pencil or something similar to pack the batting inside. Ensure that the batting isn’t lumpy or uneven. Fill until you reach the bottom of the no-sew unicorn headband horn.
- Then take the embroidery thread that is now coming out of the top of the horn and wrap it around the horn, creating a spiral of thread. Bring it down and inside the bottom of the horn and affix it inside with a bit of hot glue to keep it in place. Trim the excess and your horn is almost ready.
- Cut a circle of felt to fit into the bottom of your horn. Place a ring of hot glue inside the base of the horn and affix the circle of felt there to finish the bottom and keep the batting inside.
- Start cutting spirals of felt to create the flowers for your no-sew unicorn headband. First, cut a straight spiral line into a square of felt. Then, go back and cut a scallop pattern into the spiral so that you’re left with a scalloped spiral.
- At the inside of the spiral, place a thin line of hot glue. Begin to roll the felt in on the line of hot glue to create a flower. Keep squeezing out some glue and rolling until you reach the end.
- Glue the horn onto the center of the no-sew unicorn headband. Then, create more flowers (in various shapes and sizes), and glue these around the horn.
- Cut some small leaves from green felt and glue them around the flowers and horn, strategically using them to hide any unfinished or messy areas.
Now simply wear your no-sew DIY unicorn headband and have a magical day! Moreover, you can customize these and make them in a color of your kid’s choice. So, get the materials and try this no-sew unicorn headband DIY project today. Also, do let us know in the comment section below how many headbands you made.
