I’ve been a Disney fanatic for decades. I watched Beauty and the Beast so many times when I was little that I memorized all the lines. I made my dolls act out every scene while the movie played. And, I wasn’t even the tiniest bit ashamed to rewind that old, chunky VHS over and over to watch it back-to-back.
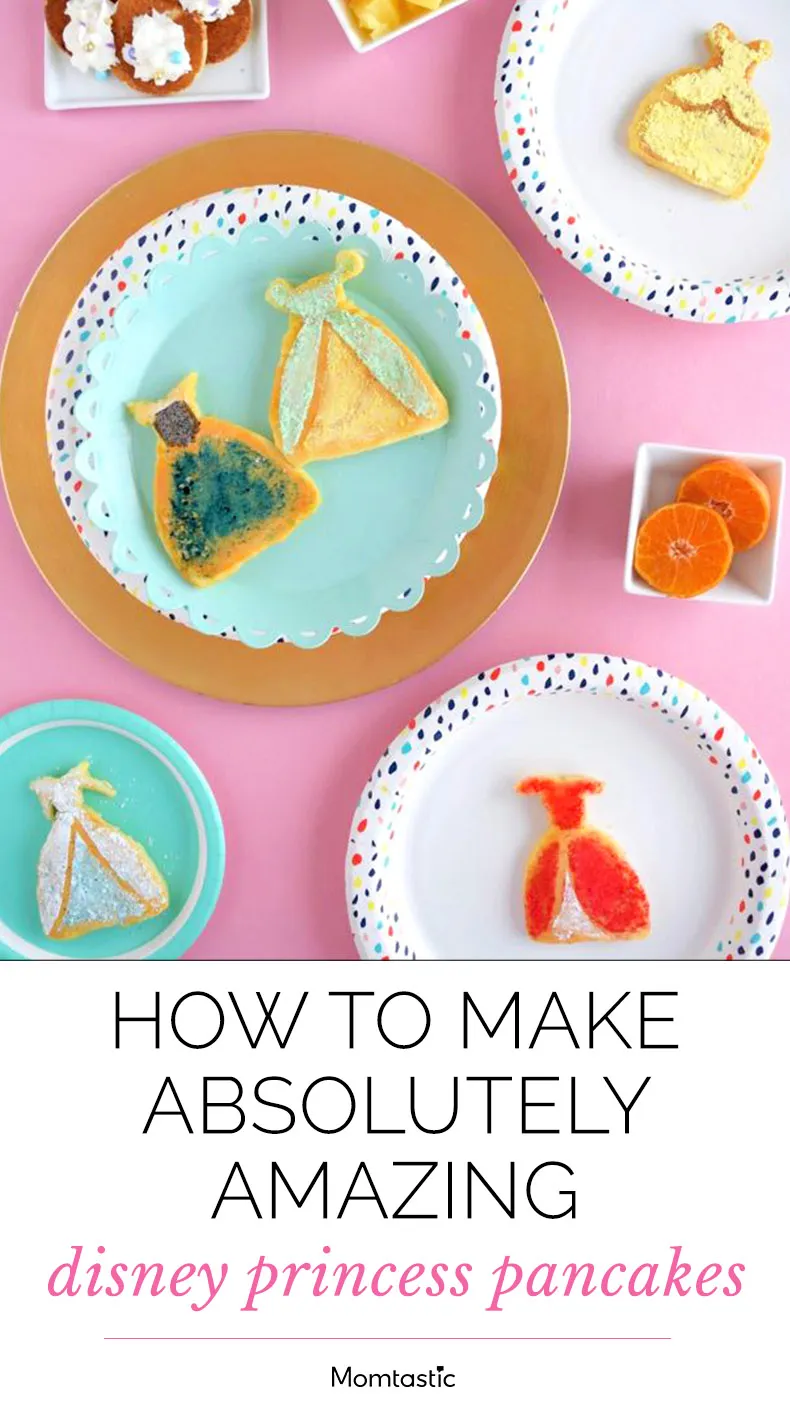
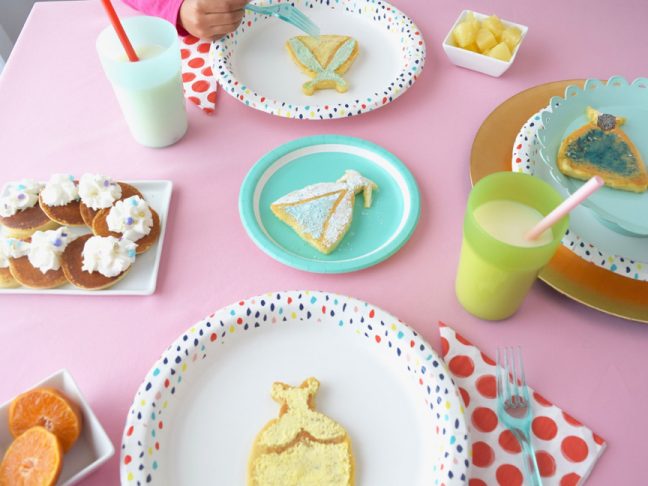
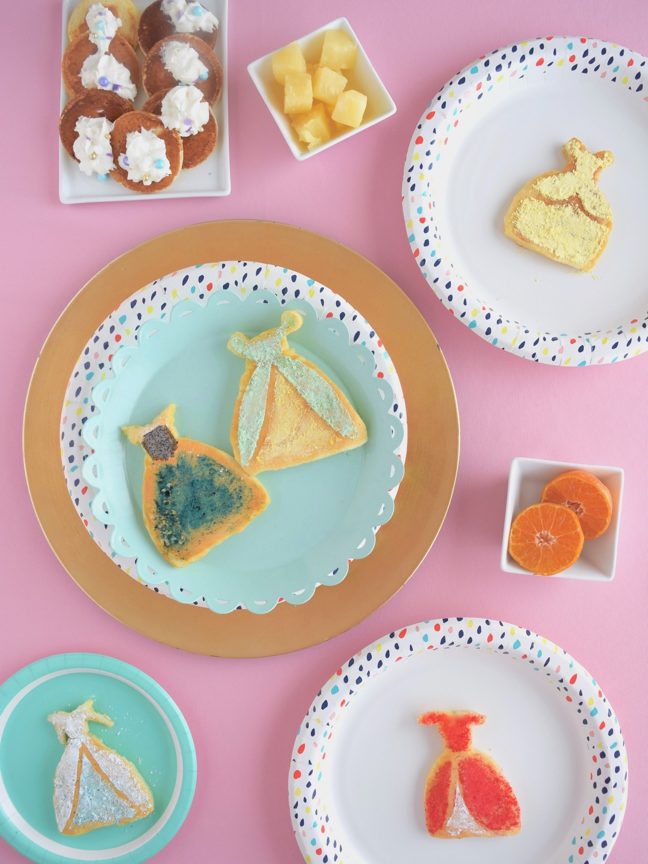
Like any respectable devotee, I’ve passed my love of all things Disney onto my girls. In this house, we’re on a first-name basis with Tiana, Elsa, and Belle. We’ve seen the films, listened to the soundtracks, and immersed ourselves in all of their nuances so much that even the princesses’ dresses are iconographic. Tiana’s green and yellow dress is as defining a signature look as Belle’s bold golden yellow gown. So, we decided to take those classic frocks and design some edible couture for each Disney princess.
I don’t want to oversell this, but I think it’s fair to say that this is the most affordable DIY I’ve ever tackled. We created DIY Disney Princess Pancake Molds! If that’s not cool enough, decorating the pancakes was also a kid-friendly, fun process that was a win-win in our house. My older daughter loved “painting” powdered sugar on an Elsa pancake, while my younger girl loved the vibrant red sugar we used for Elena of Avalor’s gown. This princess pancake mold tutorial combines everything I love: pancakes, an artsy outlet for the kids, and pancakes. Wait, did I already say pancakes?
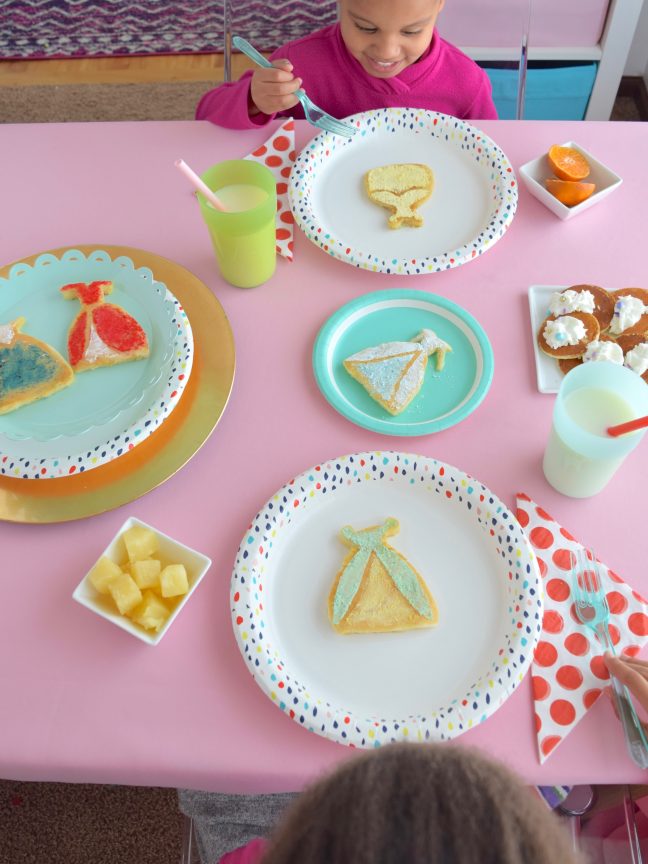
I’ve teased you with the pretty princess pancakes long enough. Keep on reading to learn how to make your own DIY princess pancake molds.
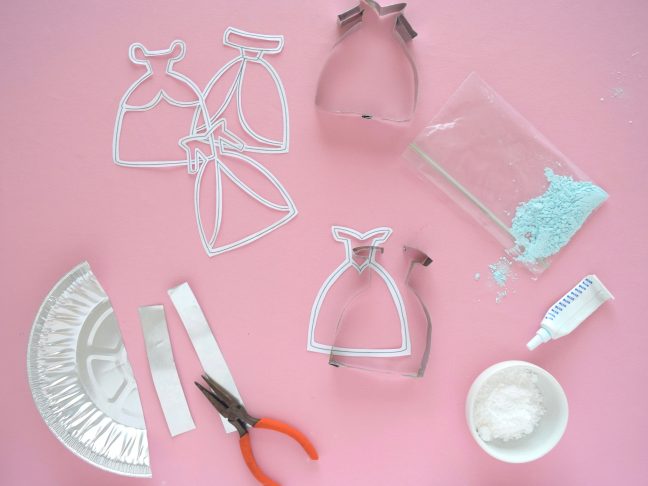
Supplies:
- our DIY princess pancake mold template
- aluminum casserole, lasagna, or pie tins
- heavy-duty scissors
- fine-tip scissors or craft knife
- needle-nose pliers
- pancake batter
- melted butter, cooking spray, or cooking oil
- powdered sugar
- various gel food colors
- small zip-top snack bags
- pastry brush (optional)
Instructions
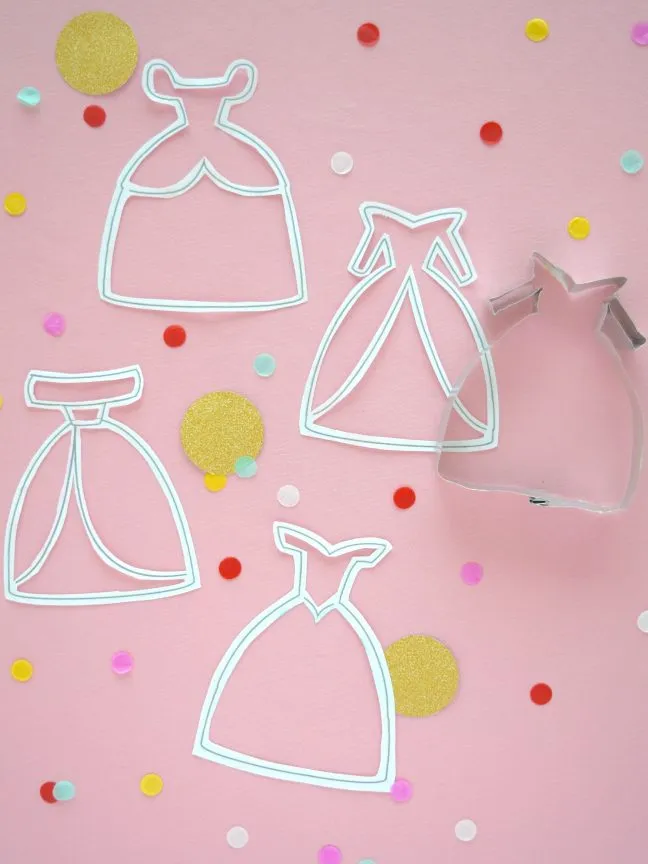
Step 1: Print our DIY princess pancake mold template, and cut just outside the black line of the perimeter of each dress. Using a small pair of scissors or a craft knife, cut just inside each line for all the dresses. Set aside.
Step 2: Using heavy-duty scissors, cut 1″ strips from clean aluminum tins. Handle the strips with care, the edges can be sharp. Set one strip on its edge, align it with the black perimeter line of one dress, then use the needle-nose pliers to bend and crimp the strip to match the outline shape of the dress. Once you’ve completed the outline, overlap the ends so that they meet. Fold one end over the other twice, and crimp with a crisp fold using the pliers. Set aside.
Step 3: Warm a griddle or skillet on the stove. Grease the pancake mold using melted butter, cooking spray, or cooking oil. Place the mold onto the griddle, and slowly pour pancake batter into the center of each one, allowing it to spread into the corners and edges. Let batter cook until bubbles began to appear and pop, then slowly remove the mold and flip the pancake using a spatula. Set aside to cool.
Step 4: As you cook, allow the kids to combine 1/4 cup of powdered sugar with 2-3 drops of gel food color. Seal each bag, and allow the kids to smoosh and mix the gel into the sugar by rubbing it between their fingers. Consider the colors needed to create the outfit for each princess’s dress. Create one bag of colored powdered sugar for each color. (light blue and white for Elsa, black and dark blue for Anna, green and yellow for Tiana, yellow for Belle, and red and white for Elena of Avalor)
Step 5: Place a paper template on top of its corresponding cooled pancake. (Elsa – long sleeves, Anna – vest, Tiana and Belle, two-tier skirted dress, Elena – off-shoulder) Kids can dip a pastry brush (or clean art brush) into the colored powdered sugar and brush it onto the open sections of the template. Slowly remove the template so you don’t disturb the powdered sugar, admire everyone’s yummy handiwork, then dig in!
Love this? Don’t forget to Pin it!
