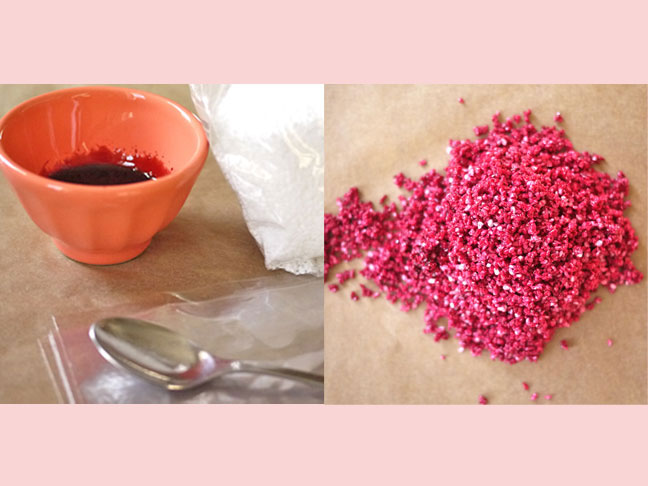
Maybe it’s because we so rarely eat anything that contains artificial color. The occasional cookie fancifully decorated with colorful royal icing didn’t seem like such a big deal. But with the recent news that the FDA is considering banning the stuff — already banned in Europe — I figured why not get a head start. So just a few weeks ago, I declared a family ban on foods with synthetic food dye.
Right in time for Valentine’s Day. Nice work, Mom.
I’d be lying if I didn’t admit that I considered lifting the ban. (A Valentine’s Day without pink and red?! Oh Mon Dieu!) But I thought better of it. I could handle this. And, guess what? So can you. Because coloring your own decorating sugar is easy breezy. Here’s the, er, skinny:
Start by selecting the kind of sugar with which you want to decorate your baked goods. There are a few options: sanding sugar, sparkling sugar and pearl sugar. Sanding sugar is sparkly, usually colored, coarsely ground sugar that doesn’t melt in the oven and is used to decorate baked goods. It’s the pretty colored decorating sugar that you find in shaker bottles at baking supply stores. Sparkling sugar is the same thing, but comes in an even more coarse grind. Pearl sugar is also coarsely ground sugar that won’t melt in the oven and is used to decorate baked goods, but it has a solid white color and resembles the coarse salt you find on a NY-style pretzel. Like this:
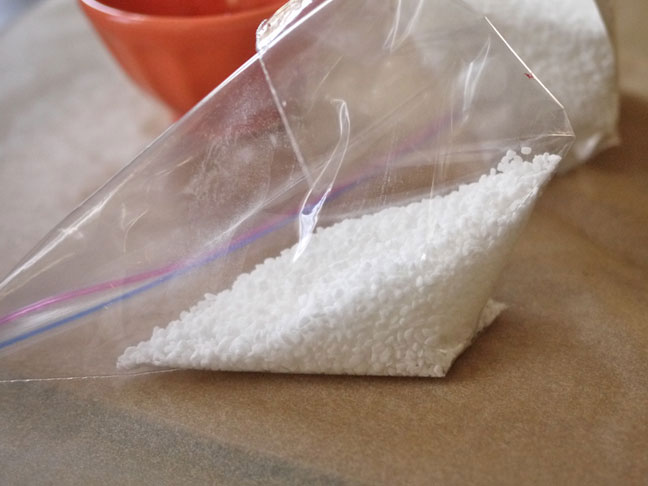
You can color any of these decorating sugars on your own. With the kids, even.
The easiest way to color your own decorating sugar is to buy natural food coloring. My favorite brand is India Tree, which is available through Amazon. Their red dye is made from nothing more than beet juice. Yay!
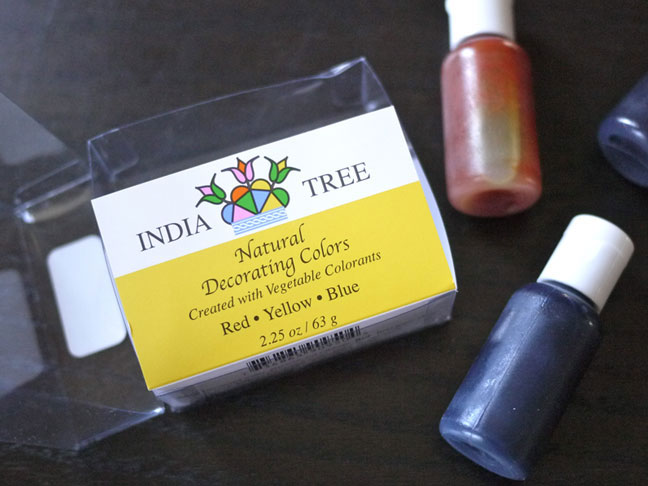
Or you can go all out and make your own dye. I experimented with a few methods and found that reducing red juice to a thin syrup was the most effective. You can use cranberry juice, raspberry juice or, the two that I found to work best, pomegranate or beet juice. Store bought is fine or, if you juice your own, be sure to strain out all fruit particles and seeds. Pour the juice into a pot…
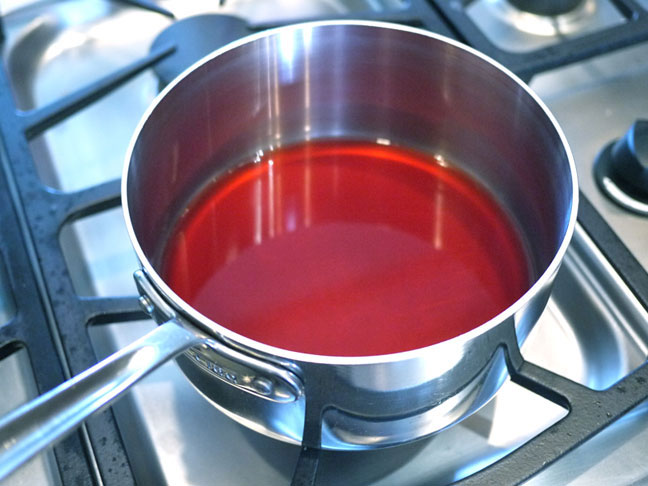
… and reduce, reduce, reduce.
Be careful not to make your dye/syrup too thick and sticky. I can tell you from first hand experience that this will make your decorating sugar impossible to work with. Rather, the dye/syrup should just coat the bottom of your pan as you swirl it around, and you want it to drip easily and smoothly off of your spoon.
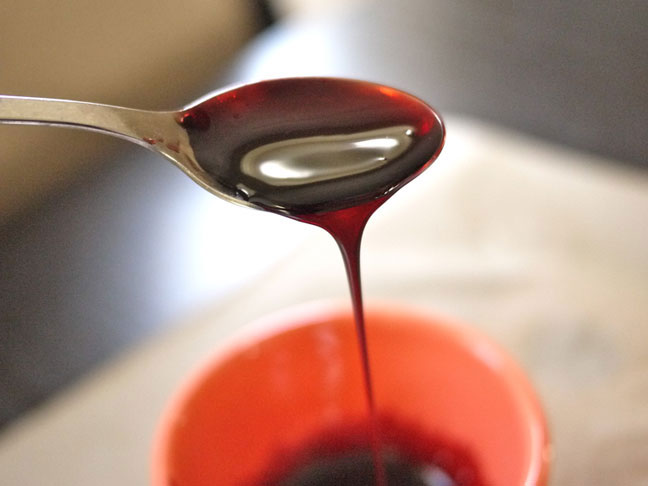
I found that 8 oz of juice yielded about 3 tablespoons of dye/syrup at the right consistency.
Once your dye/syrup has cooled completely, it’s time for the fun part! Put sugar in a zip lock bag and add your dye, a few drops or spoonfuls at a time. Zip the bag up, letting out most of the air before you seal it completely, and work that sugar over. Don’t be shy, mush it all around! Your sugar can handle it.
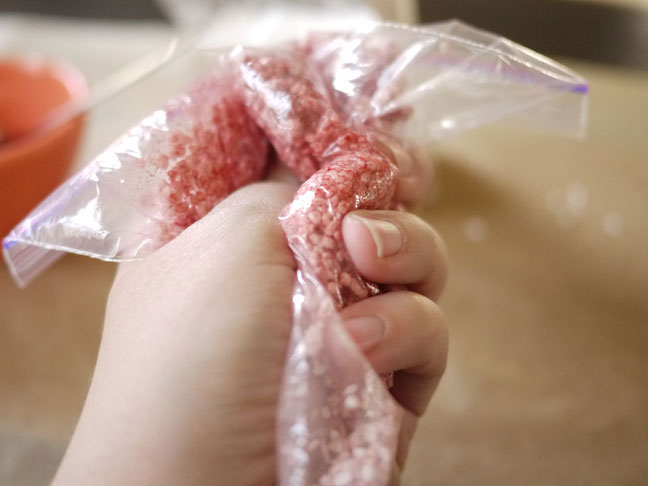
If all the dye/syrup in your bag is evenly distributed but you still don’t have the color or intensity you want, add more dye and repeat.
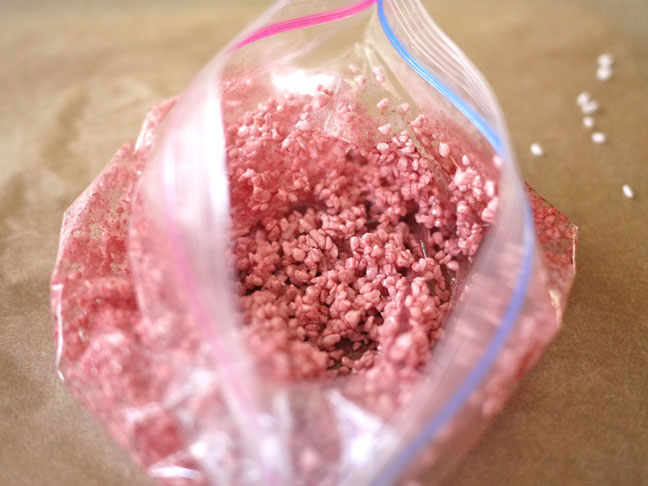
When you’ve finally achieved your goal color, spread the sugar in a single layer on a parchment lined cutting board to dry. This can take up to two hours.
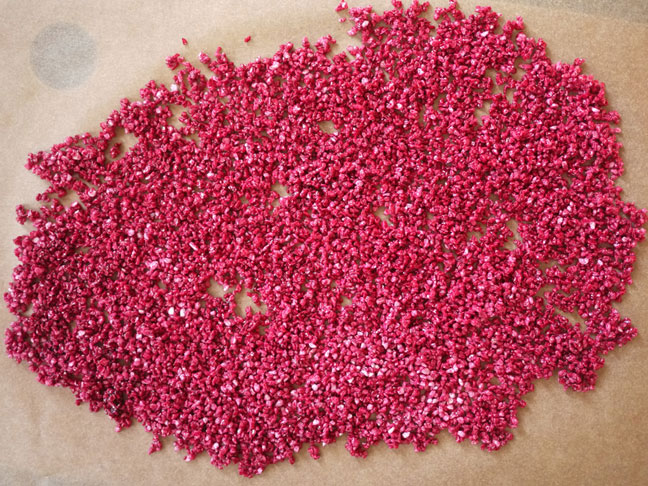
Once dry, break up any clumped sugar with your hands and use it to decorate your treats. Or you can store the colored sugar in an airtight container in the fridge for up to about 3 weeks. (Artificially colored sugar can store on a shelf indefinitely, but remember that you’ve used natural food juice to make this sugar. It won’t keep forever.)
A quick note about how much dye you’ll need: The ratio of sugar to dye depends on the intensity of your dye, the intensity of the color you want to achieve and which type of sugar you’re using. There’s no easy formula. When it came to making Valentine’s Day pink and red, I found that I needed 3 tablespoons of pomegranate dye/syrup to yield a 1/2 c of dusty rose sugar; 1 tablespoon of more intense beet dye/syrup for 1/2 cup of hot pink sugar; and 2-3 tablespoons of beet dye/syrup for 1/2 cup of sugar that was closer to true red.
Try not to get too caught up in these ratios, though. Approach this they way you would an arts and crafts project: who knows exactly how it’ll come out and there’s no need for perfection. Just add a few drops or spoonfuls of dye/syrup at a time and see what happens! This is homemade stuff, for sure, but homemade stuff that’s healthier and fun to make with your kids. And that’s way better than an artificially perfect Valentine!
