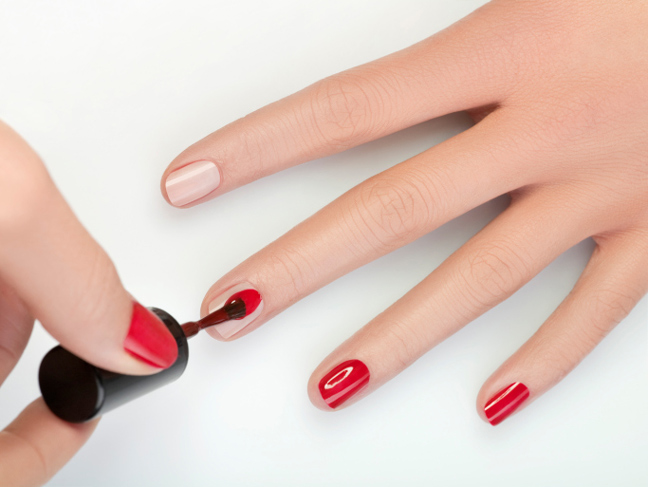
Who doesn’t love treating themselves to a fresh mani-pedi once in a while? Although they leave you saying “ahh," frequenting a salon every two weeks can really dent your pocketbook over time. So, why not give yourself an at-home manicure? If you’re like most, you’re thinking, “Well it just never looks the same when I do it."
You CAN get a gorgeous spa manicure at home. Below are all the products you’ll need and the steps you need to take to to do it yourself. If you invest in good quality tools and supplies, they will give you the high priced-look and your mani will last longer.
What You'll Need:
- Nail tool set (clippers, file, cuticle nipper, buffing file, & cuticle pusher/cleaner)
- Nail brush
- Nail polish remover
- Cotton balls
- Base & top coat
- Nail polish of choice (check out the hottest winter nail polish colors)
- Cuticle oil or cream
- Hand cream
- Small bowl & towel
How to:
DIY: Spa Manicure at Home
-
Step 1: Remove Old Polish
Begin by removing old nail polish with some cotton balls and nail polish remover. I love ONYX Professional Moisturizing Formula Nail Polish Remover because a little goes a long way with this product. It's cheap, and removes polish easily, unlike some more expensive removers.
-
Step 2: Soak Nails
Fill the bowl with warm water and soak nails for 2-5 minutes, allowing the cuticles to soften. While you are waiting, using a brush like Sally Girl Nail Brush to gently scrub on and under your nails to remove excess nail polish and dirt. Remove hands from water and pat dry.
* Tip: For yellowing nails, add a few slices of lemon into your water and let your hands sit a few minutes longer. This will help to whiten your nails.
-
Step 3: Clip Nails
Clip nails to whatever length you like. Tweezerman Studio Collection, Hot Pink Nail Rescue Kit, has all the tools you'll need to perfect your nails.
-
Step 4: File & Buff
File and buff your nails into your favorite shape and smoothness using the 2 in 1 Tweezerman Nail File Collection-Nail Buffer or something similar, with numbered sides for user-friendly handling. When filing your nails, only file one way; do not saw back and forth. To buff out ridges for a smooth look, start from base to free edge going front to back, not side to side.
-
Step 5: Massage and Push Cuticles
Massage in cuticle oil or cream (I prefer oil, as it keeps your nailbeds hydrated longer) like Sally Hansen Nail Treatment Gel Cuticle Remover. Wait 1-2 minutes, then using the flat end of a pusher tip in your Nail Rescue Kit, loosen and push the cuticles away from nails. Then, take your Cuticle Nipper and gently pull excess cuticles in a forward motion from the base to free edge. Wash away excess oil/cream with warm soapy water, and pat dry.
-
Step 6: Warm Cream
For an ultra spa-like feel, try warming up some hand cream for 10 seconds in the microwave and lathering it into your hands and wrists. Bliss High Intensity Hand Cream is an antioxidant rich lotion that leaves your skin feeling smooth, not greasy.
-
Step 7: Base Coat
Apply a base coat to prep the nails for your polish color. OPI Start To Finish Base Coat, Top Coat & Strengthener 3-in-1 Treatment is good quality base coat, top coat, and strengthener in one that dries convienantly quickly, leaving your nails glossy and beautiful.
-
Step 8: Apply Color
Next, brush on two coats of your favorite nail polish and clean up any misplaced polish. Add a top coat, and you're all done with your at-home spa manicure!
